DIY Deutsch Plug
Have you ever seen anything over-engineered fail? It’s the rhetorical mantra a mate of mine preaches regularly to justify that extra nail, bolt or tube of glue he puts into almost every project he undertakes. As tiresome as hearing it might get, there is certainly a lot of merit in there. It’s a pretty safe assumption that most people have experienced some underwhelming or ‘under-engineered’ auto-electrical work at some time in their lives, whether it be at their own hand or that of someone else who should have done better. The point of failure can usually be traced to the weakest point which, a lot of times, is a joint or connection. Garden-variety connectors have their place within the wiring systems of a vehicle; but it’s generally not in places exposed to vibration, dust and moisture.
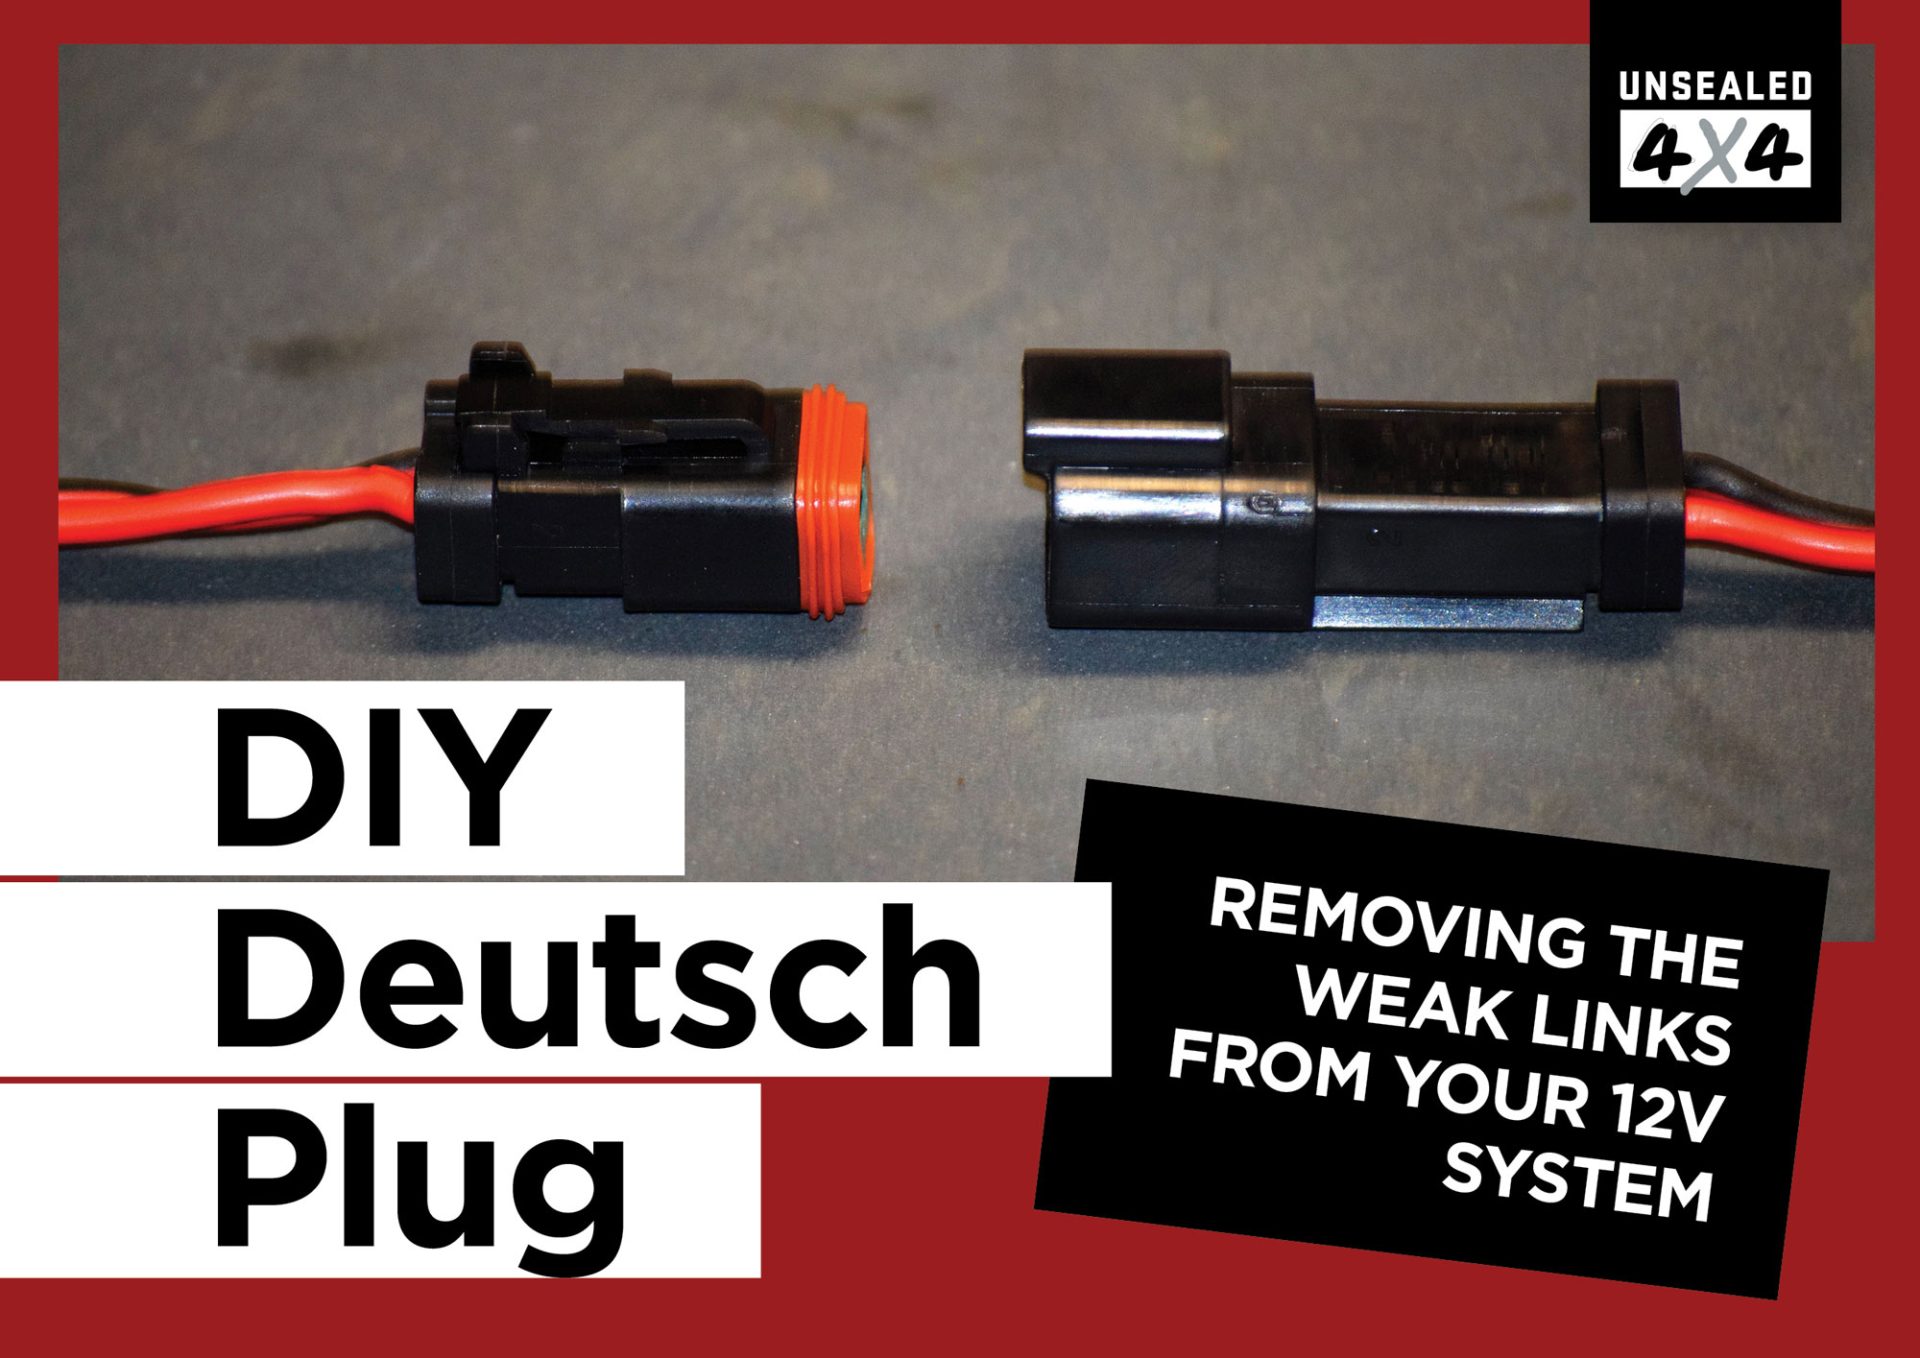
One of the greatest auto-electrical inventions of modern times must surely be the Deutsch Plug. Manufactured originally by the Deutsch company in the US specifically for use in extreme environments, these connectors are gold when put to use correctly on your fourby. If your vehicle is anything like mine you probably have several questionable connectors in service that could do with replacement. While the Deutsch Plug might look like something straight outa NASA, you don’t need to be a rocket surgeon to fit one.
Here’s how it’s done…
Step 1
You will of course need a couple of Deutsch Plugs. I purchased a couple of 2-pin versions from Jaycar for about six bucks each. If you need one, buy two. If you need two, buy three. It will save you heading back out if you bugger up the first one (and if not, you will always have a spare). A couple of garden-variety hand tools are a must – pliers (needle-nose and traditional), Stanley knife, side cutters and a soldering iron and solder. I get a little impatient with soldering irons and like to use a gas torch with a needle-point burner instead. For a neat finish, some heat-shrink or corrugated tubing makes a nice professional touch.
Step 2
Unpack the plug contents and lay them out in order of how they fit together. This will give you a good idea of the process ahead. If your available memory space has been used up on birthdays and anniversaries, take a photo to refer to later.
Step 3
Strip about 25mm of insulation from each wire and give the strands a good twist together. Feed each twisted end into the barrel of the connector pins to check the length of the exposed wire and trim back any excess such that the insulation sits up neatly against the base of each pin. At this point it is good to check your polarity; i.e. make sure that your positive and negative wires are aligned such that they are going to connect correctly – positive to positive, negative to negative.
Step 4
Drop a small amount of solder on each connector pin joint taking care not to let any excess solder run down the barrel of the female pins. If that happens you’re done and heading back to Step 2 with a new connector! Once each soldered connection has cooled, use your needle-nose pliers to press down the crimps on each connector. If you are using a gas torch for the soldering, heat the end of the pin itself and let convection carry the heat into the wire rather than heating the actual wire. This will preserve the integrity of the insulation.
Step 5
Starting with the female connector, insert the pins into the rear of the plastic housing and gently work them through to be flush with the front face of the plastic housing. Seat each pin in its little guide and then press the green-coloured locating tongue into the housing to secure the pins in place.
Step 6
Repeat Step 5 for the male connector. You will need a little patience to properly locate and seat these pins at the correct depth. You should be able to insert and remove the female side of the connector as often as required to assist with setting the correct depth.
Step 7
Fit the rubber dust/moisture seal to the male plastic housing.
Step 8
Show off your newfound auto-elecky skills with some heat-shrink or corrugated tubing and you’re done. A professional-grade connection in under an hour and for less than a ‘sixer’ of your favourite lager.