Advertisement
5 ways you’re destroying your wheel bearings, and how to make it home if it happens to you…
A wheel bearing is one of those things you don’t think about until it’s whining its head off like a millennial having to go to work, or you’ve just lost your front wheel on the way down Toowoomba plateau. So first and foremost, let’s look at what we’re all doing that’s leading to a quick death of the bearings – and how to minimise their wear, and the chances you’ll lose a wheel.
- Bigger wider tyres
Despite all the standard pros of going bigger and wider in the rubber department, one of the basic cons is that it increases the side-load on the bearing, which will cause the rollers to run with more pressure on one side than the other.
- Neg 500 wheels
Same deal as above… by putting the contact point of the rubber and wheel outside (or even inside) the centre of the mating face of wheel to hub, you’re going to increase side-load again.
- Cooling speed
An inherent aspect of wheel bearings (and bearings in general) is heat. Driving for three hours with a boat on the back, pulling up at the boat ramp, and launching the tinny as soon as you get there is going to cool the bearings down to cold pretty quickly. This can crack the bearing and cage (that holds the rollers in place), and you’re gonna have a bad day. The other issue is that going from hot to cold creates a vacuum behind the seal, and can draw water into your hub or behind the bearing. If you didn’t know, rust is bad, m’kay?
- Metallurgy
Don’t. Buy. Cheap. Bearings. Ever. If you absolutely must save a couple of dollars on your rig, stop putting those stupid My Family stickers on it (chances are, your life and the lives of your family members aren’t going to rely on the stickers). Wheel bearings, however, stop the wheels falling off… which is kinda important. Cheap bearings are cheap for a reason. Whether through the manufacturing process, materials used, or both, cheap won’t last. Make sure you get Japanese bearings, or European – think Timkin, SKF, etc.
- Incorrect fitment
Last but certainly not least, over-tightening, (or under-tightening, for that matter) will lead to a swift death of the bearings. If you’re going to have a crack at doing them yourself, know how to torque them up properly; or leave it to an expert. On this thought, it’s absolutely worth getting and keeping the right size hub socket in your vehicle, just in case you’re 500 miles from home and one does work itself loose – you can nip it up to get yourself home safely, and not have to worry about a wheel falling off.
Advertisement
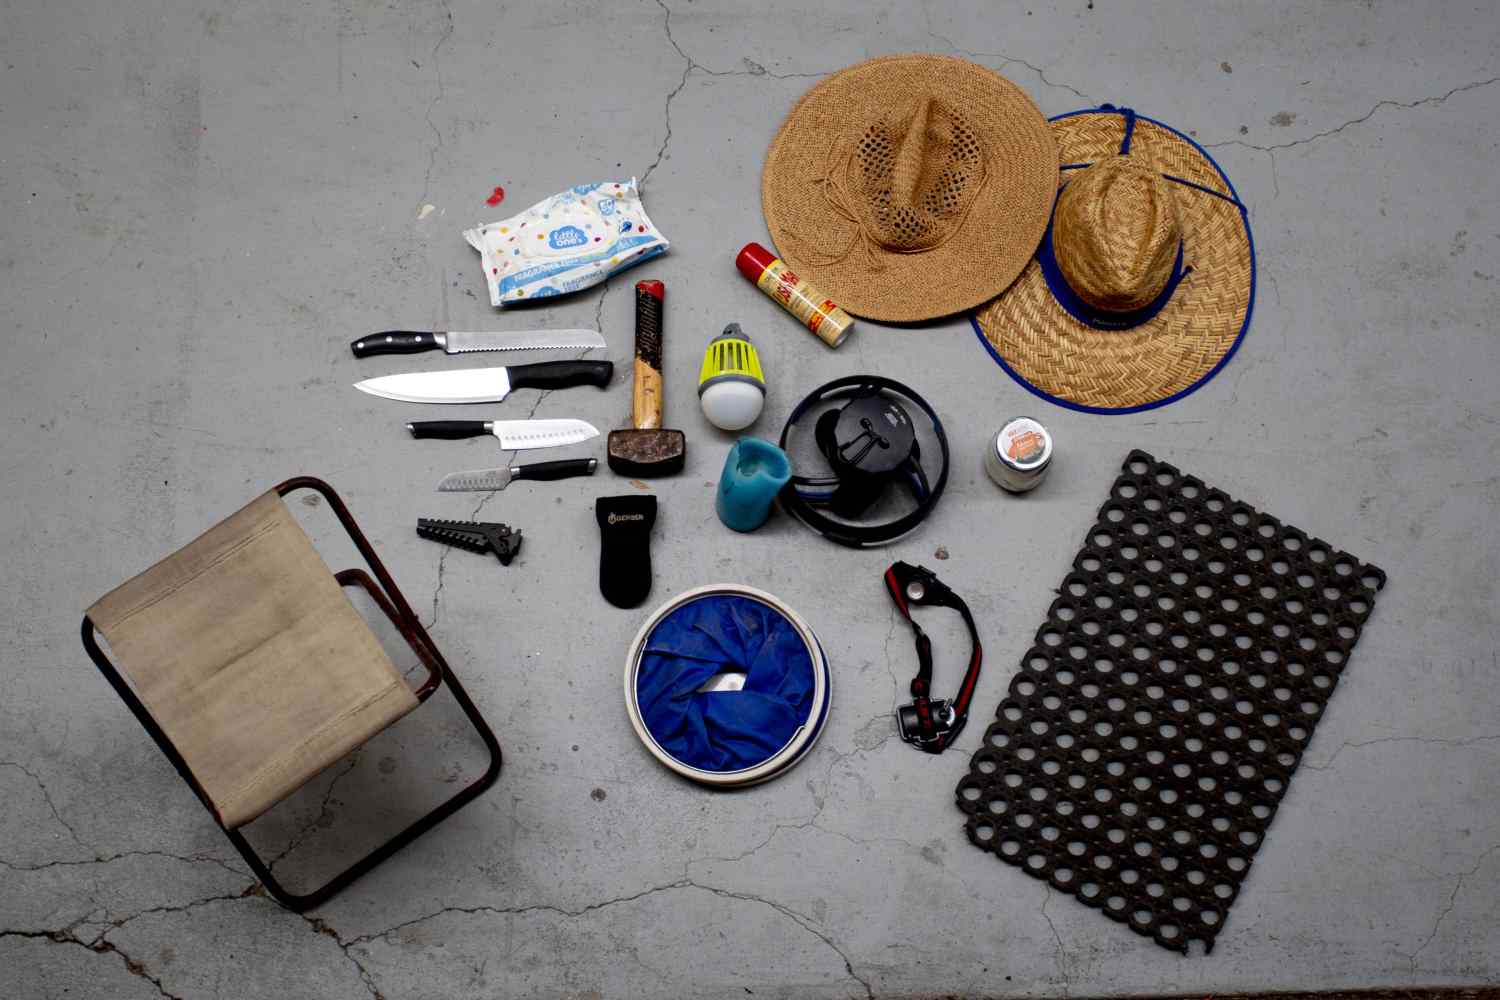
Tools you’ll need
(for an 80 Series LandCruiser, anyway)
Advertisement
Pretty straightforward in the tool department.
Decent socket set
Decent spanner set
Rattle gun… because easy mode
Razorblade for cleaning up any gaskets that get destroyed
Circlip pliers
Hub socket
(54mm for the ’Cruiser)
High temp bearing grease
Degreaser and brake cleaner (brake cleaner doesn’t leave any residue)
A couple of bottles of brake fluid as I upgraded my brakes to bigger callipers and discs while I was at it, plus a full brake fluid flush…
WD40 for when the 6-foot breaker bar just won’t get that nut off!
Check for any play
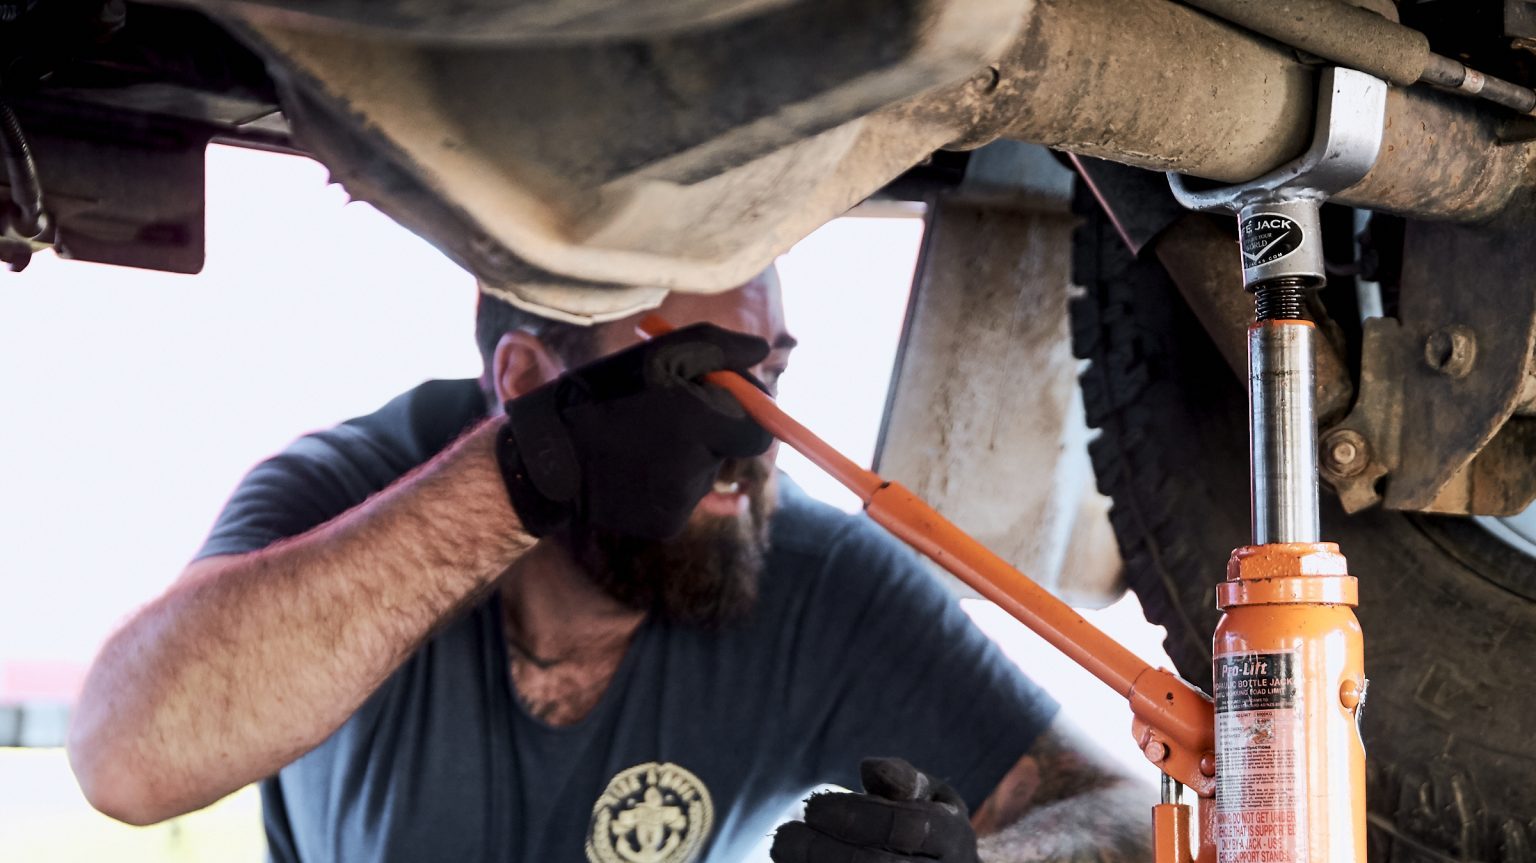
Start off by getting the wheel off the ground and checking to see if there is any play top to bottom, and side to side.
Do this by grabbing the outside of the tyre, and giving it a bit of ‘wiggle’ top and bottom and both sides. If there is any movement your wheel bearings are more than likely shot.
Pull the hub cover off
Wheels and brakes come off first; and if we need to tell you how to do this, then you’re better off leaving the job to a mechanic! If you’re game and not bad on the spanners, once you’ve got the wheel and brakes off, you’ll want to pull off the outer locking hub. It’s easiest to do this with the hub in ‘Free’ as it pulls the hub together, so it’s a nice tight part when you pull it out (not a hub hanging on the end of a spring threatening to break up faster than Sting and The Police). After the six 10mm bolts are out, this should just pull straight out.
Remove the manual hub and circlip
Remove the circlip from around the end of the CV, and undo the six 12mm nuts holding the manual hub on. Under the nuts you’ll find flat washers and cone washers. Use a brass drift and tap the end of the studs to loosen the cone washers and pull them out – a light tap with the hammer on the side of the hub will loosen them enough to get them out; or you can get a tiny flat-blade screwdriver into the splits in the cone washers and pull them out. You can use a pair of screwdrivers to lever the hub off if it’s a little tight.
Remove the wheel bearing lock nuts and lock washer
Next you’ll need to fold the tabs down on the lock washer, to give access to the first wheel bearing nut. Once you’ve got the first nut off, you should be able to remove the lock washer, and get access to the second wheel bearing nut. Make sure you flatten out the lock washer at this point so you can reuse it if it’s still in good nick – as my kit didn’t come with a new lock washer! Then go ahead and undo the final wheel bearing nut, and remove it from the hub.
Remove the hub and rotor together, and clean them up!
Now you’ve got the hub assembly off, give it a decent clean – cleaning out any grease and checking the seals for marks, or obvious signs it’s been rubbing untrue. After cleaning the grease out of the hub assembly you’ll be able to see the wheel bearing’s cup and cones.
Repacking the bearings
My bearings were in good nick, but the grease was closer to oil than grease – so I’ve just repacked mine, and retightened them to spec. Essentially you put some grease in the palm of your hand, and push the bearing onto the grease, so it forces the grease through the bearing. Keep adding grease, and pushing it through the bearing, until it’s coming out the other side (the whole way round). Should you need to replace the bearings you’ll have to knock the cups out of the hub assembly, knock the new ones in until they’re all the way home, and grease the cones up as we’ve just looked at.
Tightening and reassembly
Once you’ve repacked everything it’s time to put it all back together. I’m not going to go into torque settings or ‘feeling the bearing preload’ as it’s different across the different 4X4s out there… suffice to say, you’ll find it in the workshop manual or you can ask Google – he seems to know most things! From there it is just a matter of completely reassembling things opposite to the way you’ve taken it all apart, and you’re done. Oh, make sure you check for play in the wheel when it’s all back together.
Advertisement