Built not botched: Six 4×4 upgrades you shouldn’t do yourself
Think twice before reaching for the spanner. These six 4WD mods are better left to the pros. Here's what to avoid (and why).
Published on: 11 June 2025
Advertisement
Let’s get one thing clear right from the start. Any DIY project you can do yourself, you should do yourself. From wiring up a set of driving lights to bolting on a roof rack. Installing a long-range fuel tank and kitting out the back of your rig with some custom drawers. Getting hands on with your rig is not only a great way to save money, it’ll also teach you the ins and outs of how it all works. Should that fuel tank come loose in the outback, the most knowledgeable person on it is right there ready to fix it.
But. And it’s a big Sir Mix-a-Lot size but. Not every project you can DIY should be DIY’d.
Clear as mud? Hear us out.
If you’re a licensed electrician, then this section probably doesn’t apply to you. For everyone else, think very carefully before doing any wiring on your own 4×4. Plug-and-play projects like driving lights and compressors are fairly standard weekend jobs, especially when purchased with ready-made wiring looms. But step into the world of unfused battery mains and solar installs, and you’re in for a world of hurt should you get it wrong.
A missed grommet could see your pride and joy turn into a candlestick and your insurance company asking which licensed electrician you used before things got spicy. Things get even worse for 240V installs. They’re legally required to be installed and signed off by a licensed electrician. The chance of getting it wrong? Slim. The ramifications if you do? Huge.
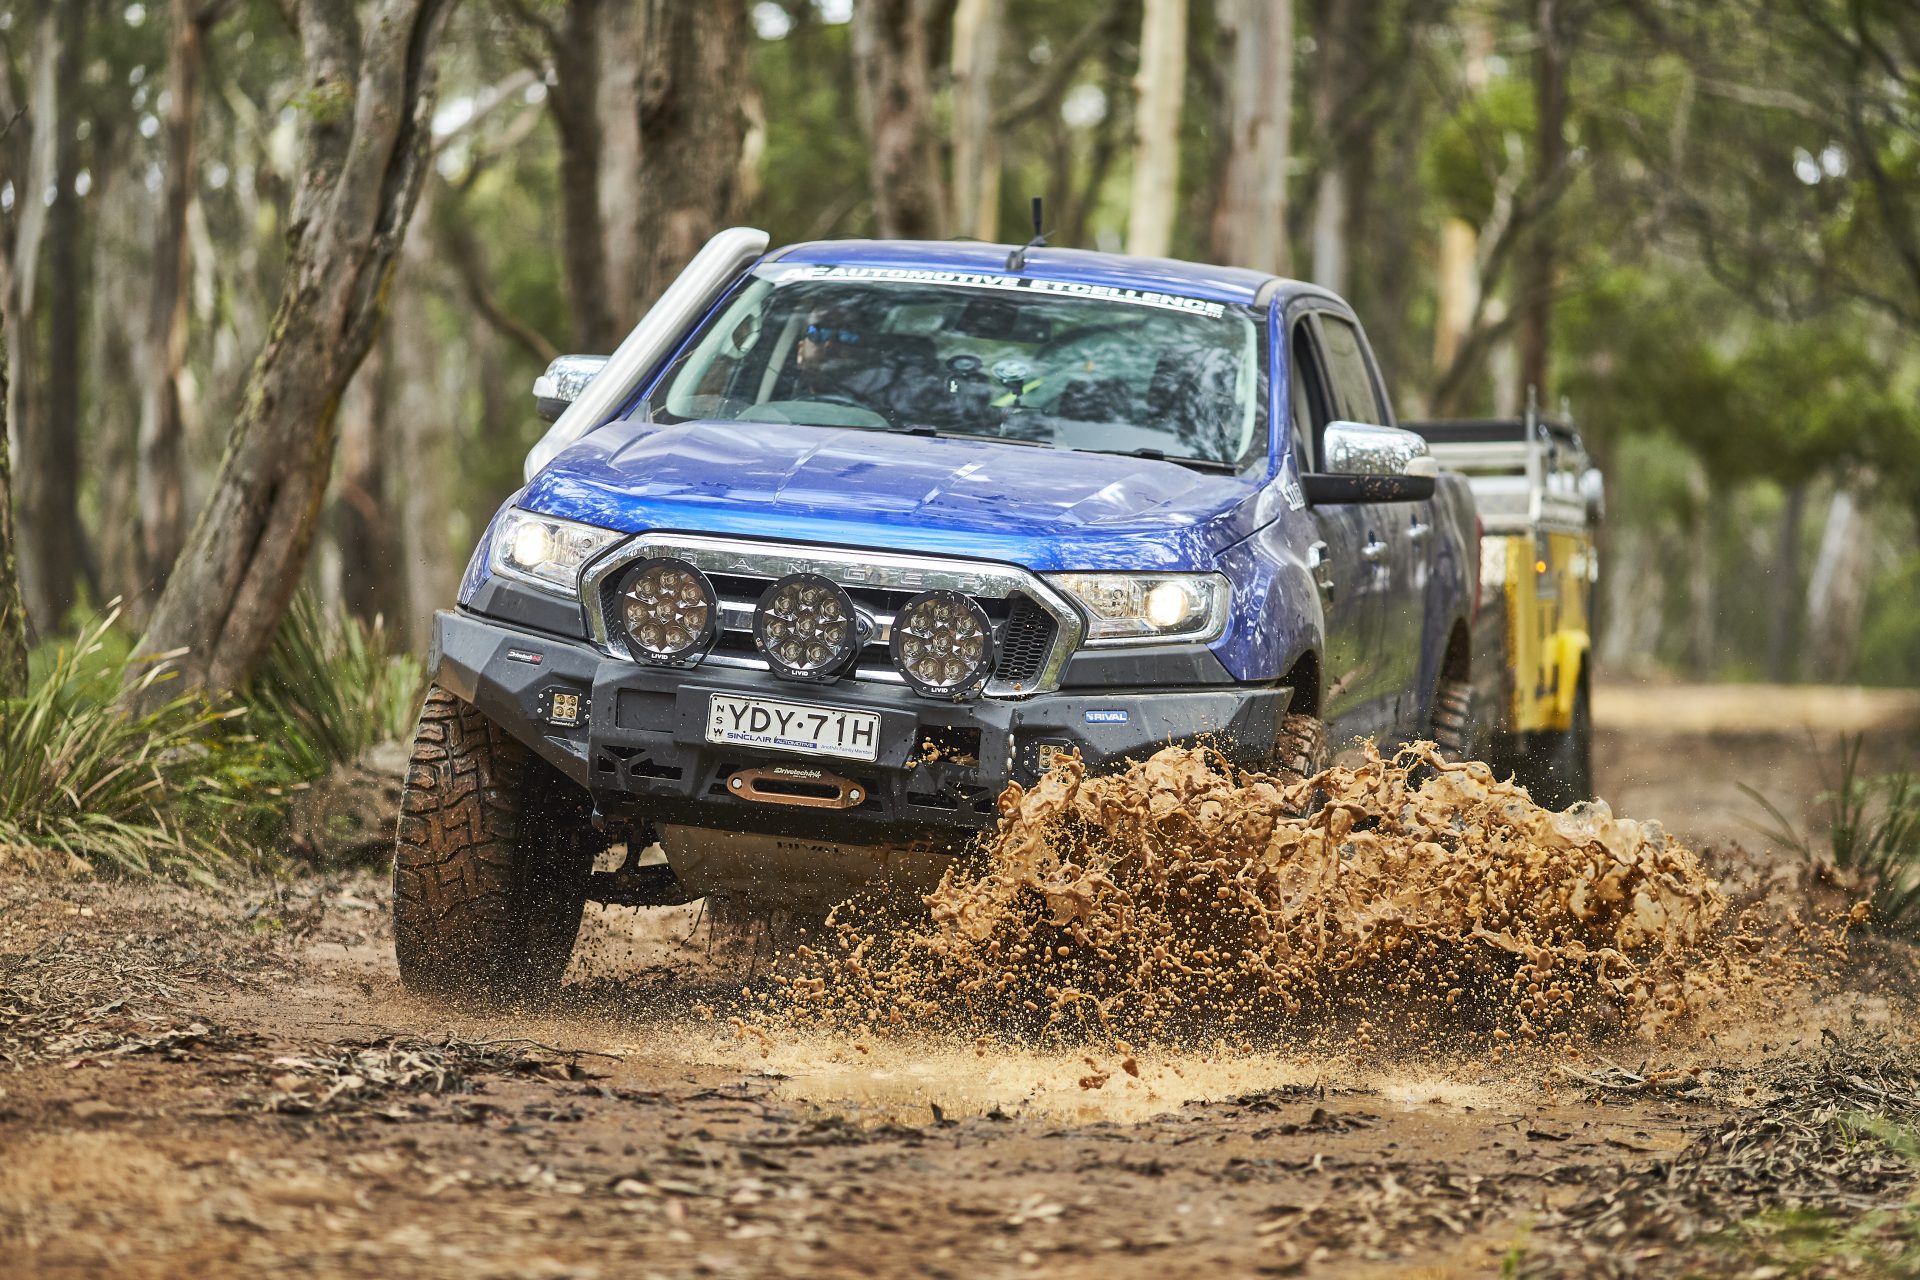
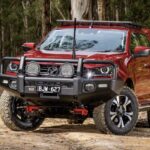
There’s nothing to be too legally concerned about when fitting a bull bar at home. They’re just a pain in the backside. And trust me when I say that’s about as polite as I can put it. It wasn’t that long ago when slotting on a bull bar was just a few hours’ work. The exposed frame rail and ‘like for like’ of swapping a bumper for a bull bar made it an easy job.
These days? Oh boy.
Depending on the bull bar design, you’re going to have to carefully remove the factory bumper and about a million clips. Trim the inner guard liners. Work out how to remount them. Transfer the parking sensors over (some of them silicone to the new bar, how rough is that?). Mount fancy radar sensors. Trim the factory grill and bumper to perfection, then somehow get the bar up and on by yourself without scratching the guards.
Don’t expect much change from a weekend on the tools. To make matters worse, with so much flex in modern frames, if you get the alignment slightly wrong, you can bust headlights and buckle guards. Can you? Absolutely. Should you? Just pay a shop and work a Saturday. It’ll be easier.
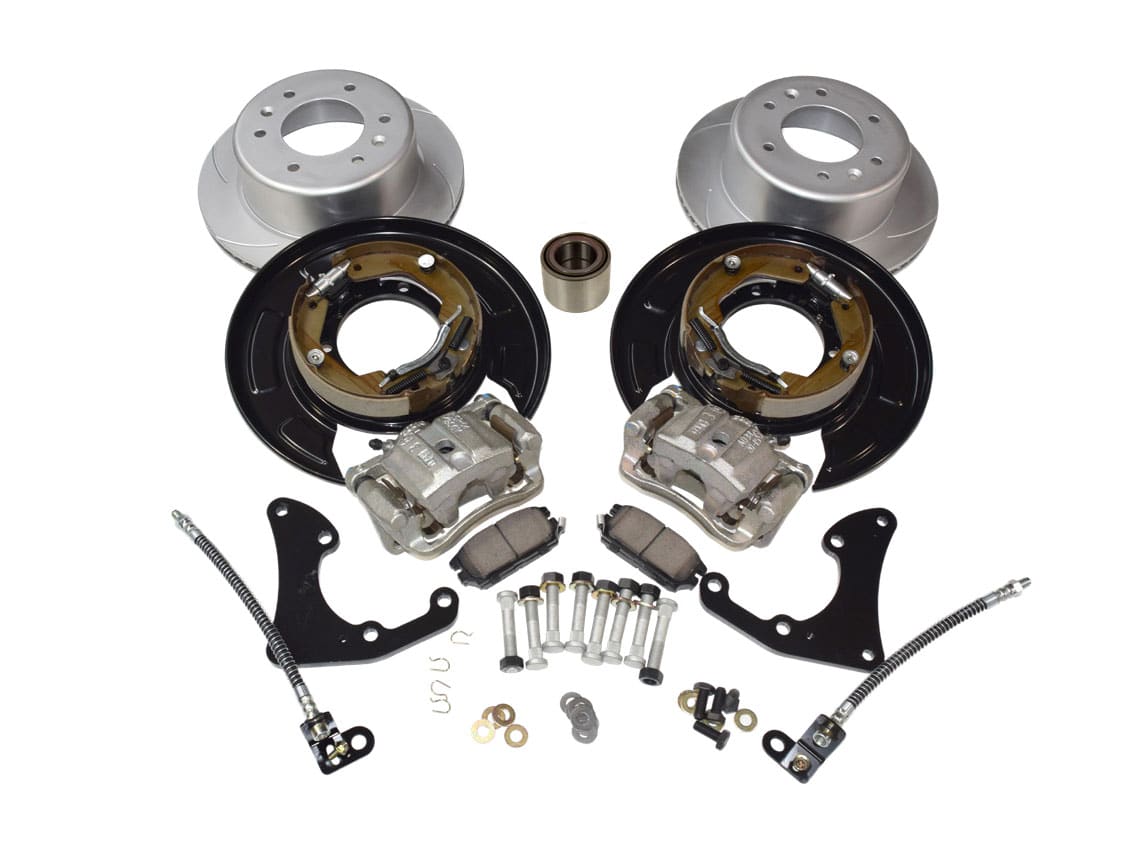
If you know the difference between a Sawzall and a Stillson, then tackling a fresh set of brakes on a Saturday arvo probably isn’t a big deal. Changing pads is typically a one or two-bolt affair on a disc brake setup and something anyone competent with a spanner is capable of.
The problem is that’s only half the job. Drum brakes are a nightmare, and they’re on the rear of most of our 4x4s. On a drum brake setup, the shoes (basically the pads) are inside the drum and have automatic adjusters to keep them where they need to be. To pop the drum off, you need a pick to unwind the adjuster, then the drum is free to slide off. That’s the theory anyway.
In reality, salt water, dirt, and mud will have it all jammed up to the point you’ll spend a full day getting the damn things off and no doubt need to spend a fortune on penetrating spray and bigger hammers to do it. And that’s if you don’t break clips and lose springs doing it. Get a shop to do the work and spend the day mowing the lawn instead.
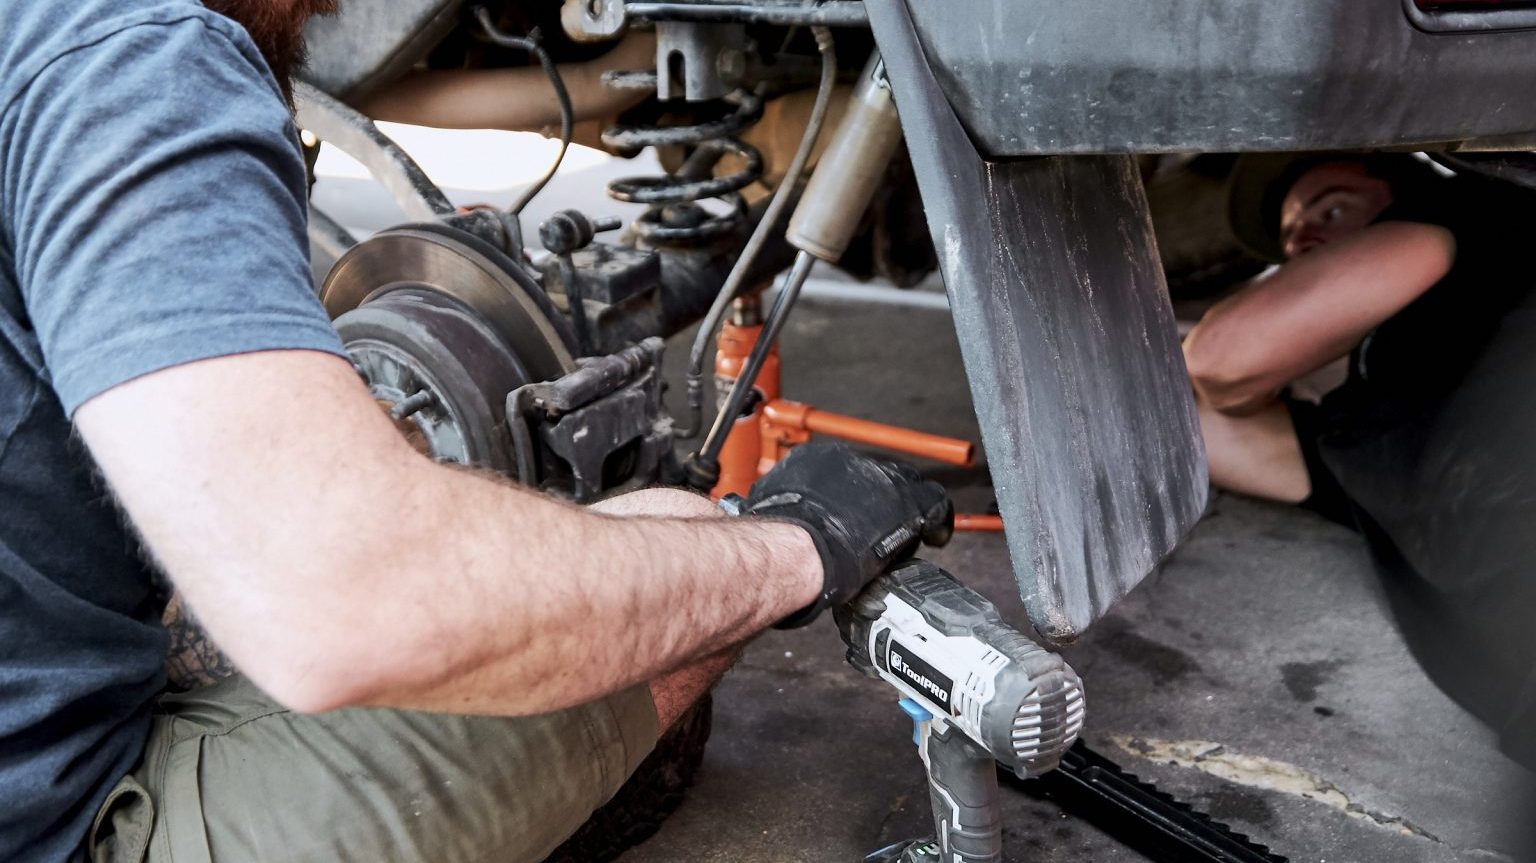
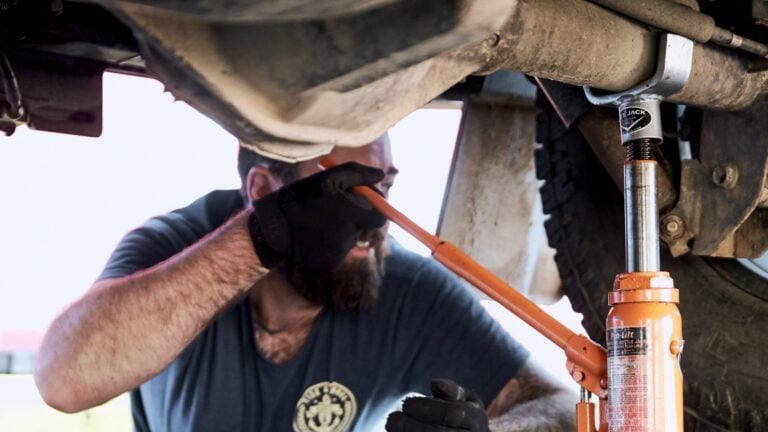
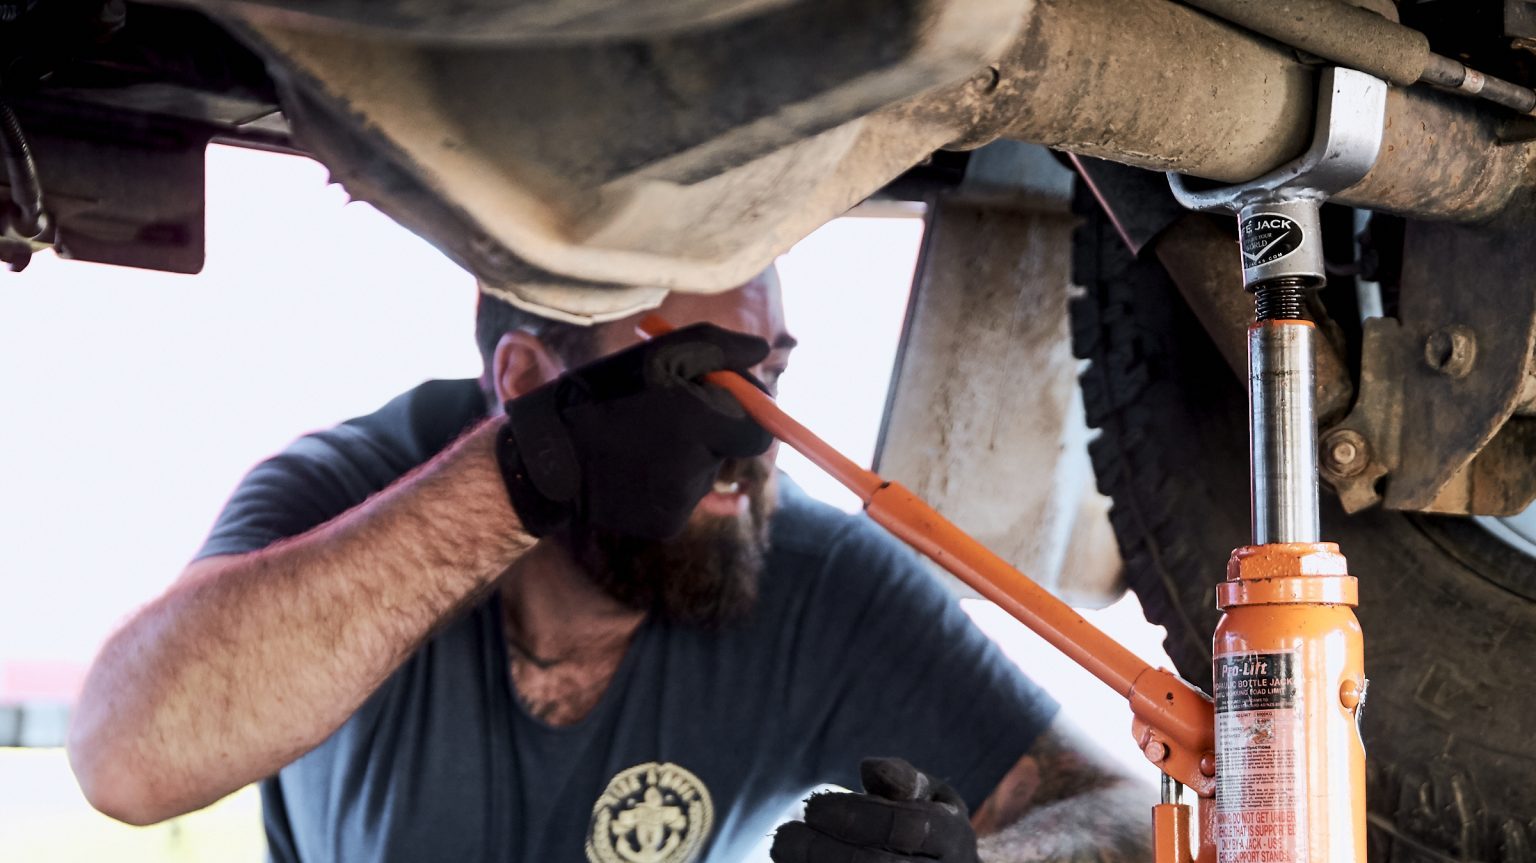
Ever had one of those jobs that should take an hour but ends up taking a day? Of course you have. It’s every DIY job ever. But never has there been more of a muck around job for the home DIYer than the dreaded suspension bush. A flogged-out control arm bush. A flash new set of caster correction bushes. Shouldn’t take long, right? Halfa to get the arm out. Swap the bush. Halfa to get it back in.
But that’s not how suspension bushes like to do things. Oh no. They make it hard. Every. Damn. Time.
Getting them out can be an exercise in patience already. ABS lines need to be removed. Suspension jacked to the limits of your poor bottle jacks’ life. Diffs flopping around while you’re pulling arms. Then, of course, the bush sleeve is seized and needs to come out with a blowtorch and a die grinder, or worse yet, needs to be pressed out. Your 4×4 resting on jack stands a metre in the sky while you ride your pushbike to the local mechanic with a radius arm over your shoulder. It just isn’t worth the few hundred you’ll save in labour. There’s a reason mechanics have hoists and presses.
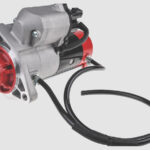
If there were a list of the best inventions of all time, you can bet your bottom dollar that diff locks would be on there. Probably in the pointy end, I reckon. Somewhere between antibiotics and indoor plumbing. From the entry auto-lockers to the top-tier eLockers, they’re undoubtedly one of the best bang-for-buck modifications you can make to your 4×4 for outright capability.
They’re also one of the most involved in terms of installs. You’re not just installing a locker, you’re essentially rebuilding a diff. If you haven’t done it before, you need to perfectly balance three separate bearing pre-loads as well as dialling in the pinion gear to mesh perfectly with the crown wheel. And that’s before you even talk wiring or air lines. It’s one of those jobs that if your workbench has presses and dial gauges and drawers full of anti-seize, then give it a crack. If not, get a shop to do it so you’ll not only know your gears are bang on, but you’ll keep that all-important warranty for your expensive new locker.
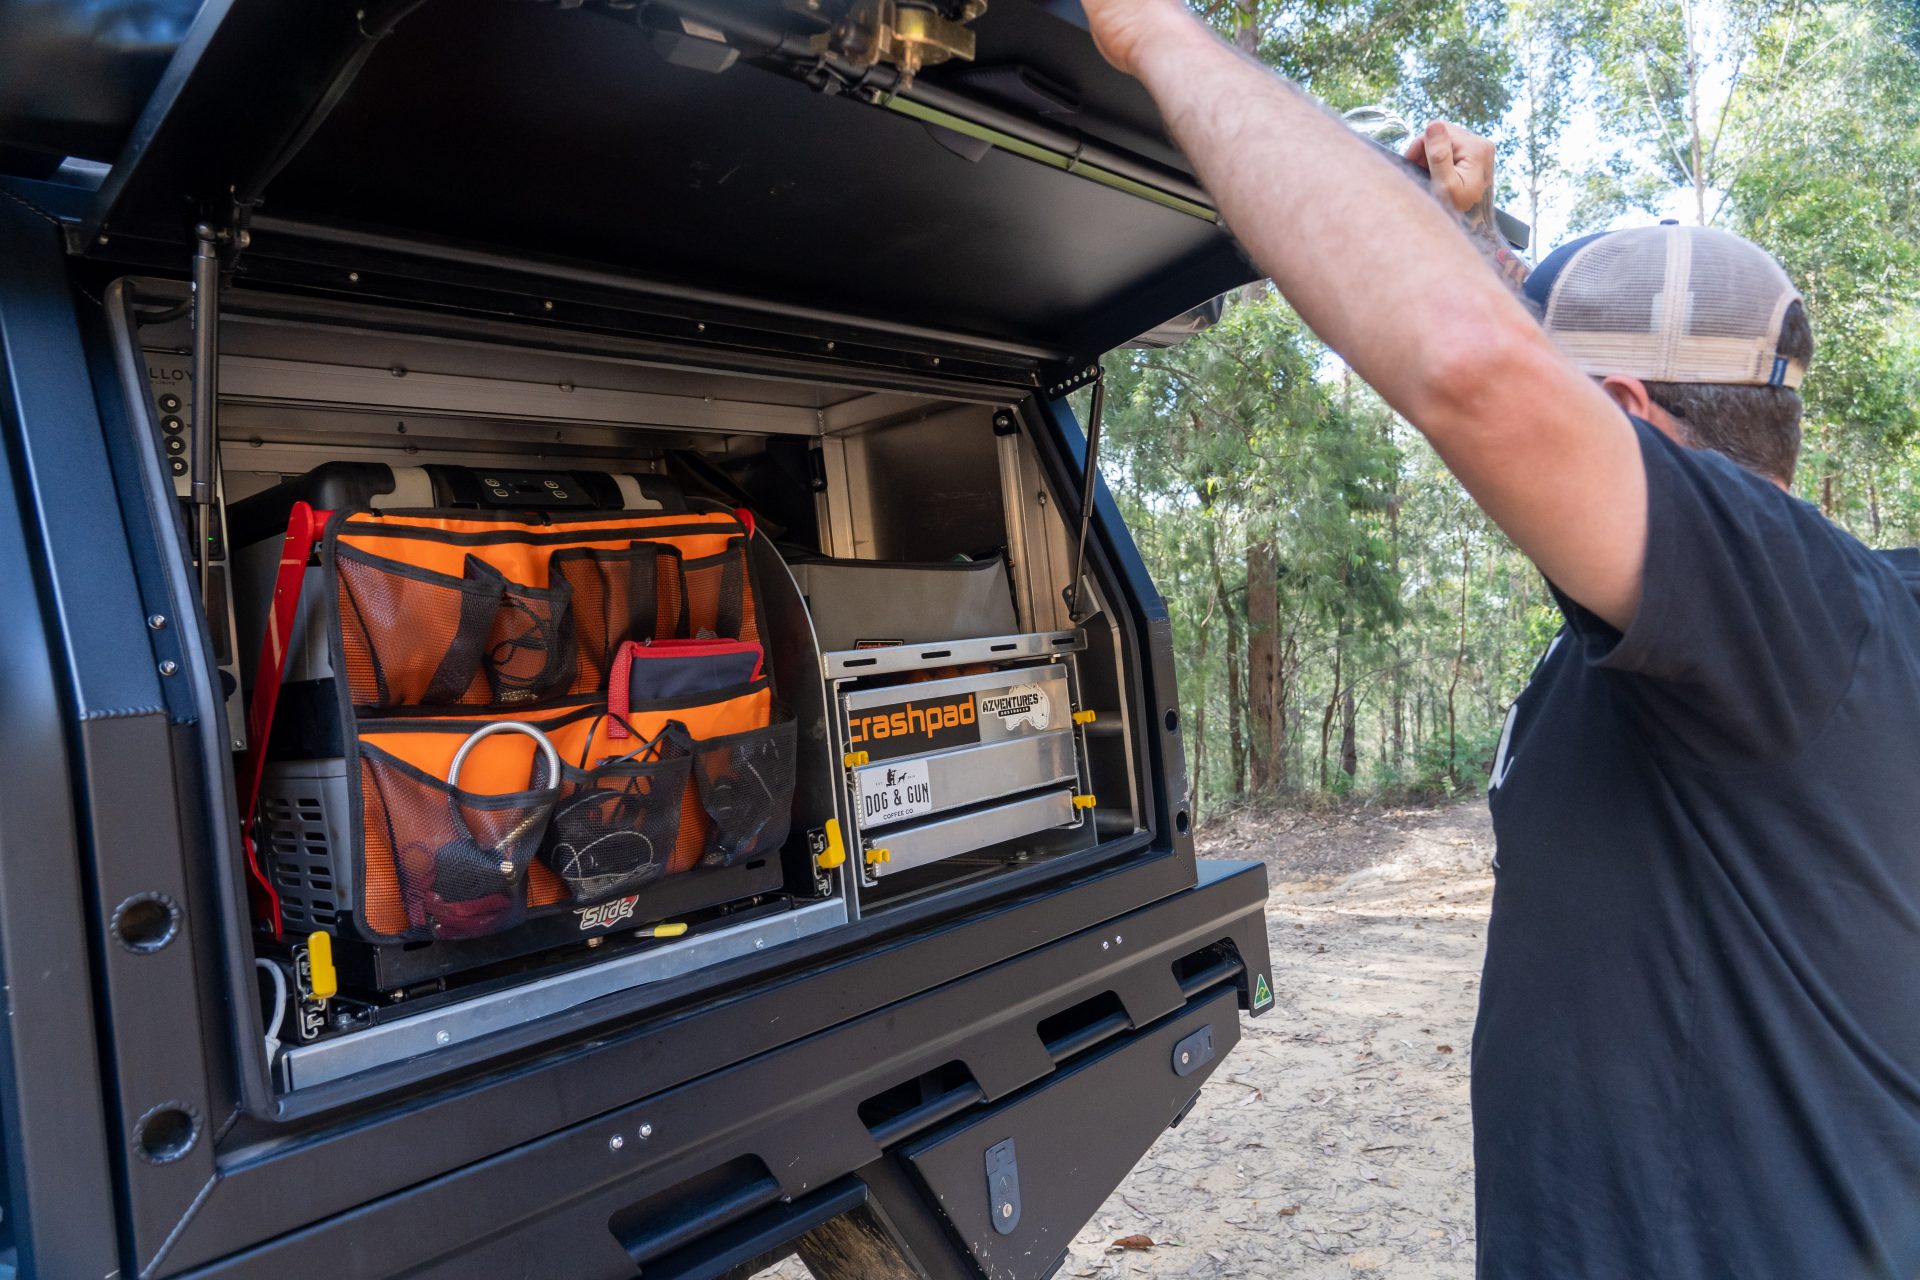
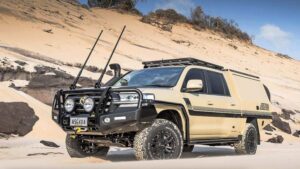
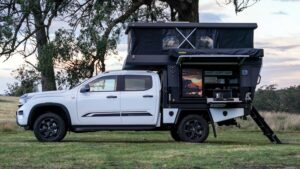
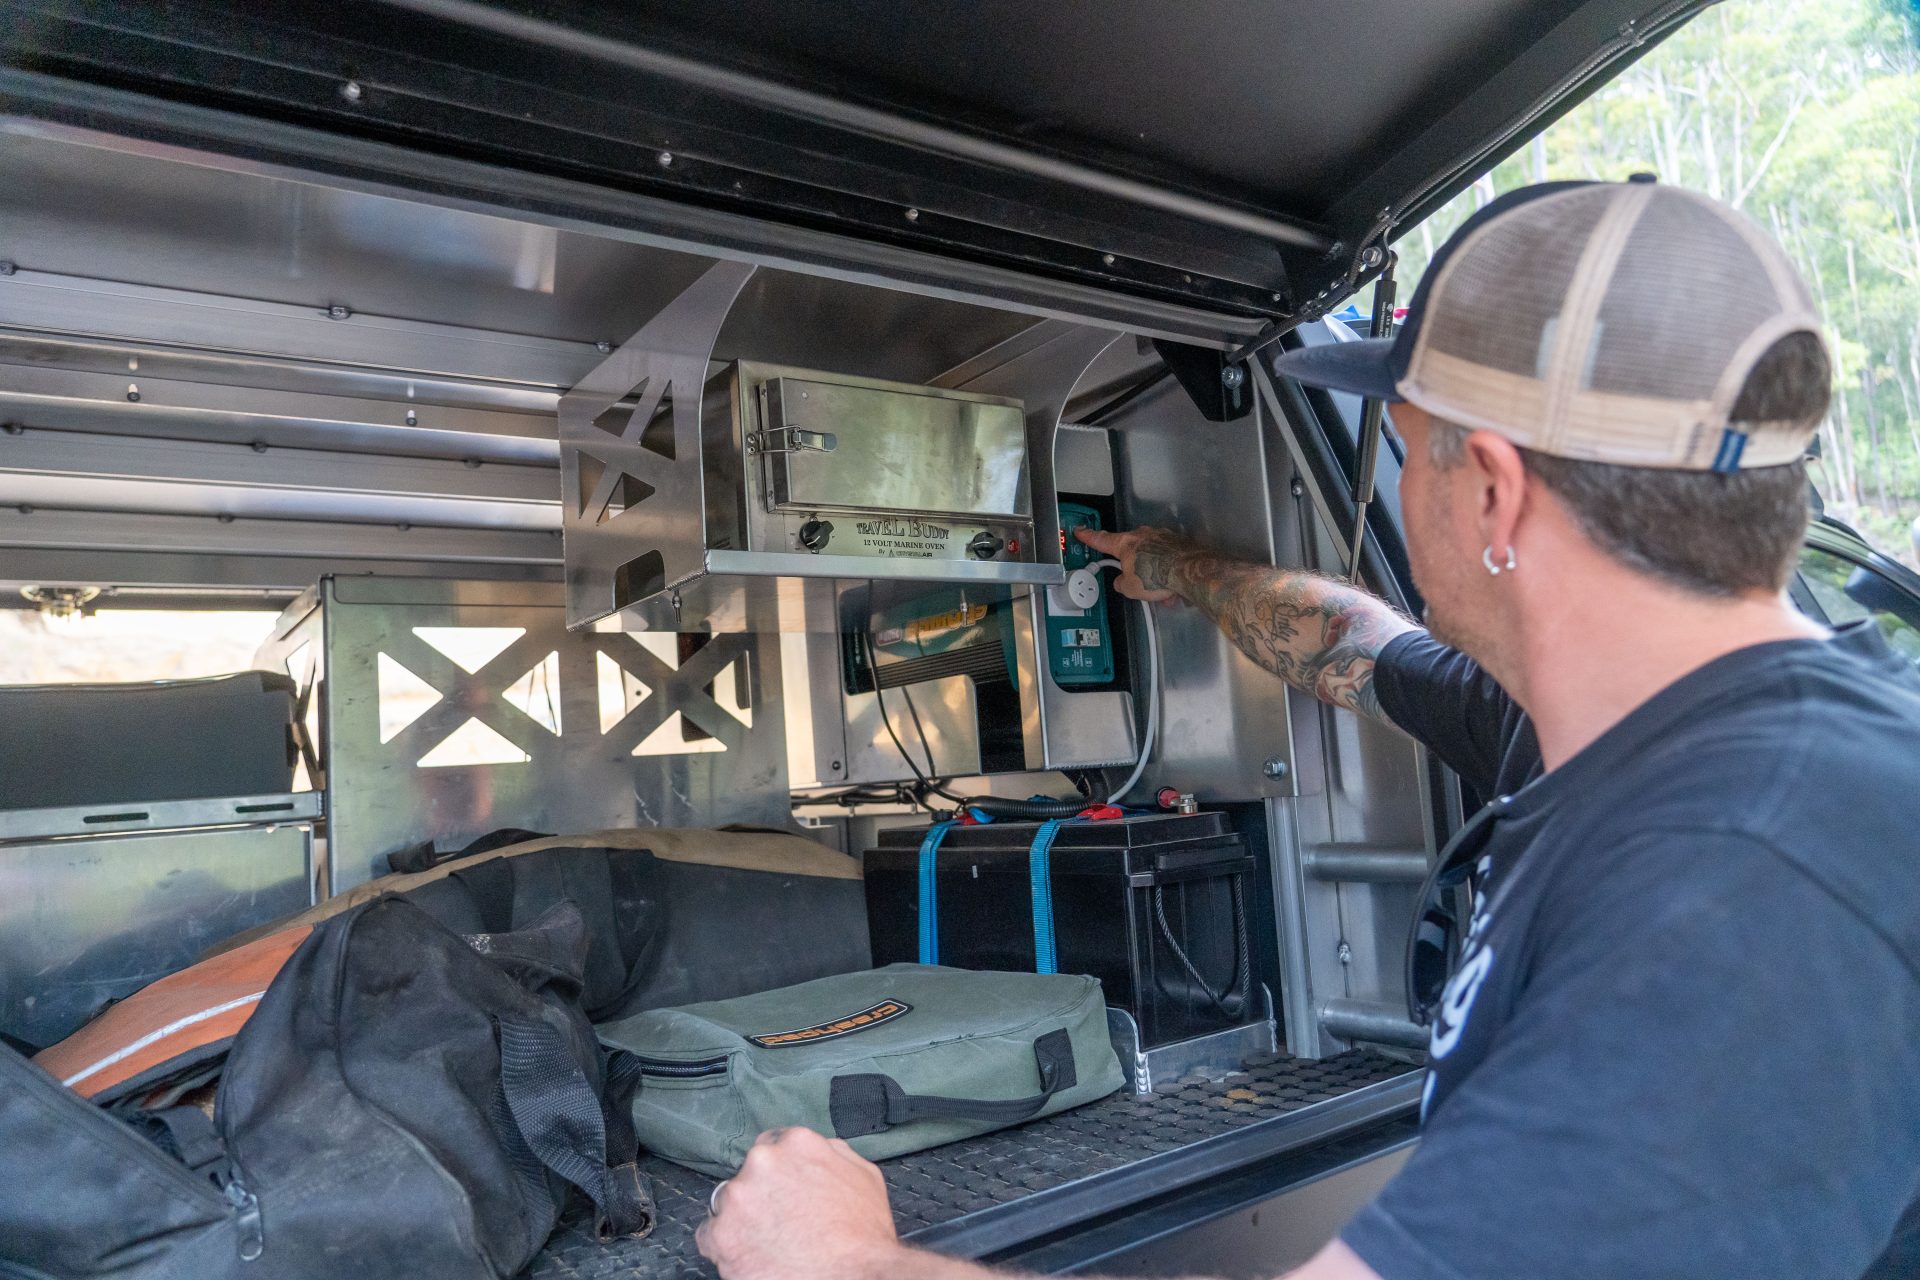
Custom trays are one of the coolest modifications you can make to any ute. The ability to build nearly half of your 4×4 to suit your needs perfectly is unrivalled. Huge camping setups. Beefy bash rails. And interior fit-outs that’ll rival $1000 a night Airbnbs are all just some of the things your imagination can turn to reality with a welder.
But (there’s that word again) – start speccing up a price list for your dream tray and you’ll quickly find that most of the serious coin is in the gear to put in it, and not in the tray itself. Electrical fit outs, water storage, and LED lighting can all add up to more than the bill of materials anyway. The result is you’re still out of pocket thousands, and burnt up six months of weekends in the process.
The other downside your favourite influencer won’t tell you about their DIY tray is that they weigh a tonne. Tray and canopy manufacturers have a whole host of design and fabrication tools at their disposal to keep strength up and weight down. The home handyman? All the box tube and DIY gussets to make sure it never breaks. Then they wonder why they need an expensive GVM upgrade.
Reckon we’ve lost the plot? Got a DIY you reckon every 4x4er should do? Or think we’ve missed something? Hit us up in the comments below and tell us what you really think.