Running water for those running wild
The Original by Ontap does exactly what it says on the box, and it does it well. That's why we love it when we're off-road!
Published on: 7 February 2023
Advertisement
Getting running water in your rig without breaking the bank
I don’t have the need for bulk water, I need 20-30 litres at most. So, for the last few years, I’ve been butchering Jerry Cans and attempting to turn them into something that’d provide me with running water without requiring me to bolt down expensive and heavy underbody water tanks.
After everyone within earshot of my shed had endured more swearing than Gordon Ramsay’s neighbours would in a decade, I would generally be left with something that looked like it was designed by Ray Charles and slapped together by Frankenstein, boasting as much reliability as a french car. I would love to say the quality of the finished product was directly correlated to the forty-seven beers I had consumed before going full Dahmer on a jerry can, but that would be a lie; it was because of my ineptitude. And the beers. To spare other jerry cans from the same fate mine met, here are two simple ways to get running water on your rig.
Doing it yourself is often the cheapest way, but saving money isn’t the only benefit of this method. If you do it my way, you’ll end up with a sausage, a criminal record (maybe) and cheap, easy, pressurised, warm water!
Head to your local Bunnings and line up for a snag. After that, grab yourself some PVC pipe (I’ll let you decide what size you need), three end caps, a Y-bracket, a tap, hose and attachments, thread tape, black spray paint, PVC solvent cement that meets Australian Standard AS/NZS 4020, meaning it’s safe for potable water and some pipe saddles to hold it in place.
Grab one of the end caps and drill a hole that’ll fit the tap. Then, around 10CM above that, drill an 11MM hole. Put some thread tape on the tap and attach it. Then chuck the PVC cement on the end cap with the tap fitted, a blank end cap, and the two straight branches of the Y-bracket, remembering the third branch will be where you fill the pipe up with water. Then slap the pipe, Y-bracket and end caps together.
After you’ve done that, find the finest bed sheets in your house and lay them on the ground, so you don’t ruin your lawn. Then spray the pipe and saddles black. While the paint is drying, grab the hose and cut as much as you reckon you’ll need to do the dishes or wash yourself off after a recovery and fit the attachments.
Next, find the bike your kid hasn’t ridden since they discovered the internet. Remove a tyre valve from one of the wheels. If you don’t have a child, simply head down to the local skatepark and steal a valve from the wheel of the closest unattended acoustic motorcycle. While you’re there, you can sell the leftover hose and spray paint to the teenager with the most pocket money.
Head back home and pop the newly-liberated tyre valve into the 11MM hole you drilled above the tap. Then attach it to your roof rack or wherever else you’ve decided to put it. Fill that bad boy up with water and pump some air in to pressurise the system.
It’s a one-beer job but buy a six-pack anyway.
1) Use a food-grade hose if you’re planning on drinking the water.
2) Grab some PVC pipe mounts off eBay, or from a roof-rack company for an extra-sleek install.
3) Don’t sniff the PVC solvent.
Around $100
If you don’t consider yourself a spanner swinger and still want to be able to hose the sand from your feet. Or the salt off your board. Have a shower in the Outback. And if you’re feeling particularly domestic, maybe even wash the dishes after dinner. And you don’t want to spend thousands of dollars just to have the means to do it, then this is the product for you.
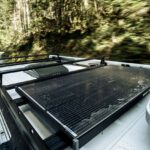
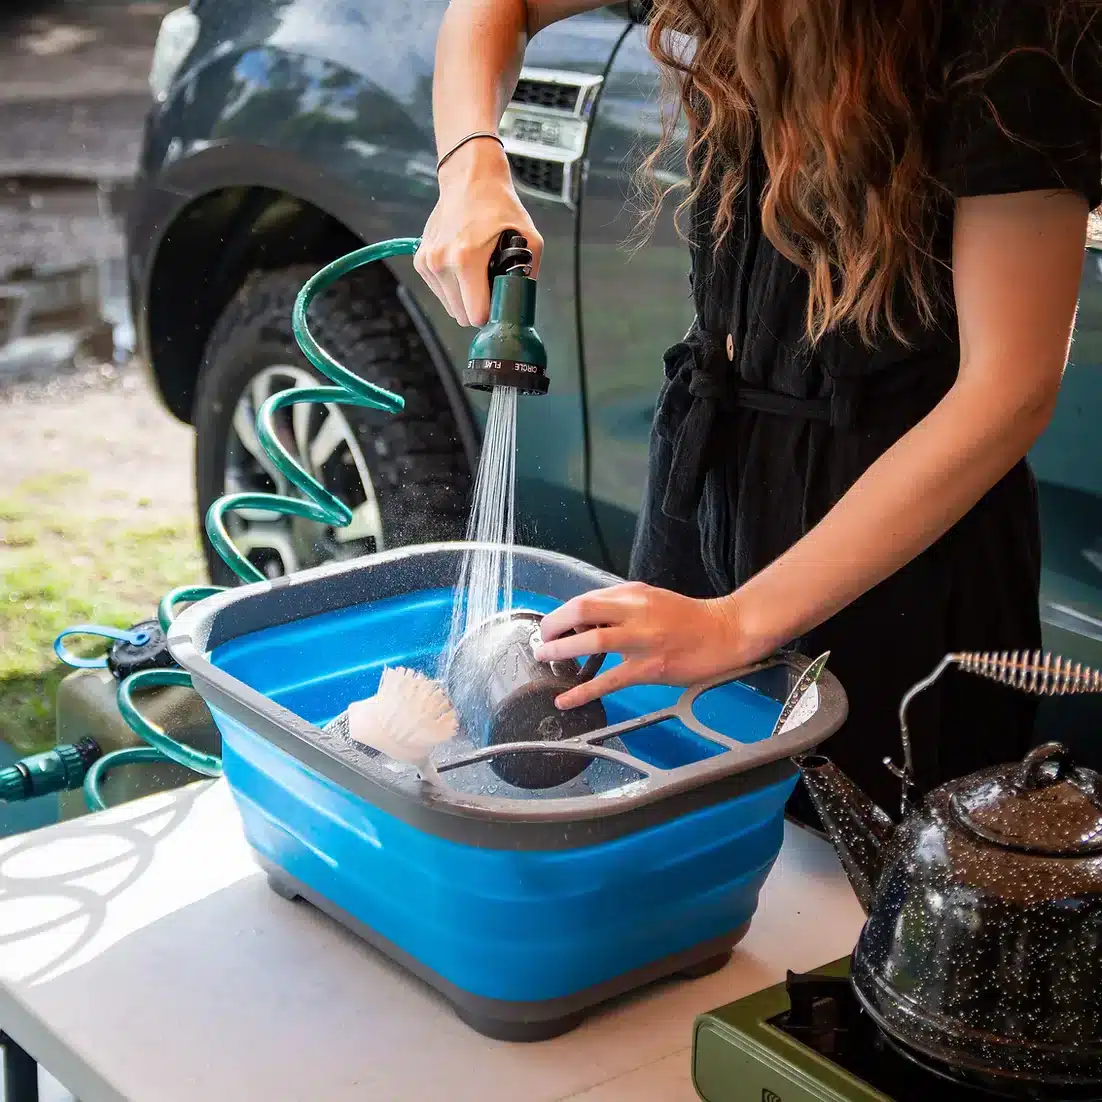
Introducing ‘The Original’ by Ontap Products. It comes with everything you need to get you started as soon as you lift it out of the box. The quality of the product is immediately noticeable. A coiled hose and adjustable nozzle come as standard; and provides as much length as you need without compromising on space. Which is perfect for those running rear drawer setups who like to keep things tidy. The adjustable nozzle means you can switch from a shower-style stream to a higher pressure wash-down function depending on what your application is.
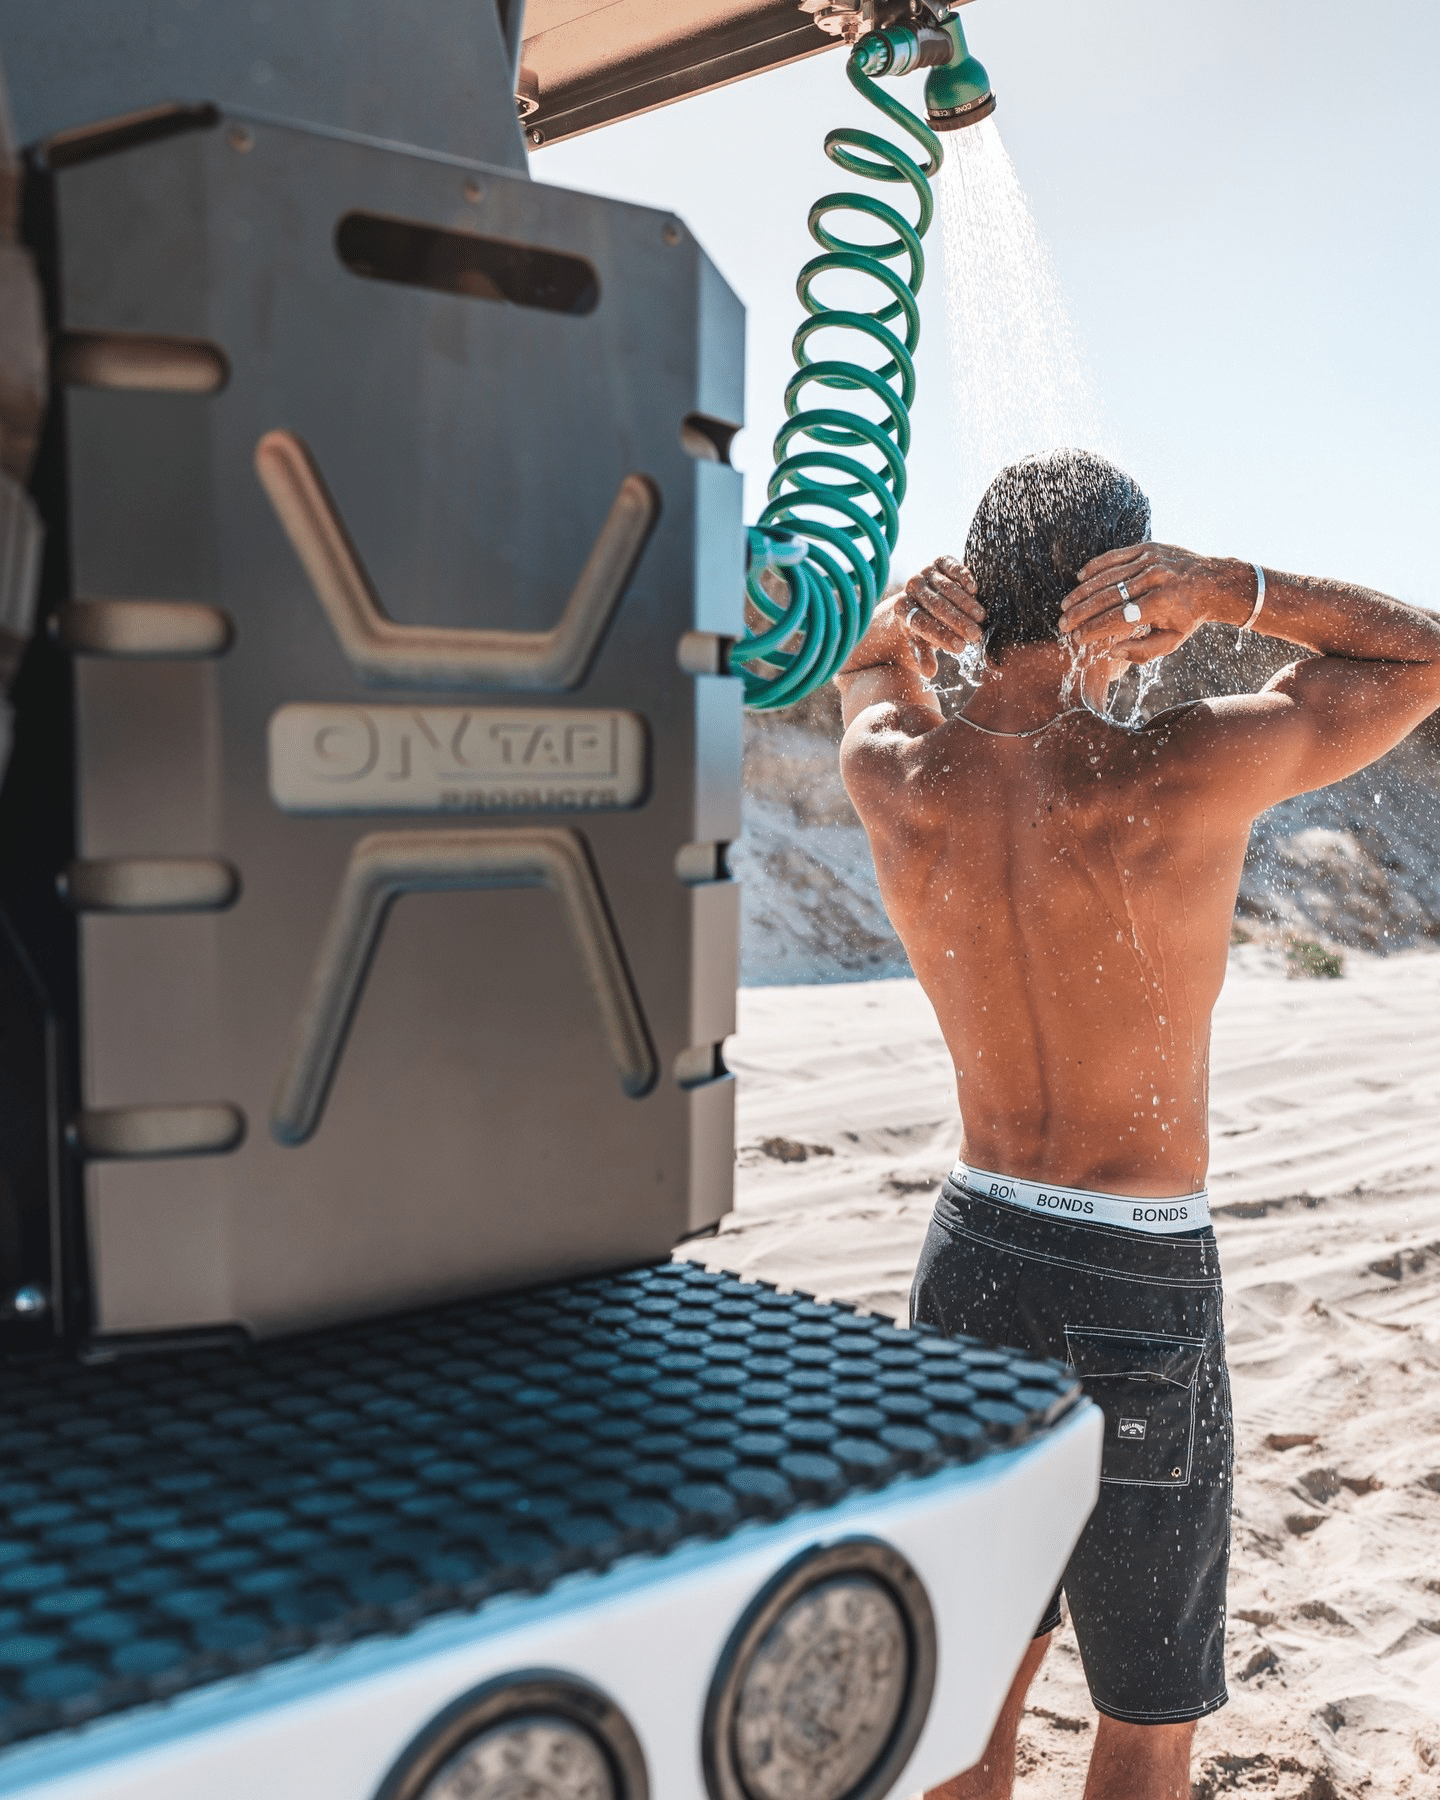
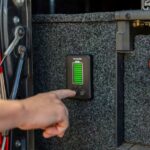
The 20-litre jerry-can is fitted with a 4-litre per minute 12V pump. This provides excellent economy both power and water consumption wise. When I tested The Original, we washed a couple of surfboards down about ten times between us, hosed a spilt drink off the rear of the Ranger, had a quick outdoor shower, filled water bowls for our furry friends, and did the obligatory spray your mate in the pants so it looks like he wet himself trick. And we still had over 9 litres of water left when we got home.
The Original by Ontap does exactly what it says on the box, and it does it well. The plug-and-play cigarette socket makes things extremely easy, and it has enough cable length for almost every setup. While the pump provides low current draw and uses minimal water, it still offers significant pressure and easily gets the job done. This is an effective and low-cost option that won’t weigh down your rig or take up huge amounts of space. I loved the Original so much that after testing, it never left my ute. It’s been all over Australia with me and hasn’t skipped a beat.
Only two things would make the offering from OnTap any better. A suck/syphon function to draw from freshwater sources and a 30L option, that’s it! As far as cracking, simple mods go, this is top-tier.
Check out my adventures on Instagram
View this post on Instagram