Step-by-step guide to installing under-bonnet lights
Ever been stuck by the side of the road at night and the battery in your torch is flat? Here's how to install under-bonnet lights for those untimely repairs.
Ever been stuck by the side of the road at night and the battery in your torch is flat? Here’s how to install under-bonnet lights for those untimely repairs.
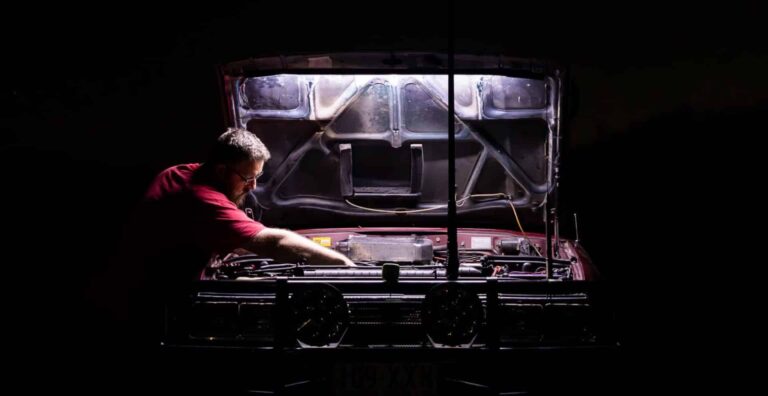
Invariably the laws of the universe will dictate that if you’re going to have something go wrong under the bonnet, it will be dark, your head-torch will be flat, and no matter where you stick your phone or torch, it’s either in the way, or not putting light where it needs to go.
In our ongoing struggle of trying to beat the universe at its own game, we’ve put together this quick piece on how to install strip lighting under the bonnet of your four-wheel drive. And now we wait, to see what the universe wants to throw at us next. In all fairness, the universe has a lot more experience creating problems than I do in finding solutions…
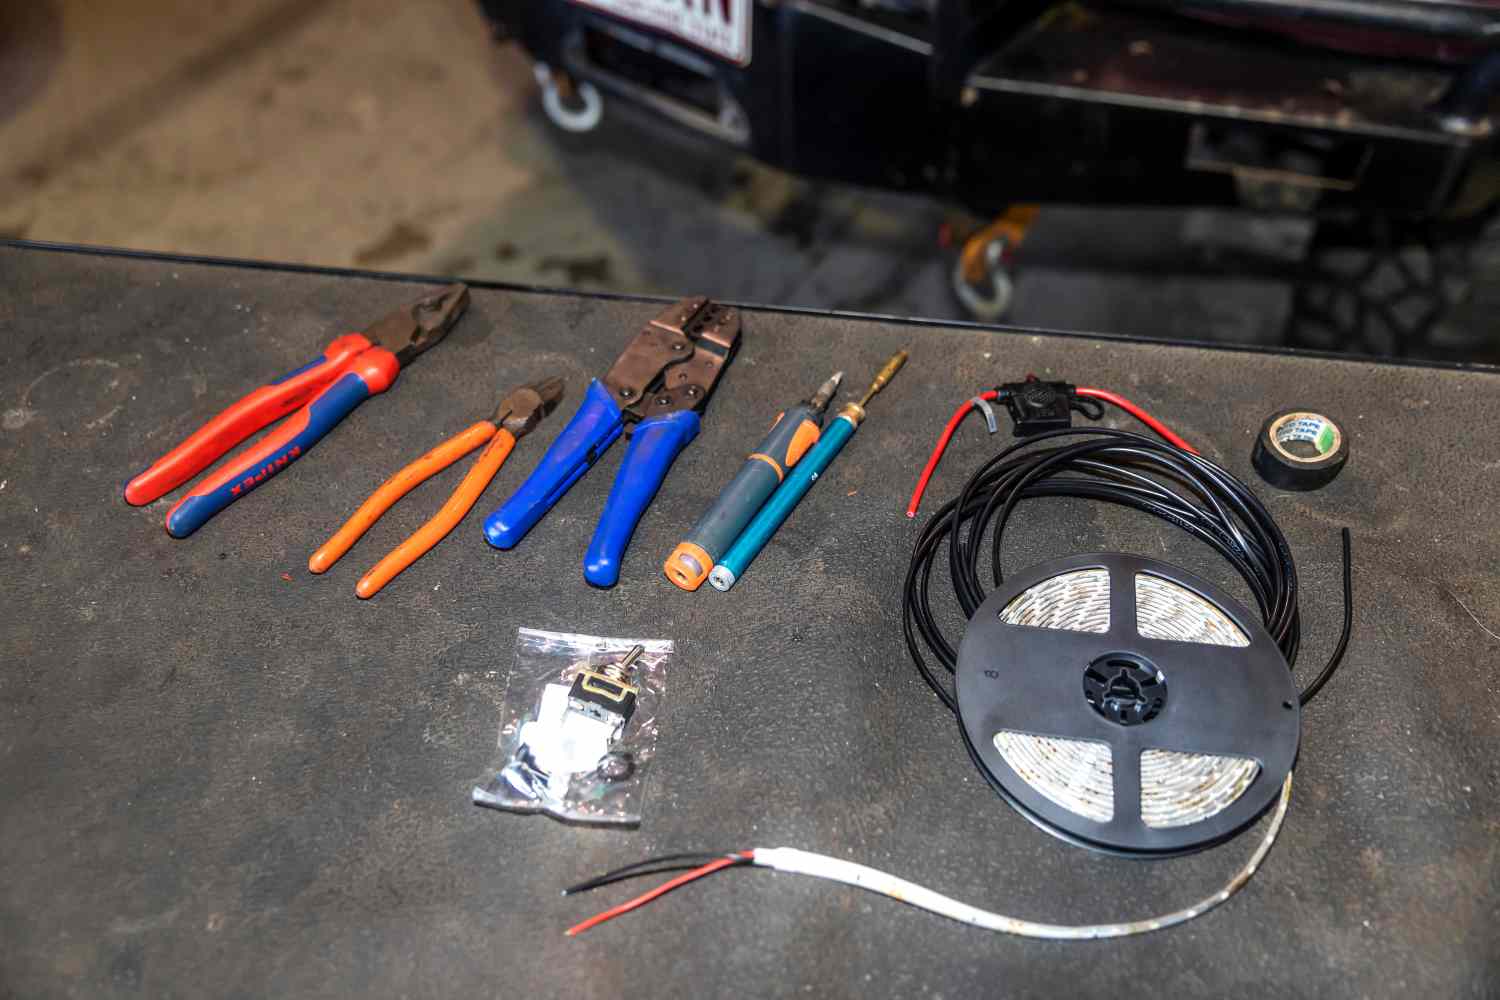
What you’ll need for the job
Crimpers and terminals – you’ll need a pair of female blade terminals and a pair of ring terminals.
Soldering iron and solder – cause just twisting wires is bad, m’kay?
Electrical tape or heat-shrink – one is better than the other; if we need to tell you which, maybe 12V auto-electrics are not for you?
In-line fuse holder and twin-core wire – I’ve used 5A wire, and a 3A fuse.
A roll of LED strip lights.
An on/off toggle switch with a rubber ‘waterproof’ cover.
Side-cutters and pliers.
Brake cleaner (or wax and grease remover) and a clean rag.
The installation explained
The installation is rather straightforward, so long as you use the right gear and parts, and you’ve got a very fundamental understanding of 12V systems (red is positive, black is negative – there, you’re done). Aside from the tools, I got all the parts I needed from Jaycar – simply because they had everything I needed without having to go further afield.
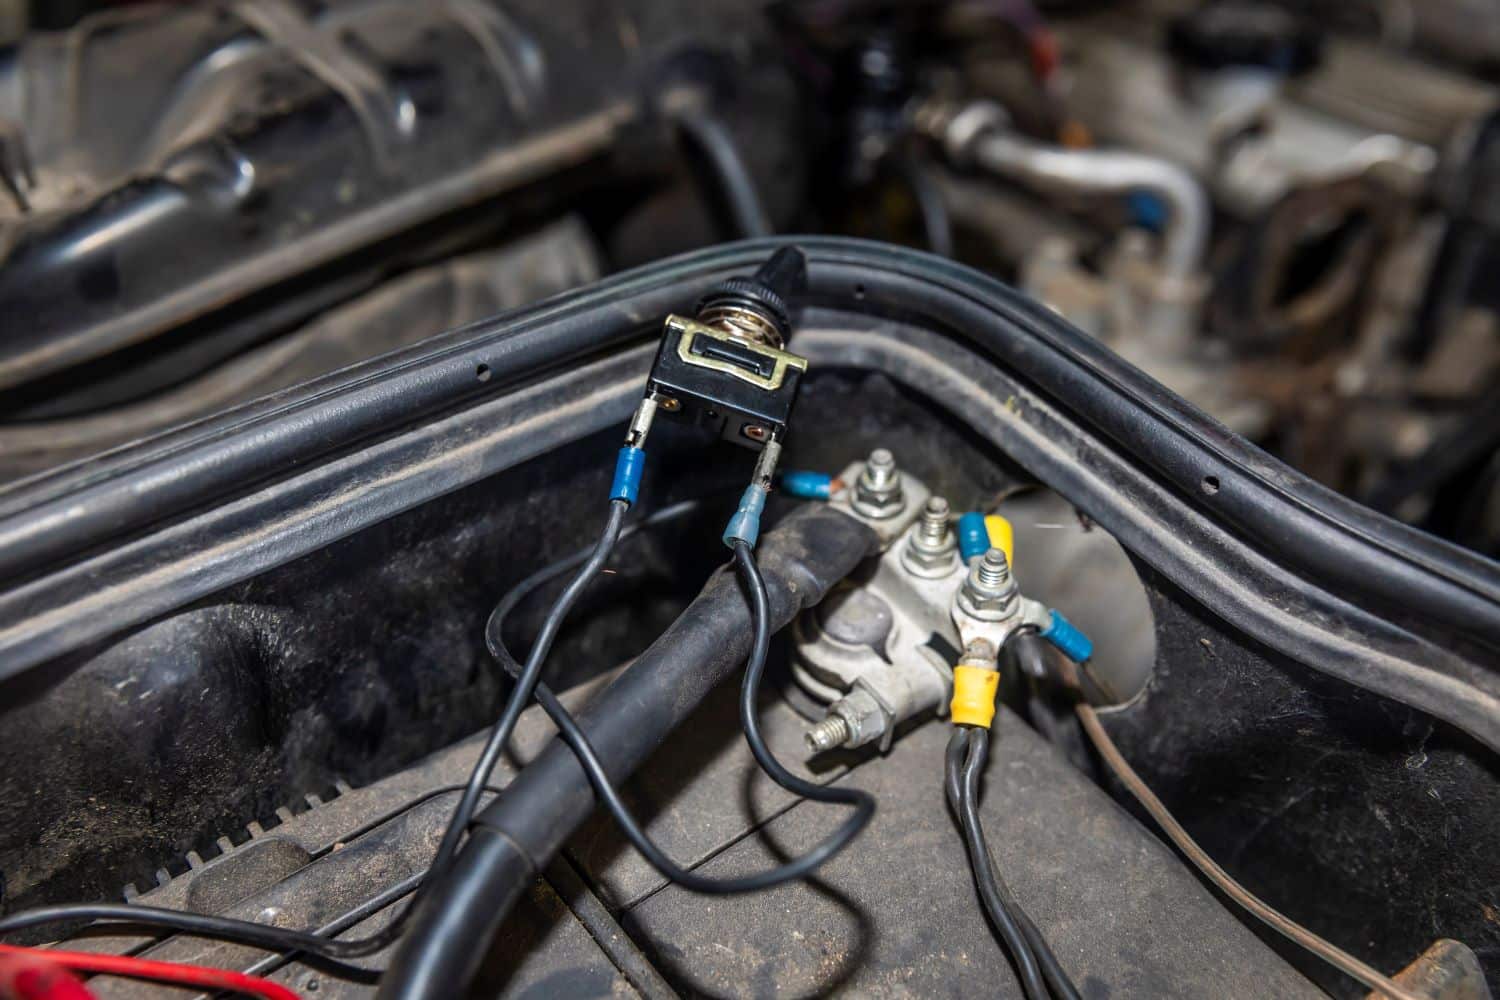
How to wire the switch
We start with just a very standard 20A (sure, it’s miles overkill) toggle switch. Added to this was a waterproof hood that stops any water or dirt/mud from getting down into the switch.
You’ll want to put a female spade terminal on the negative side of your twin-core wiring, connecting it to one side of the switch. On the other side, a shorter bit of wire, with your other spade terminal connected up to the switch, and the other end of that piece of wire, a ring terminal. I personally connect this one up to the negative, as should the terminal come off the switch and it ends up floating around your engine bay, it’s not positively charged, so it’s not going to short out by touching your body or engine.
You can get boxes and switch panels for under the bonnet, however it is the only switch I’ll need in there, so I’m happy for the switch to be tucked in behind the battery; easy to get to should a night-time disaster strike, yet not anywhere I’m going to bump by accident.
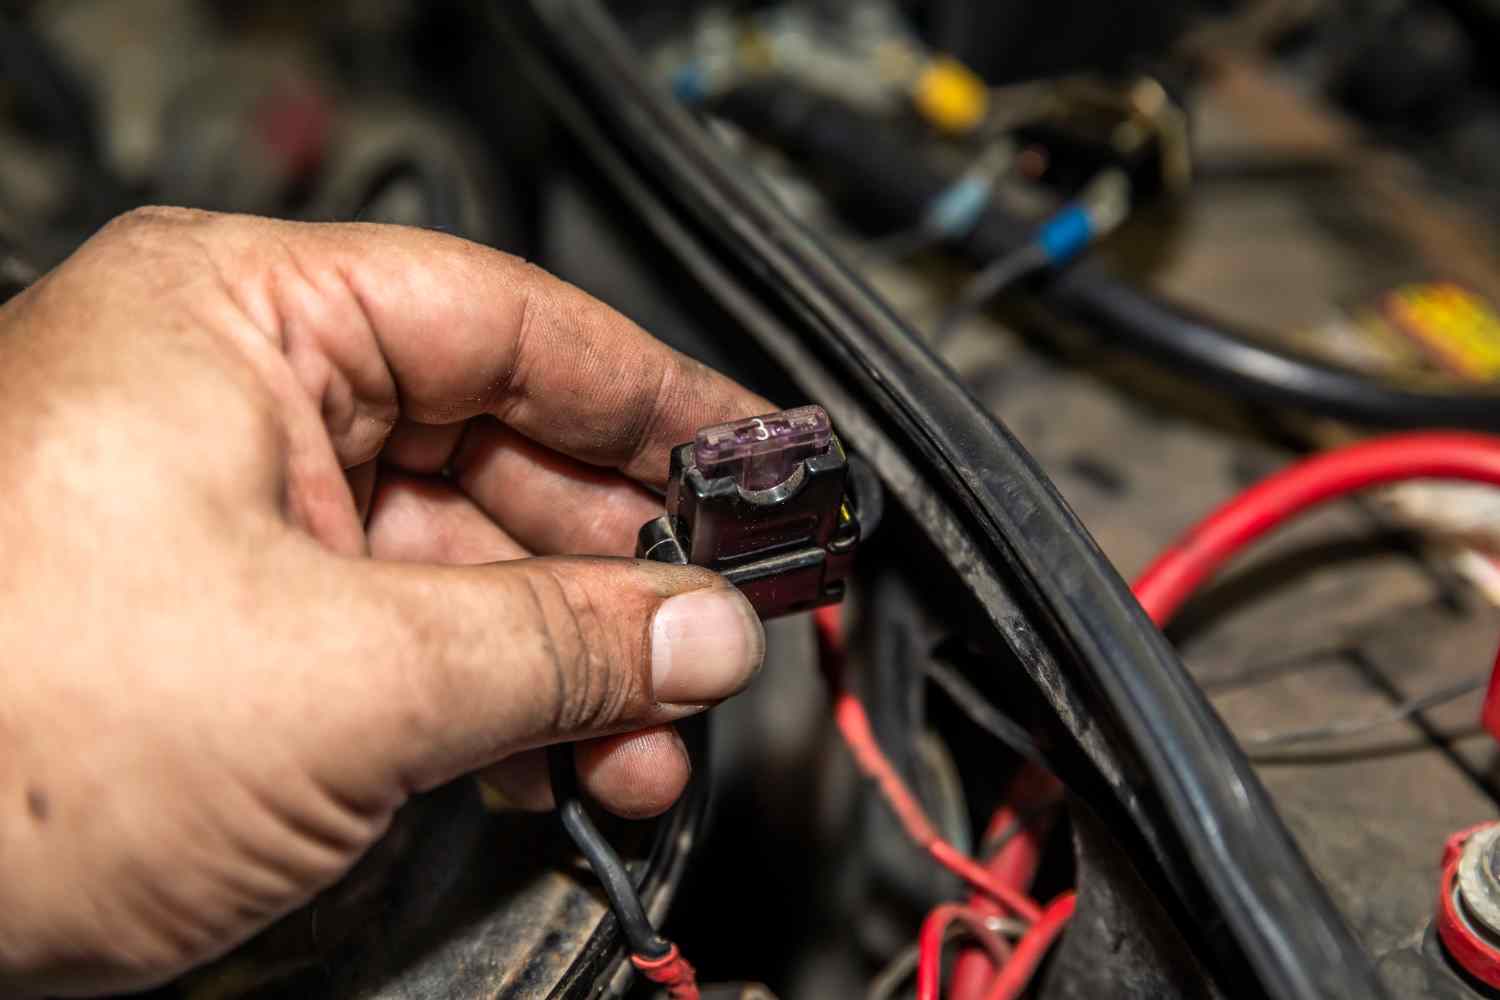
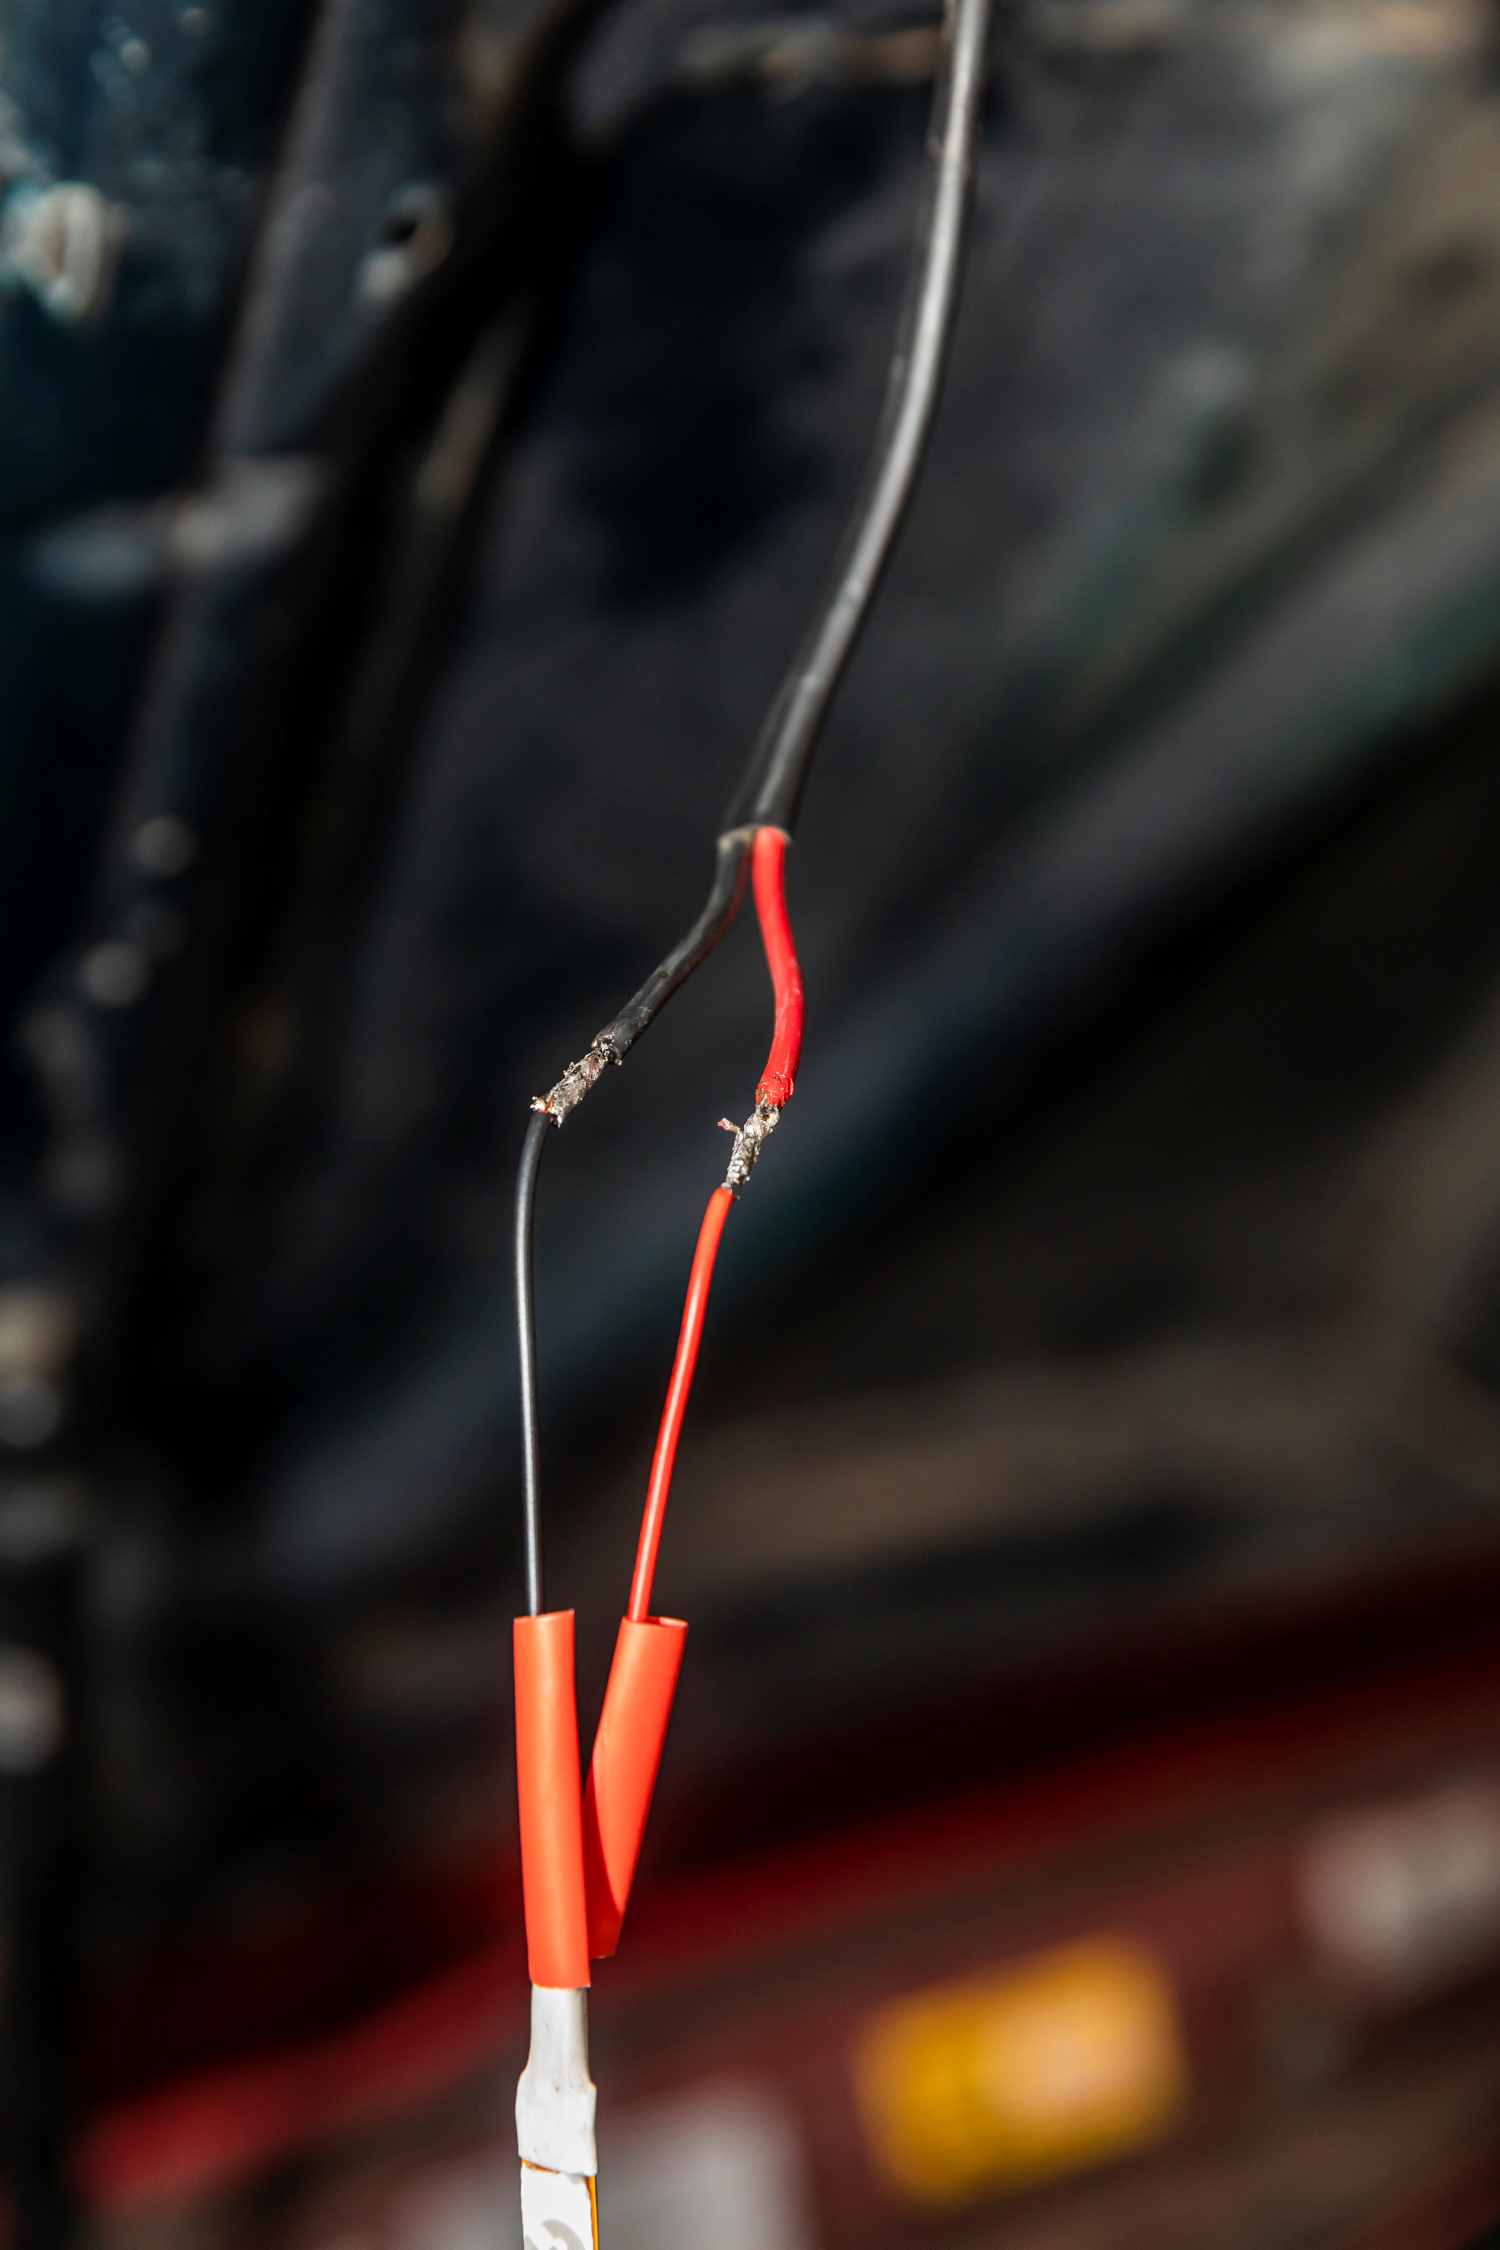
How to fuse the ‘positive’
Now that you’ve got the switch wired up to the negative side, you’ll want to solder the fuse to the positive, and then add the ring terminal. I’ve gone with a 3A fuse as it’s less than the wire rating, and more than is needed to run the LEDs. The full five-metre strip of LEDs will only draw 4A, and I’m using just one metre of the strip lights, so I should draw less than 1A.
One thing to remember, no matter what you’re doing 12V wise on your rig, make sure you always fuse the positive with a fuse that is rated less than your wiring, and as close to the battery as possible. Should the wire short, the fuse will blow before the wire catches on fire, so make sure the fuse is as close to the battery as you can get it.
How to run the wires
From here you want to run your wire along your inner guard, to the corner of your engine bay, and then up to the bonnet, along the inside of the bonnet if you can get it in there, and to where you’ll be mounting the LED strip light. How you do this will depend on your 4X4. It was nice and simple on the 80, and I have a rather old bonnet where I can wedge the wire nice and tightly under the bonnet braces, so it won’t move or rub.
Some automotive insulation tubing is a great addition here, because it keeps things nice and neat, and adds another lot of insulation to your wiring. If you’re going through holes in steel, get some rubber grommets so your wire isn’t rubbing there either. A touch of silicone sealant will help hold your wire along the bottom of the bonnet if you find it hanging down at all.
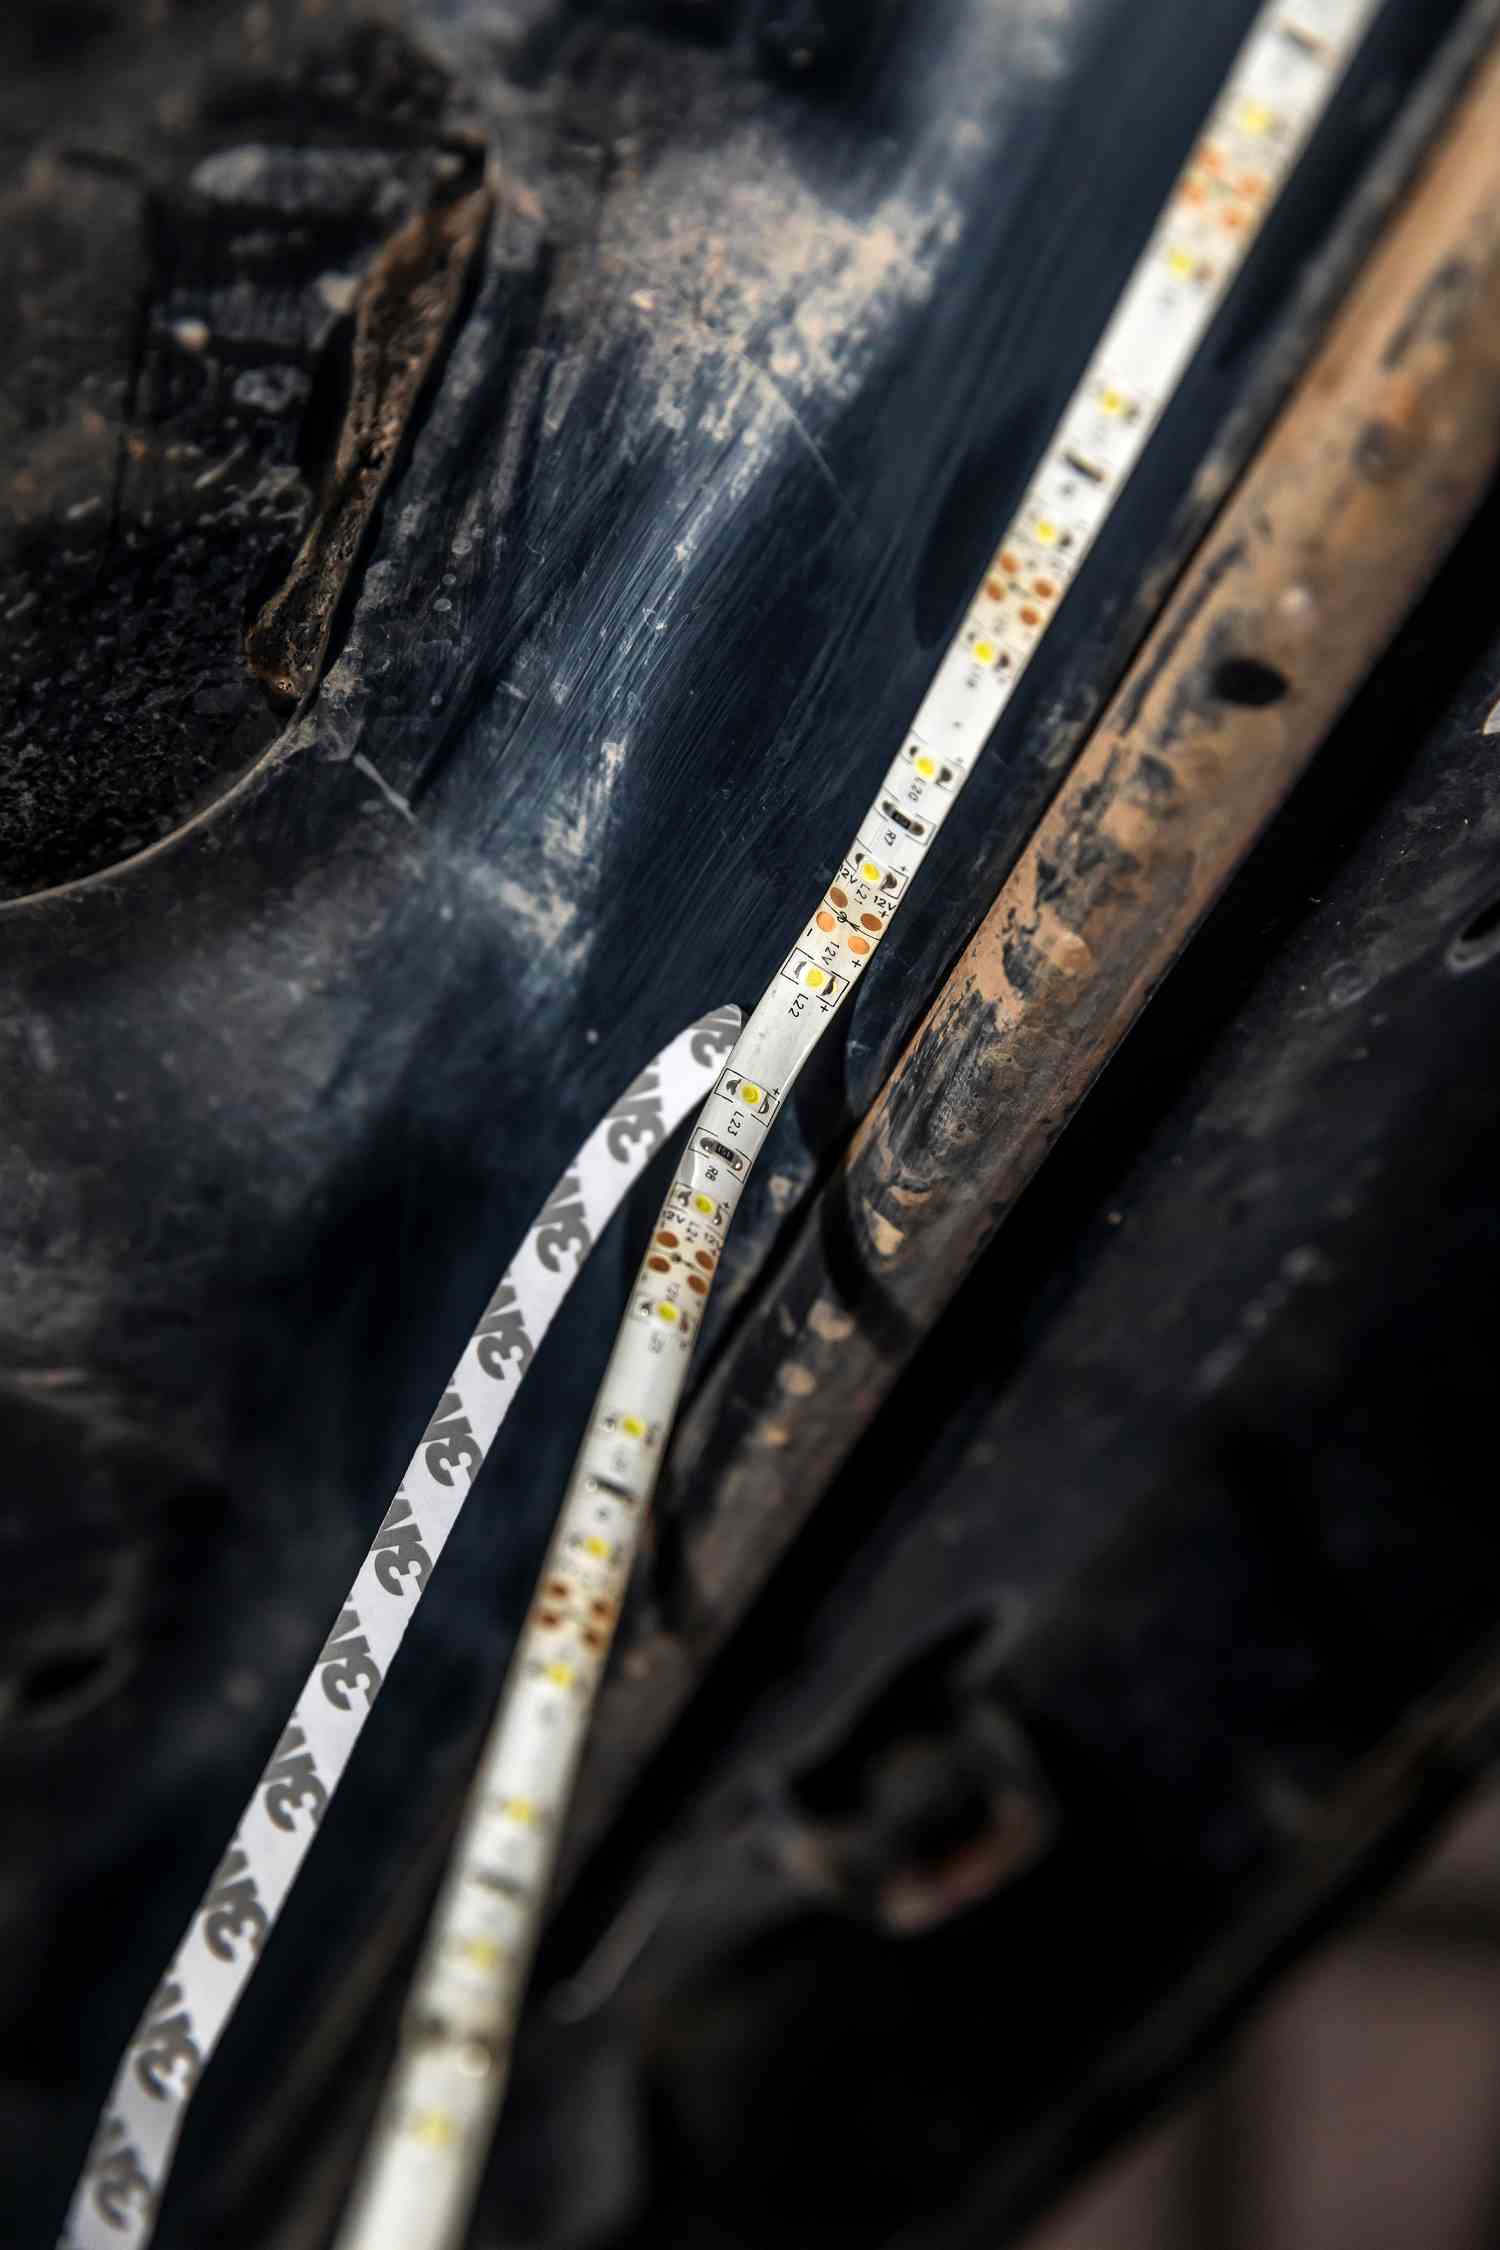
How to mount and connect the strip lights
All that should be left to do now, is mount the LED strip light and solder the wiring up. A bit of wax and grease remover goes a long way here to clean off the edge of the bonnet. The strip lighting I had came with decent 3M double-sided tape; however, the mating surface needs to be clean.
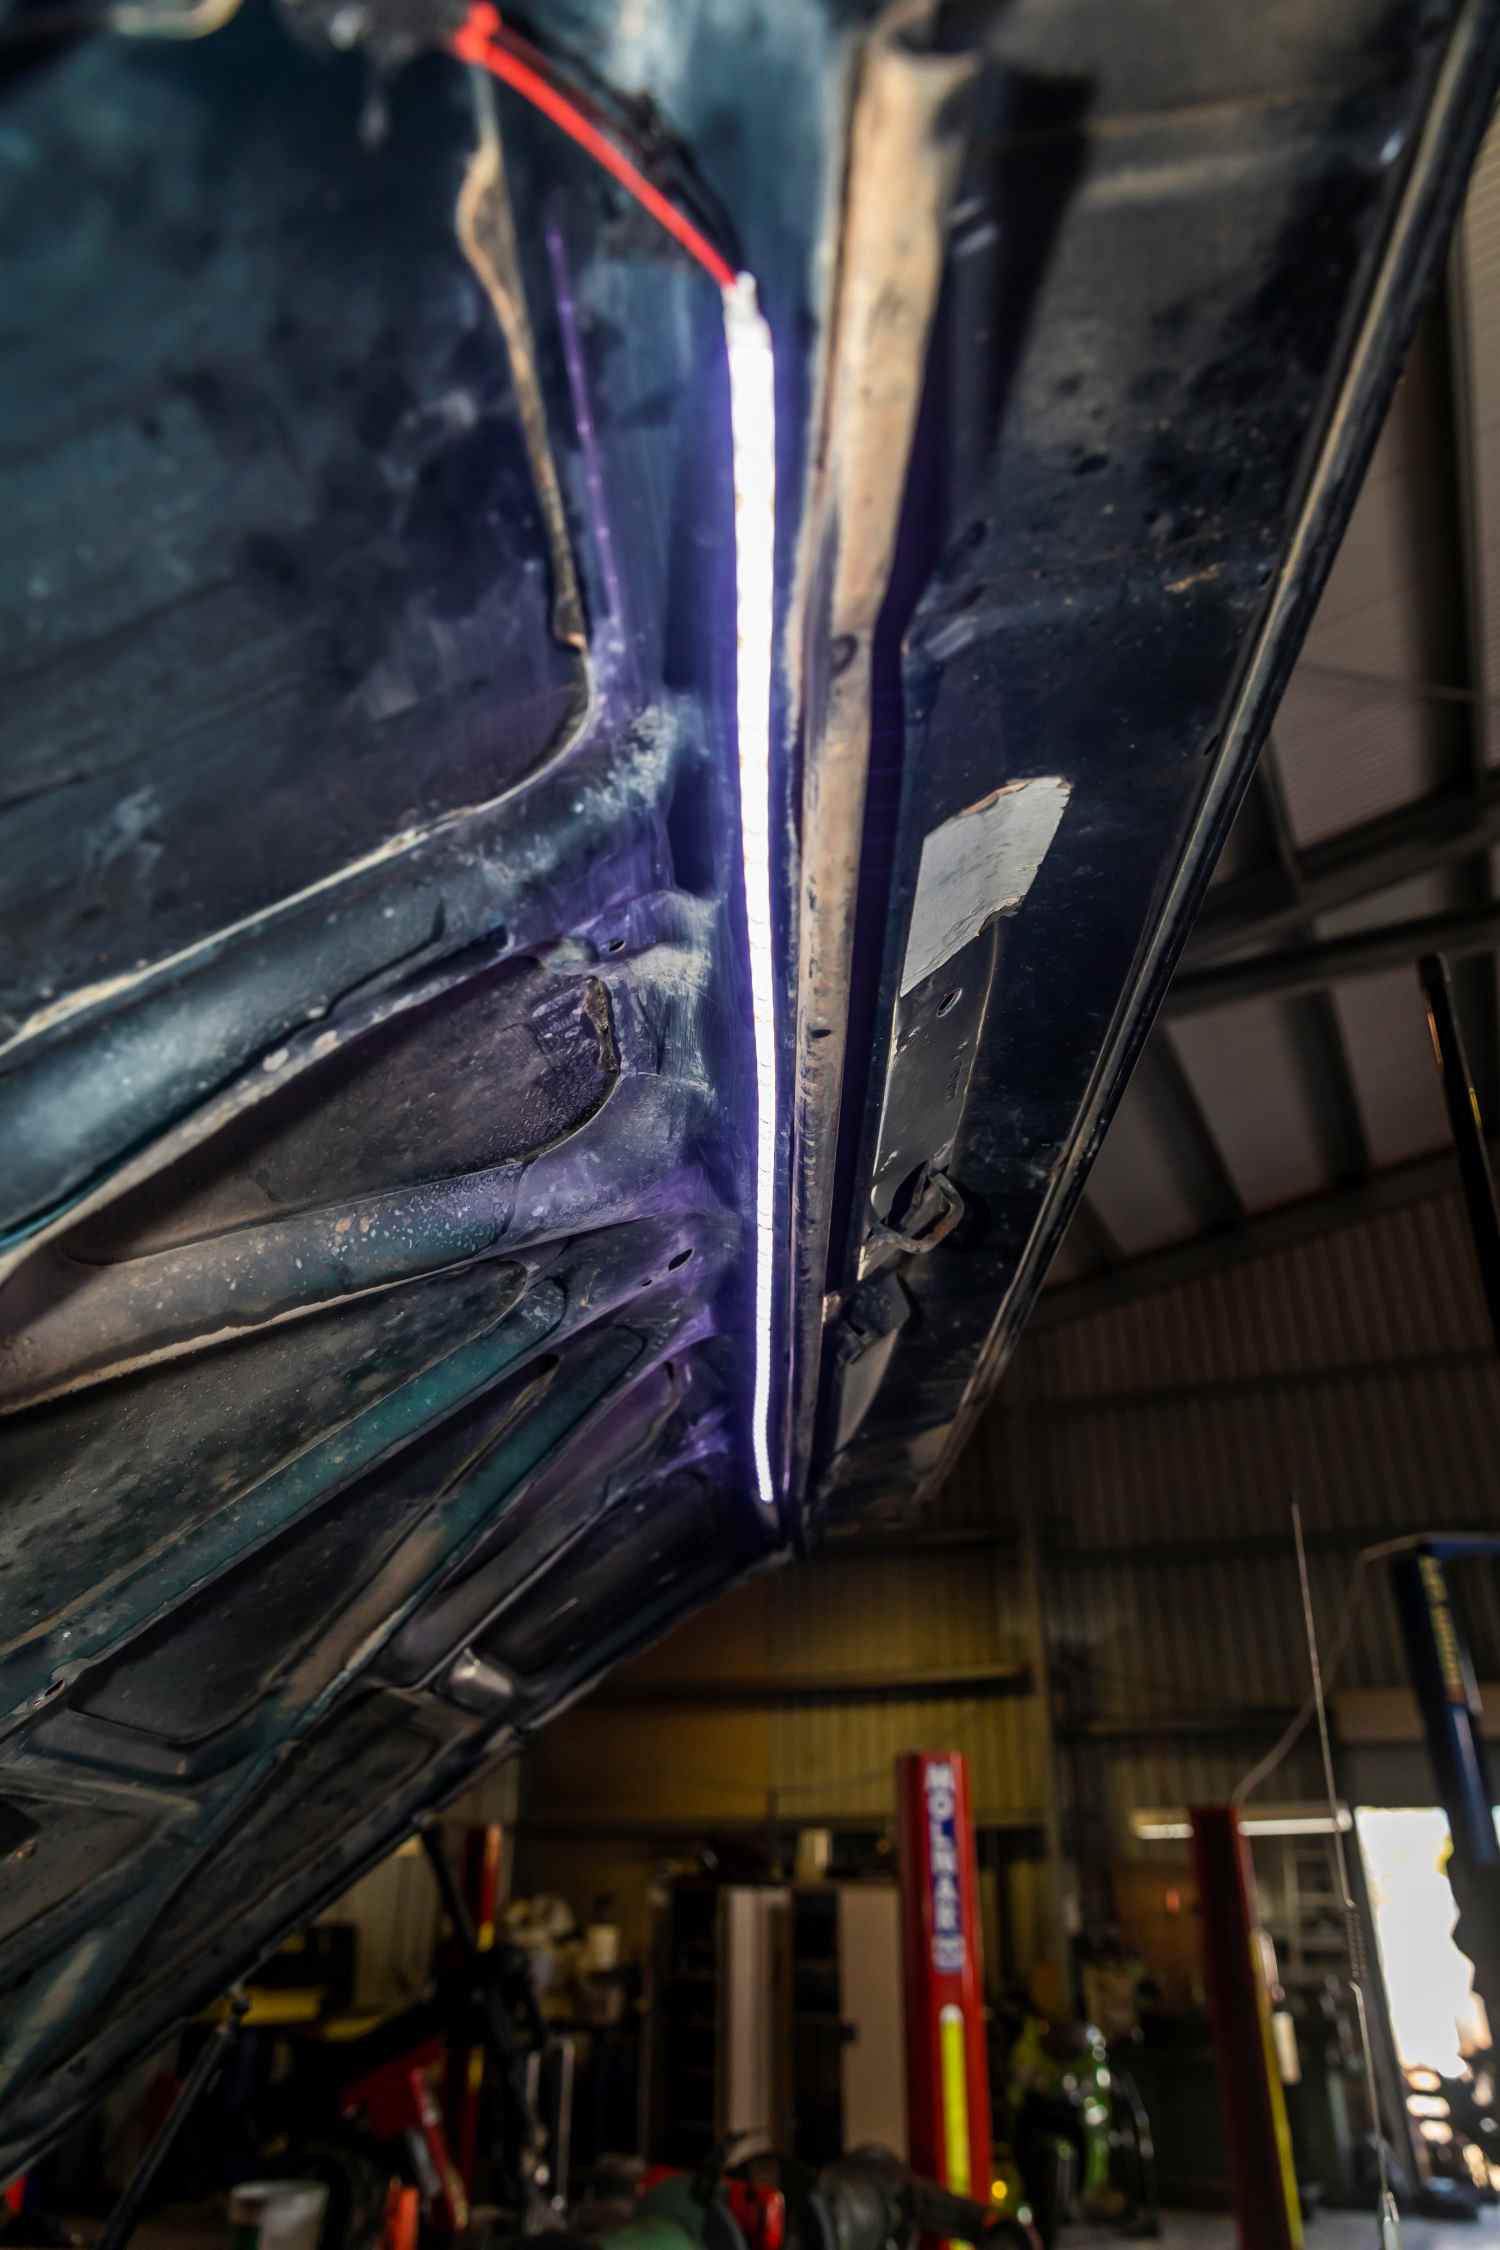
I connected up the wiring to the strip light (remembering to put heat-shrink over the wires before soldering them for a change), then mounted the strip lighting under the bonnet. The 80 Series bonnets are magic for this mod, in that with the bonnet all the way up, you’ve got a rubber seal it sits behind, and a nice 45° angle so the light shines straight down and doesn’t blind you.
Cleaning up
When you’ve got everything mounted and all the heat-shrink is tidied up, you’re ready to connect it up to the positive power terminal and re-insert your fuse into the fuse holder. Again, making doubly sure your fuse is rated to less than your wiring – so it blows first if anything decides to short out. Once this is done, you should have lights under your bonnet with the flick of a switch.
Top tips and troubleshooting
If your fuse blows with the switch still in the ‘off’ position, you’ve got a short somewhere on your positive wire. Don’t just put a bigger fuse in. Find it and fix it. If your fuse blows when you turn the switch on, you’re drawing more current than your fuse, and possibly your wire, can handle. Either upgrade your wiring and fuse to suit or downgrade the power of your LEDs. Always run a fuse.
Even despite having insurance, if you do something dodgy like not running a fuse, and your fourby burns to the ground, they’ll write you off. Safety first, folks. Always make sure your fuse is rated less than your wiring. If you’re going to get a short, you really want the fuse to blow, before the wiring starts melting and catches on fire. If you’ve got dual batteries, wire this up to your auxiliary battery. If you leave it on by accident, it’s not going to flatten your starting battery.