If you are looking for a simple DIY task that anyone with thumbs and a basic toolset can handle, servicing your catch can is as easy as it gets. It’s important, too. We’ve covered what catch cans are and how…
If you are looking for a simple DIY task that anyone with thumbs and a basic toolset can handle, servicing your catch can is as easy as it gets. It’s important, too. We’ve covered what catch cans are and how they work previously. So for this quick DIY article, we thought it was time to show you how to service a catch can yourself. First tip, grab some rags… this could get a little messy.
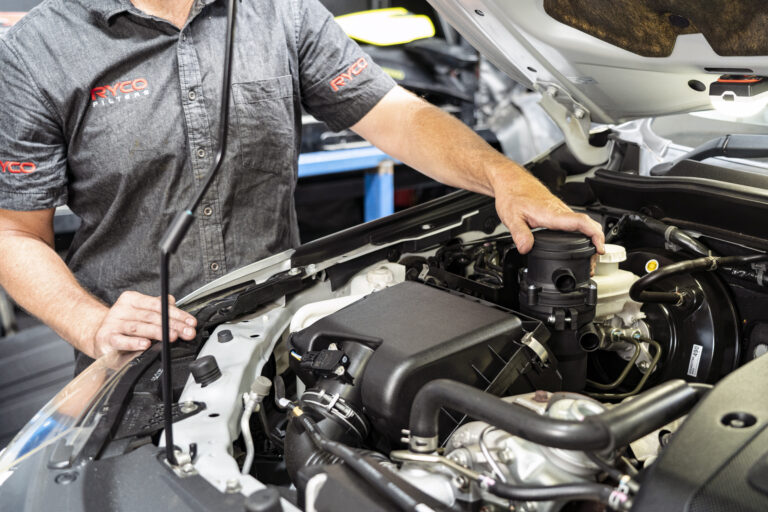
The first step
Now, a good quality catch can setup will have a drain. Usually, there is a piece of hose coming out of the catch can, which gives easy access for draining oil out of the catch can. Draining the oil out is as simple as opening the one-way valve, and collecting what comes out in a bottle.
As a general rule of thumb, drain oil from your vehicle’s catch can every 5000km. In my case, I handle this every time I change the oil in my old diesel HiLux. I like to do it when the vehicle is warm too, so the oil flows out freely. Take care here, as the oil will be warm – some protective gloves and common sense go a long way here. Please don’t burn yourself. We want to have a DIY win, not a trip to the hospital.
With your bottle now containing oil, and your catch can emptied, please dispose of the oil ethically. Some people pour it straight back into the engine. I probably wouldn’t do that. I take it to my mechanic, or local tip, where this oil can be recycled free of charge.
As a side note, some people even keep this oil bottle. You can make a mark to see how much oil is being collected each time. This will give an indication into how effectively your catch can is working, as well as keep an eye on the health of your engine.
Worn engines will produce more crankcase blowby. I also notice more oil sludge comes out in winter months, as the oil is mixed with condensation.
Clean it out
As well as draining my catch can, I like to give the inside wipe down each service as well. I don’t personally spray the filter element down with chemicals to deep clean it. If the filter is clogged, just put it in the bin.
Once the filter is removed, take a rag and give the catch can a wipe-down to try and get as much oil out as possible. There shouldn’t be much if you drained it, but it all adds up.
Replace the filter
In theory, you should replace the filter in your catch can every 30,000 – 40,000km. Sooner if you’ve been doing more stop-start driving.
Replacing the filter in a catch can is simple. You’ll need to open the can up. This will require an Allen key, Torx bit or screwdriver usually, some have lids that unscrew also.
With the unit opened up, pop the filter out. It should be a snug fit, so it could need a little bit of persuasion to come out. Make sure you take any O-rings out with you, as new ones should be supplied with the new filter kit.
Put it back together
With the sump of the catch can drained, wiped out with a rag and a new filter put back in, you’re good to go. The biggest tip here is to ensure you have the old O-rings removed and new ones installed if you changed the filter.
Put the lid back in place, and secure the hardware. Give everything a wipe down, and make a note of when the catch can was serviced so you know when it needs to be done next.
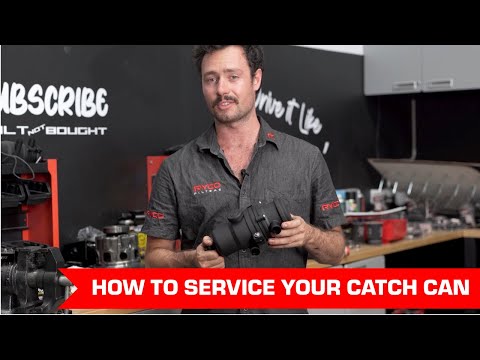
Movie time
If you’d prefer to see how to service a catch can check out this video made by Sam Eyles from Built Not Bought, as he shows the process of servicing a Ryco Catch Can.