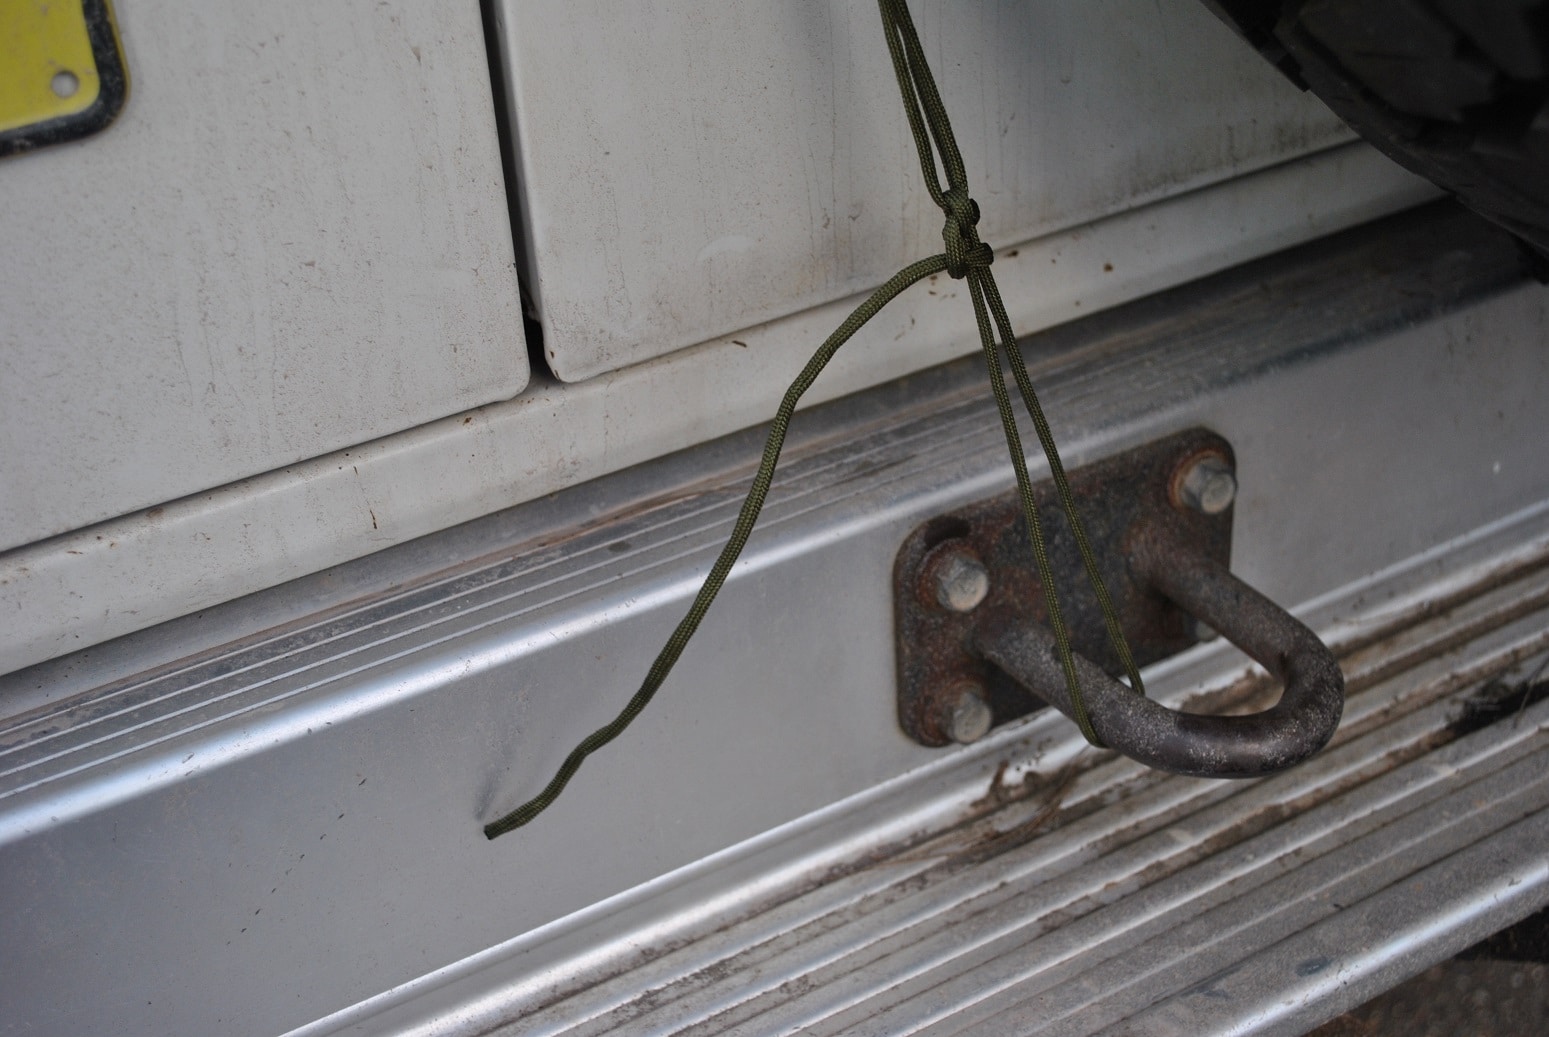
Here are three knots you need to know because, well, ratchet straps are for hipsters! Considering we’re all most likely sitting around at home waiting for the ‘Rona to blow up all over again (sorry to our brothers and sisters…
Here are three knots you need to know because, well, ratchet straps are for hipsters!
Considering we’re all most likely sitting around at home waiting for the ‘Rona to blow up all over again (sorry to our brothers and sisters in Vic, where it has already happened!), we thought it was a good time to look at three knots you need to know, and how you can tie them. When you’re camping in remote locations, or even prefer to head away for an easy weekender, sooner or later you’re going to need to know how to tie a knot or three. Here are our top three that we’ve found incredibly useful in a few different situations over the years.
Bowline Hitch
The first of our three knots you need to know is the Bowline Hitch. This knot has a variety of uses and is invaluable for whenever you need to make a secure loop at the end of a rope. Found a decent log for firewood but left the chainsaw back at camp? Run one of these bad boys around it and drag it back behind your 4X4 (provided you’re not causing undue track damage, of course). Need to hang your camp light inside your tent and the cheap plastic hook just snapped? We got you covered.
STEP 1 – Make a loop in your line a little way back from the end (depending on how big you want to make your overall loop).
STEP 2 – Pass the tag end up through the loop and behind the line.
STEP 3 – Pass the tag end back in front of the line and back down through the loop.
STEP 4 – Pull tight and shamwow – one bowline hitch!
Taut-line Hitch
Next on our top three knots you need to know is the Taut-line Hitch. Most guy ropes these days come with those plastic tensioning toggles that work great. The only problem is some of them tend to go brittle with time and leave you with a guy rope that’s as rigid as a piece of cooked spaghetti. The taut-line hitch is excellent for fixing that problem right up. Or imagine you’ve just got your swag set up at your favourite beach camp and the dark clouds start rolling in. You can easily set up a nifty flysheet with a tarp, a rope running between two bull bars or a couple of trees, and a taut-line hitch.
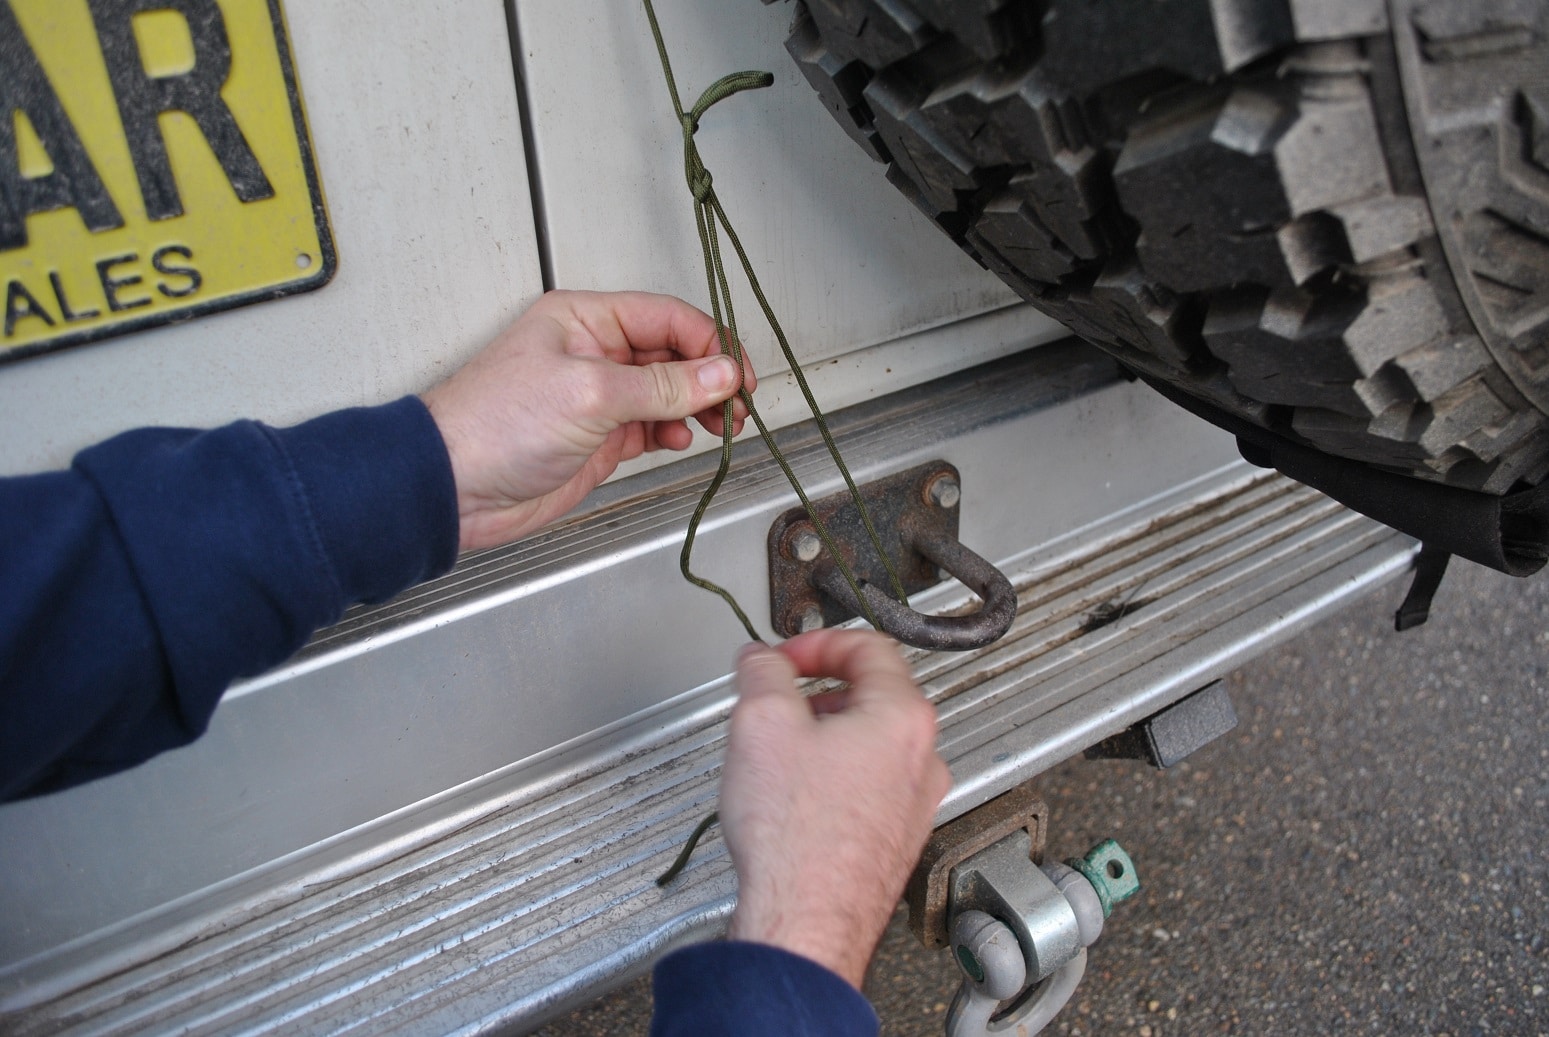
STEP 1 – Pass line through your anchor point and double it back forming a double line roughly 6-8in long
STEP 2 – Wrap tag end around line two or three times
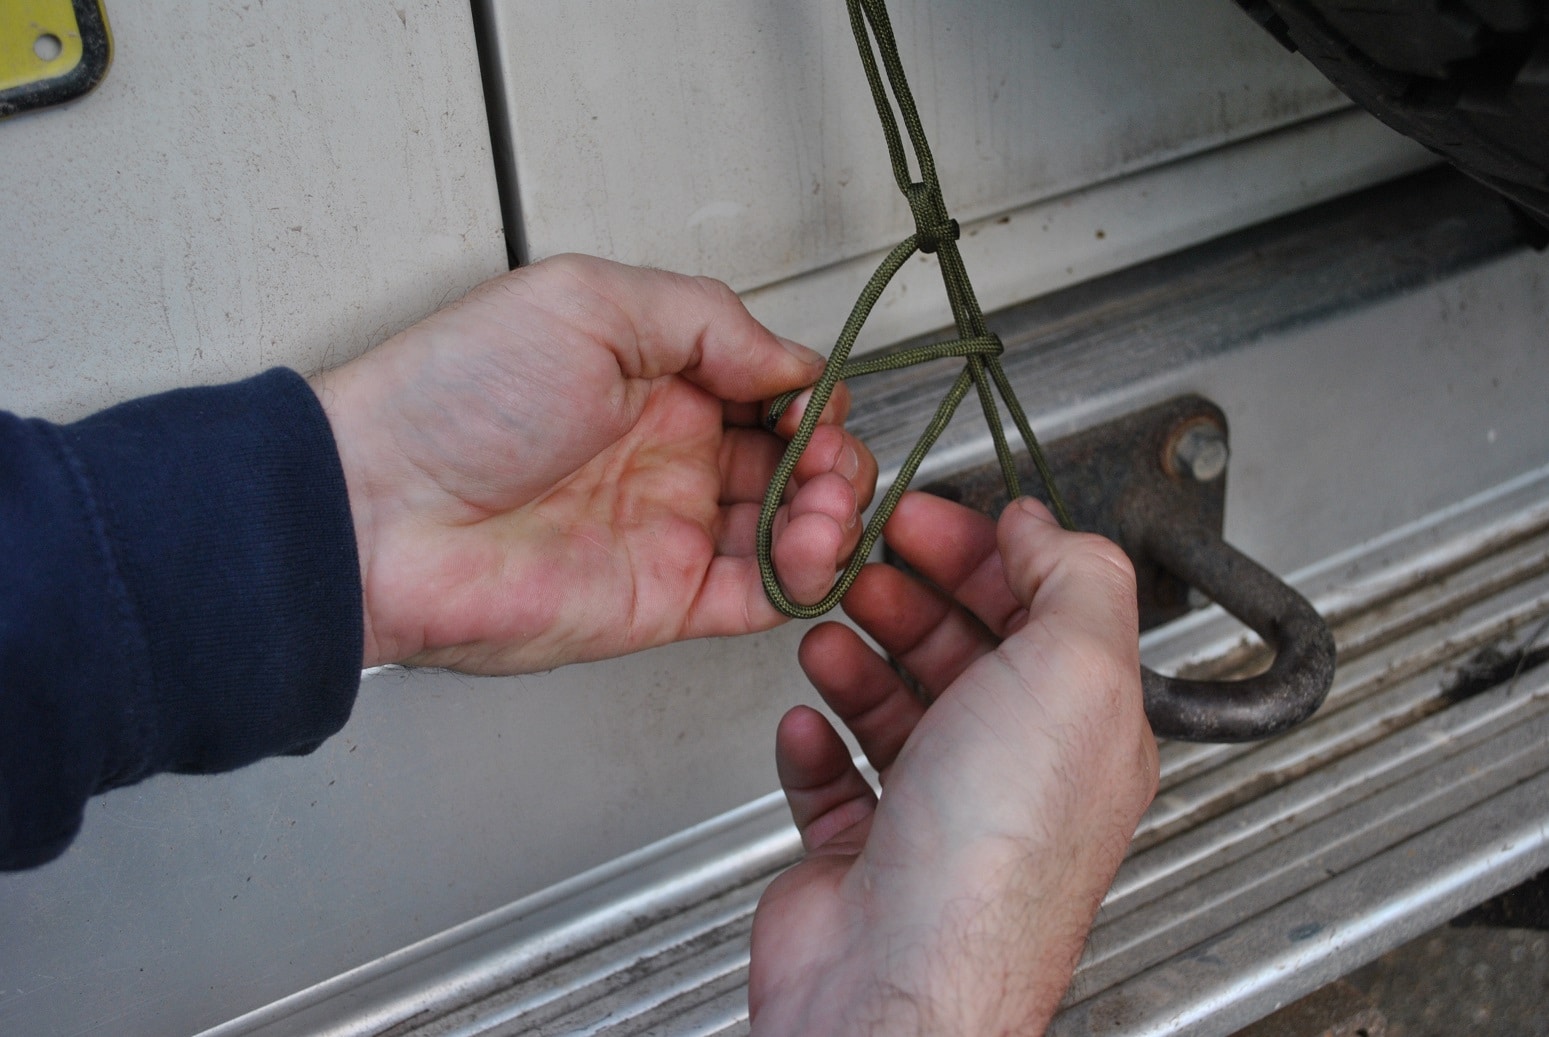
STEP 3 – Make a half hitch on line outside of loop and pull tight
STEP 4 – Slide knot up and down line as required. The knot should stay tight once it’s under tension
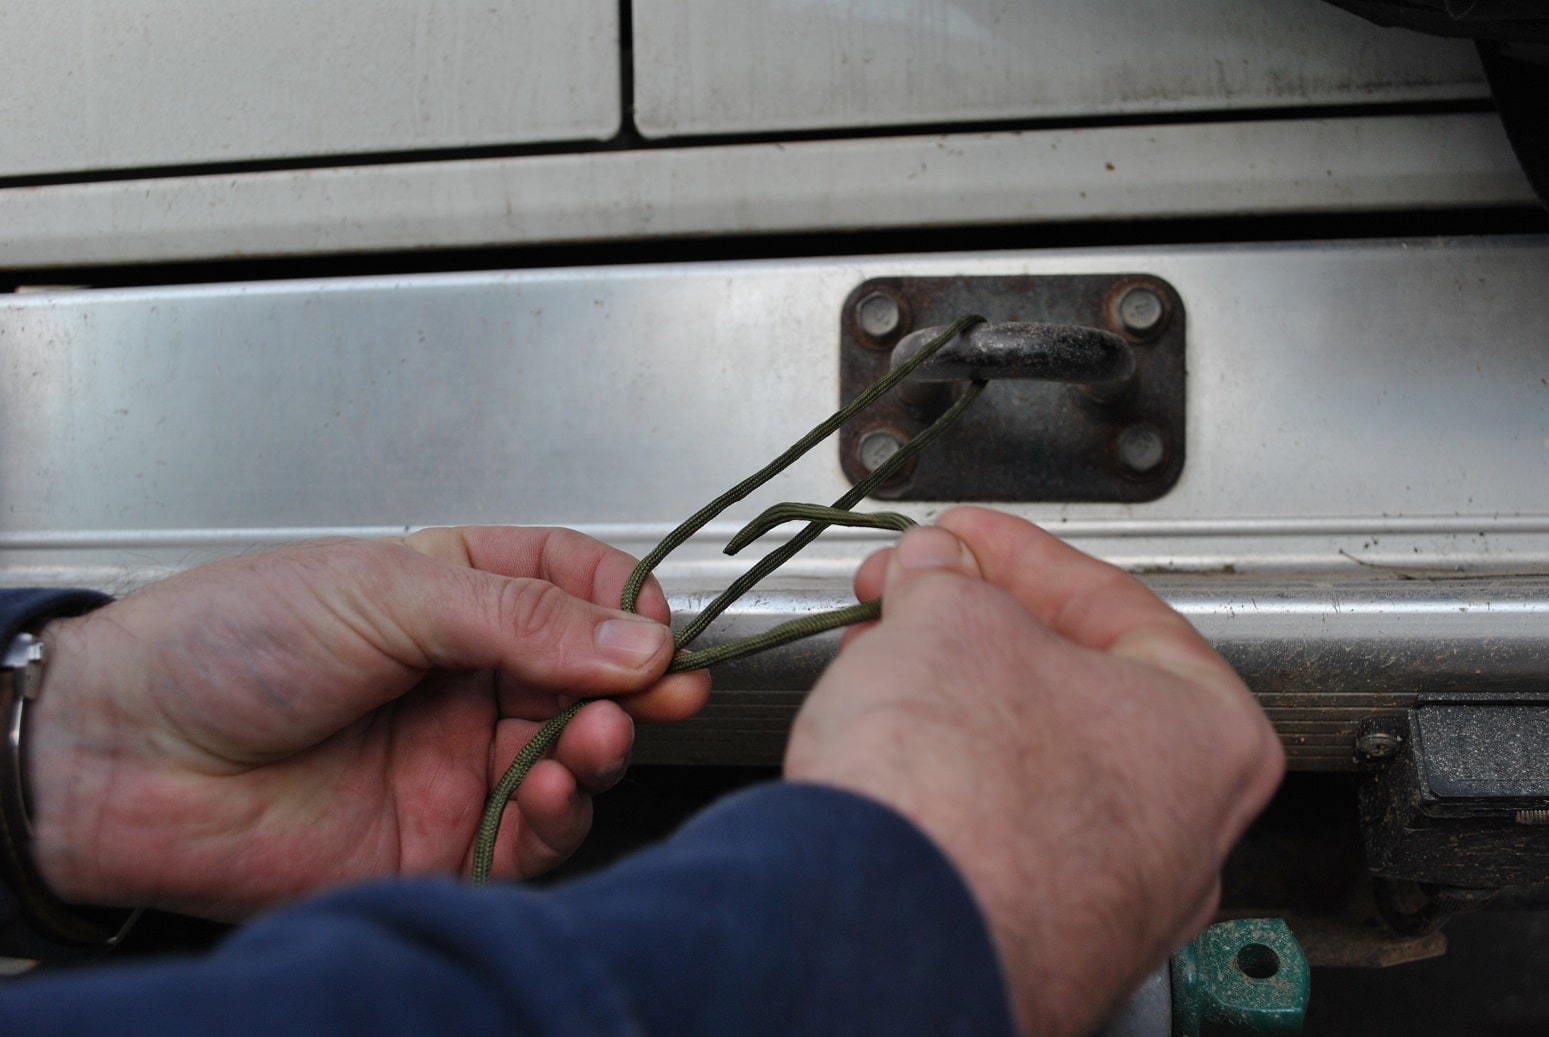
Truckie’s Hitch
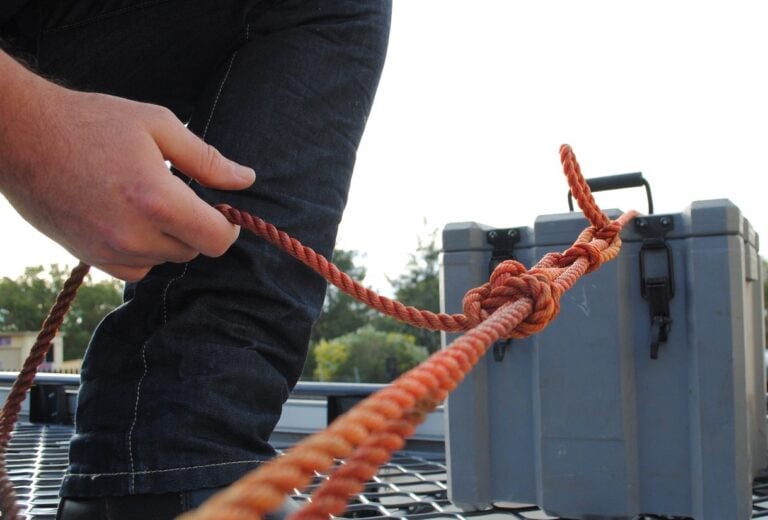
Finally on our top three knots you need to know is the Truckie’s Hitch. The most useful knot you’ll ever know. Hands down, no ifs, no buts, no maybes. The truckie’s hitch is an essential part of any camper’s skillset. It’s the go-to knot for securing a load, keeping tension on the rope no matter what, and it can even work as a makeshift pulley if you unexpectedly need to lift something heavy. As a side note, there are a million ways to tie the slippery hitch used in the second part of the knot-tying process. If you’ve got a method that you think trumps either of the ones shown tell me about it in the comments!
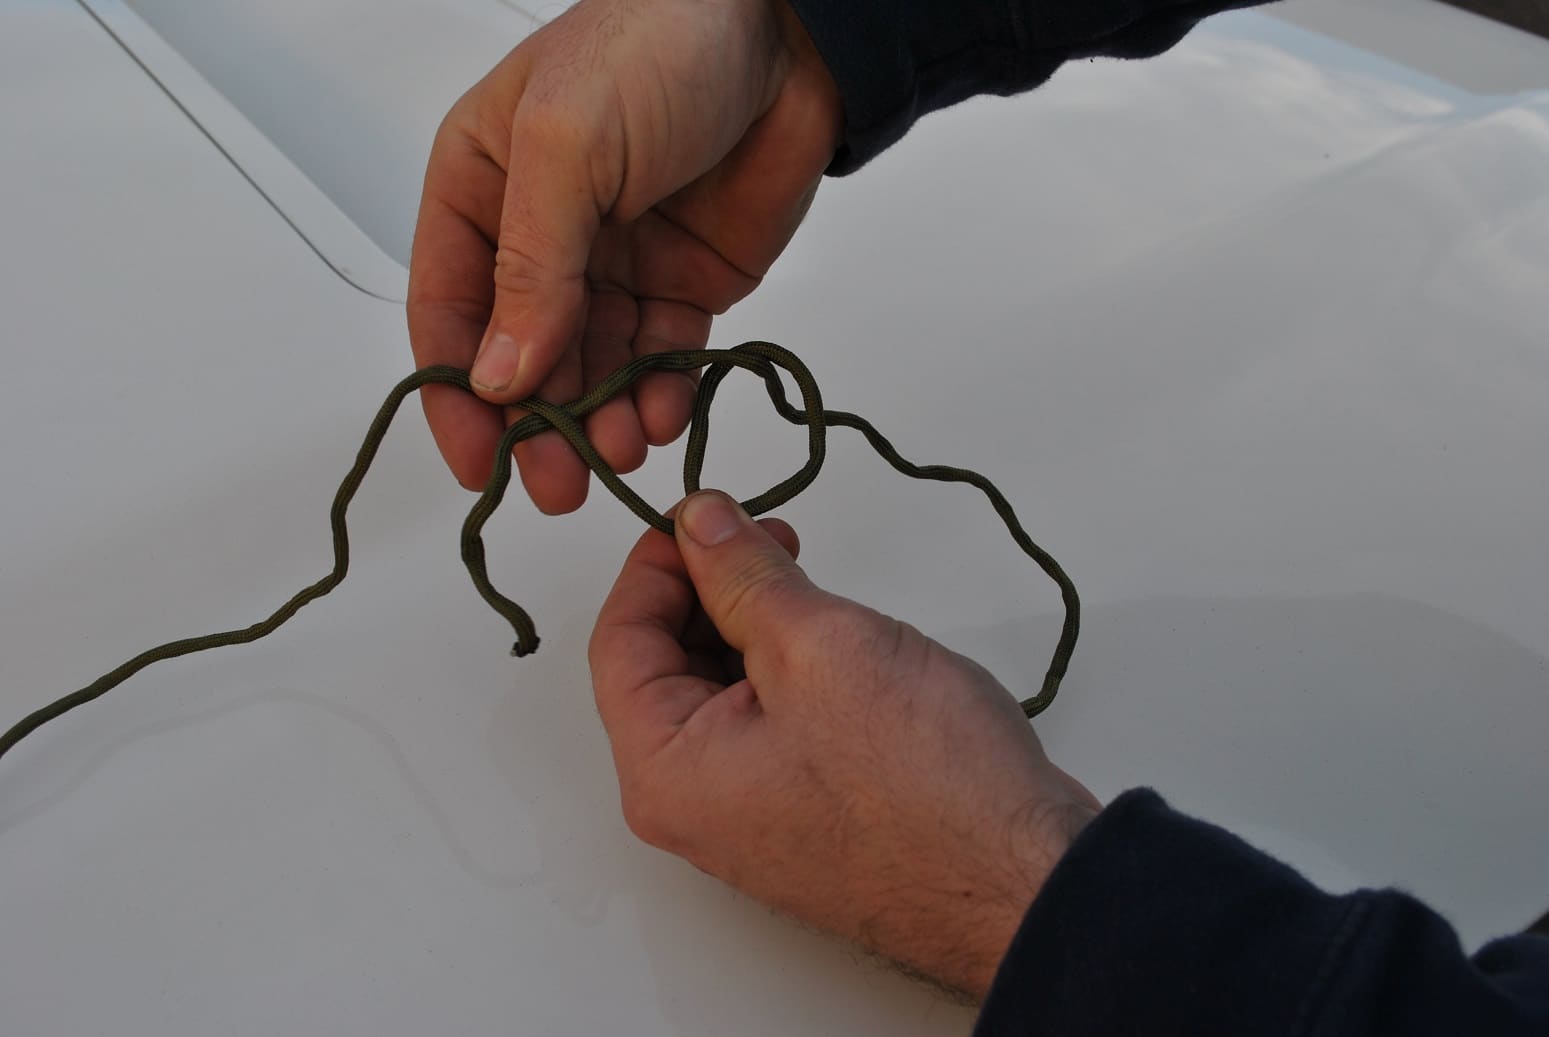
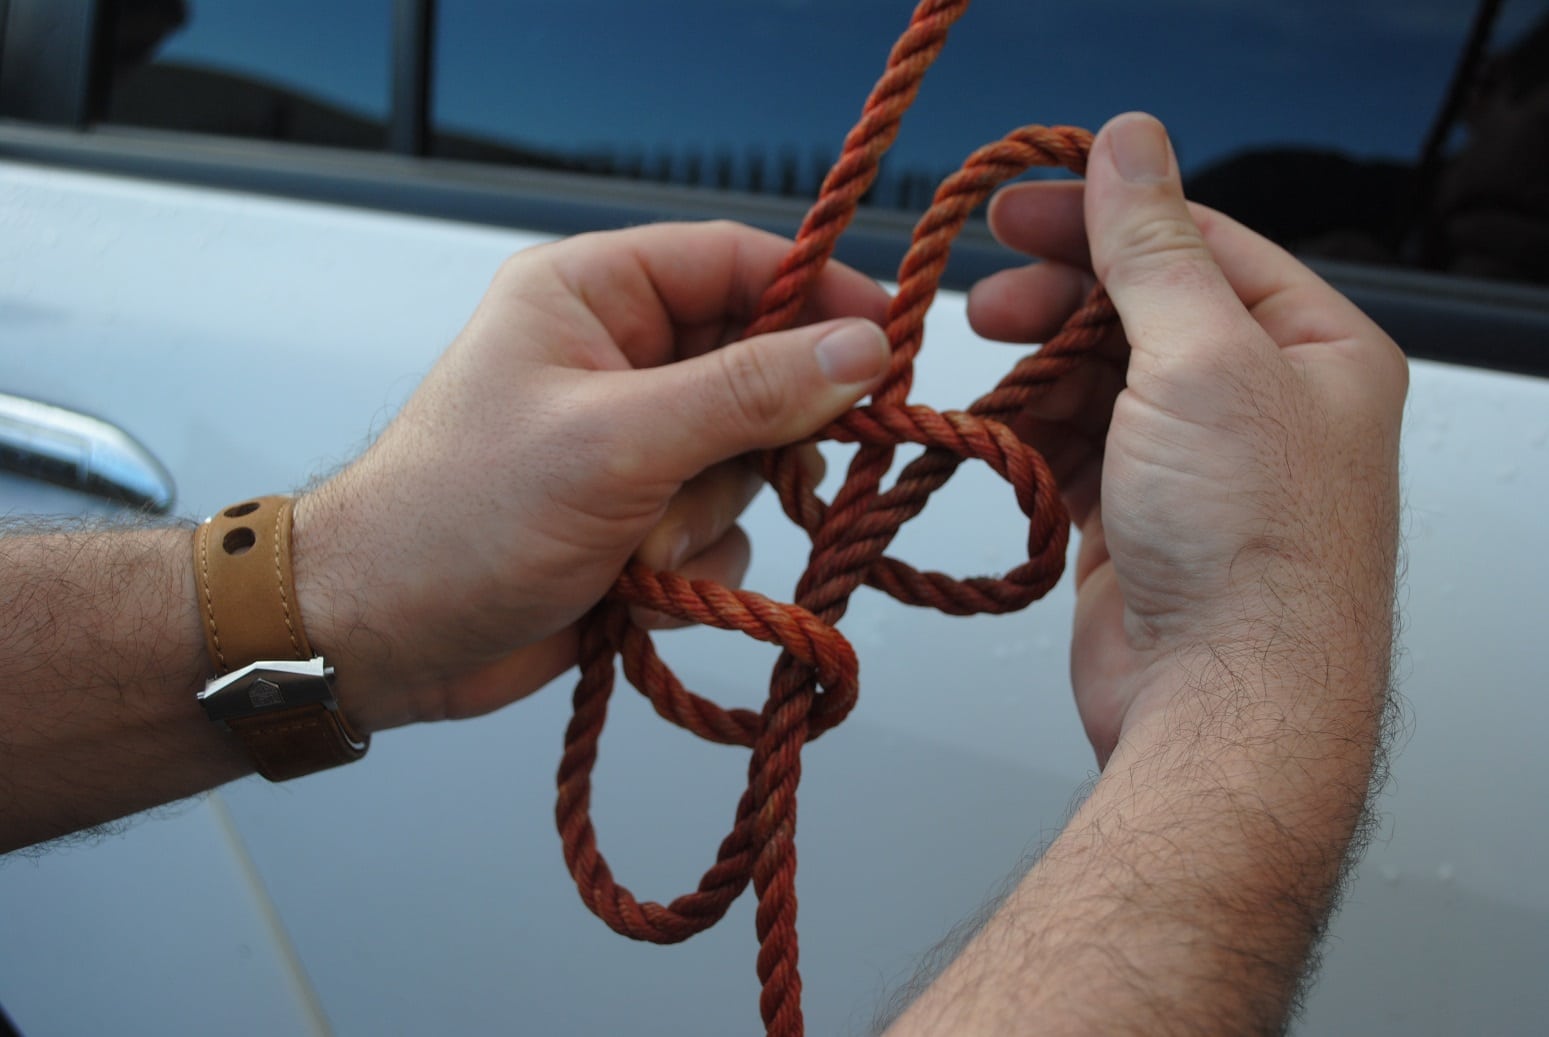
STEP 1 – Secure one end of your rope, then pass it over whatever it is that you need to tie down. With the rope still loose, make two loops in the rope and double the rope underneath over your hand as shown
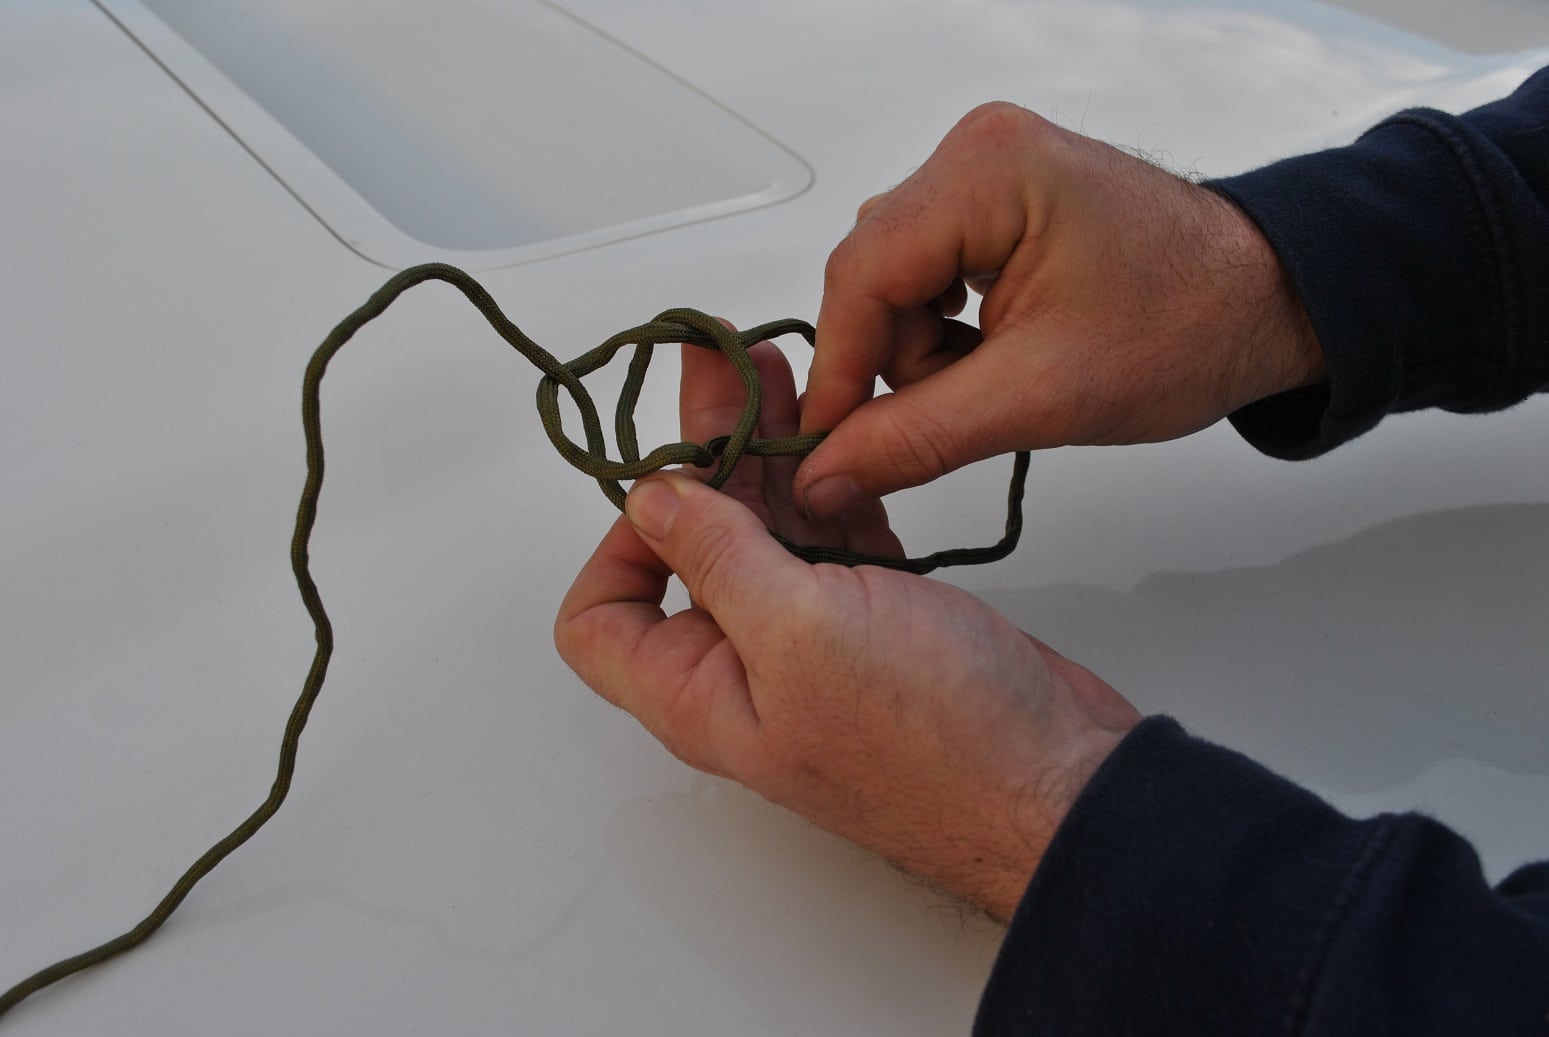
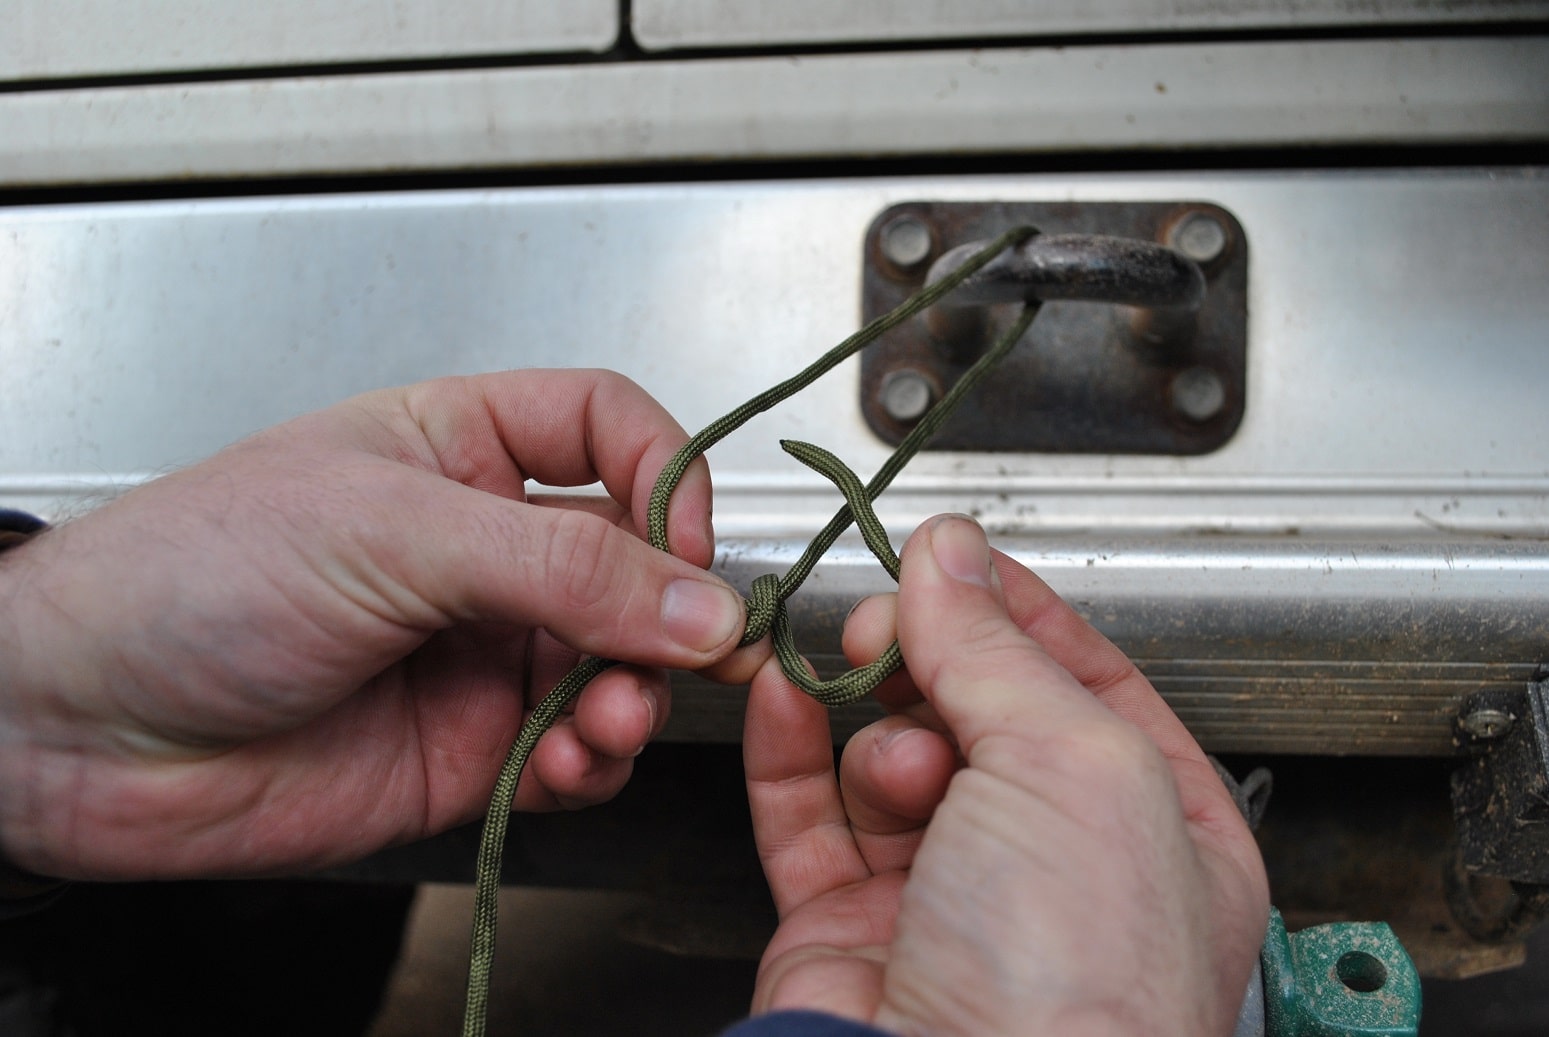
STEP 2 – Feed the doubled-up rope up through both loops
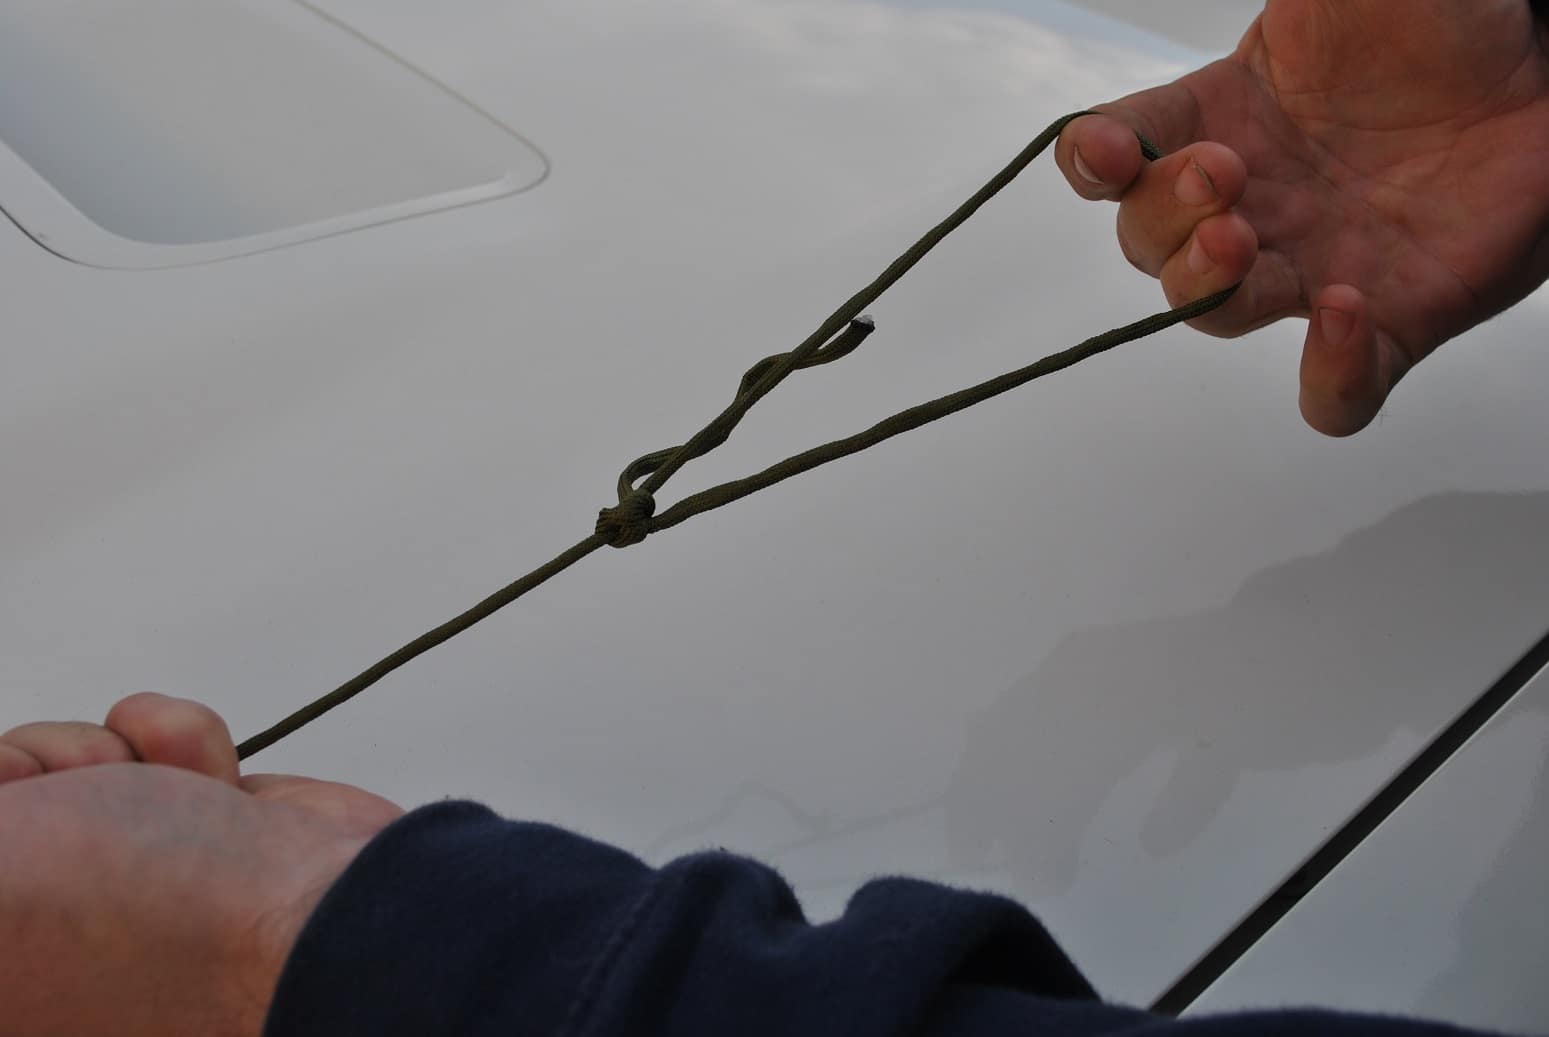
STEP 3 – Pull the top loop and the newly-formed lower loop tight. This lower loop is what you’ll feed your tag end of line through. This knot has now formed your slippery hitch – pulling on the rope on either side of it will see it come quickly undone.
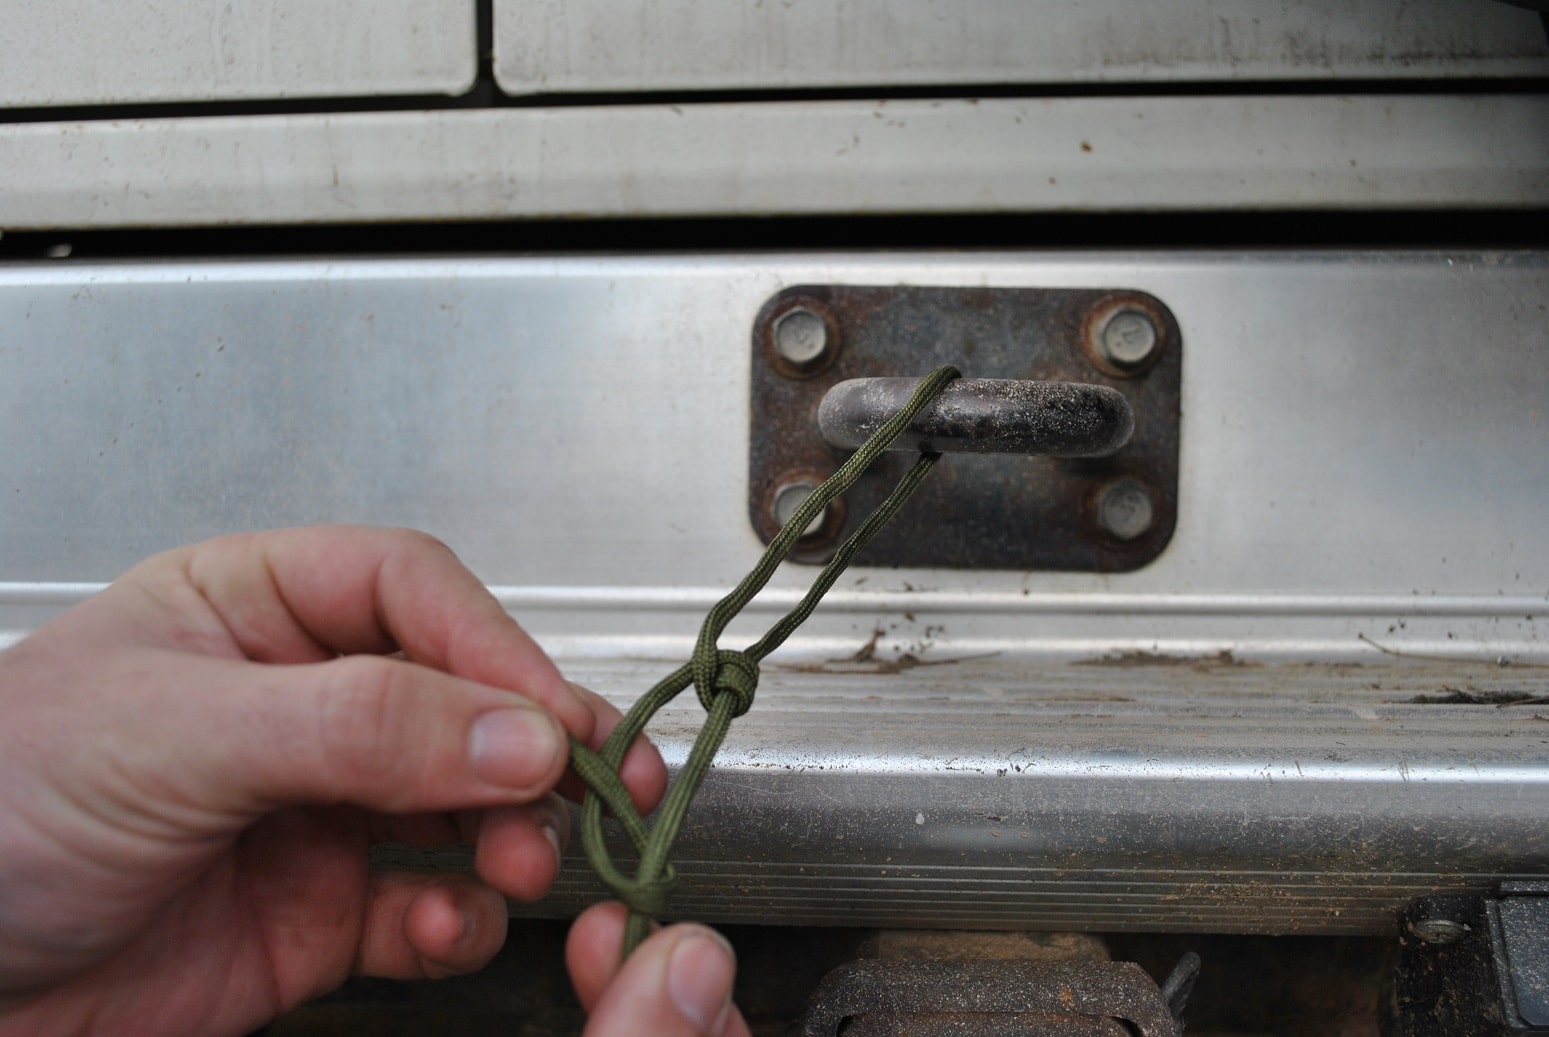
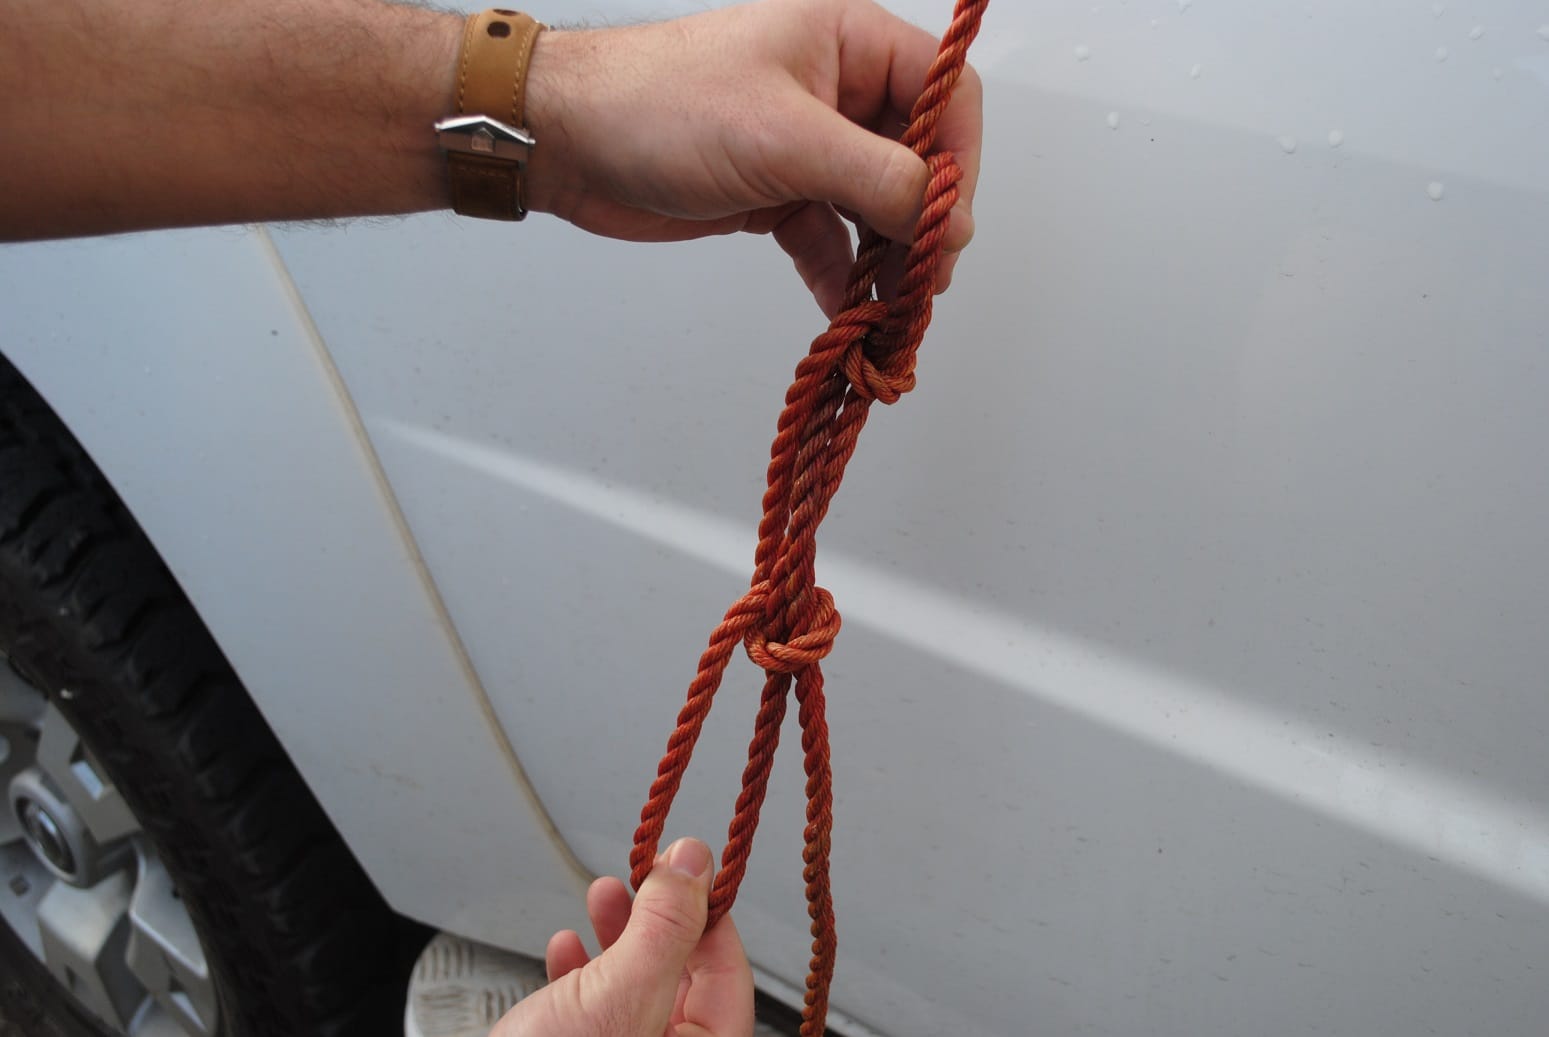
STEP 4 – Pass the tag end around your second securing point and feed it back through the lower loop on your slippery hitch. Pull it tight! (Ignore the colour change – the orange rope didn’t like twisting)
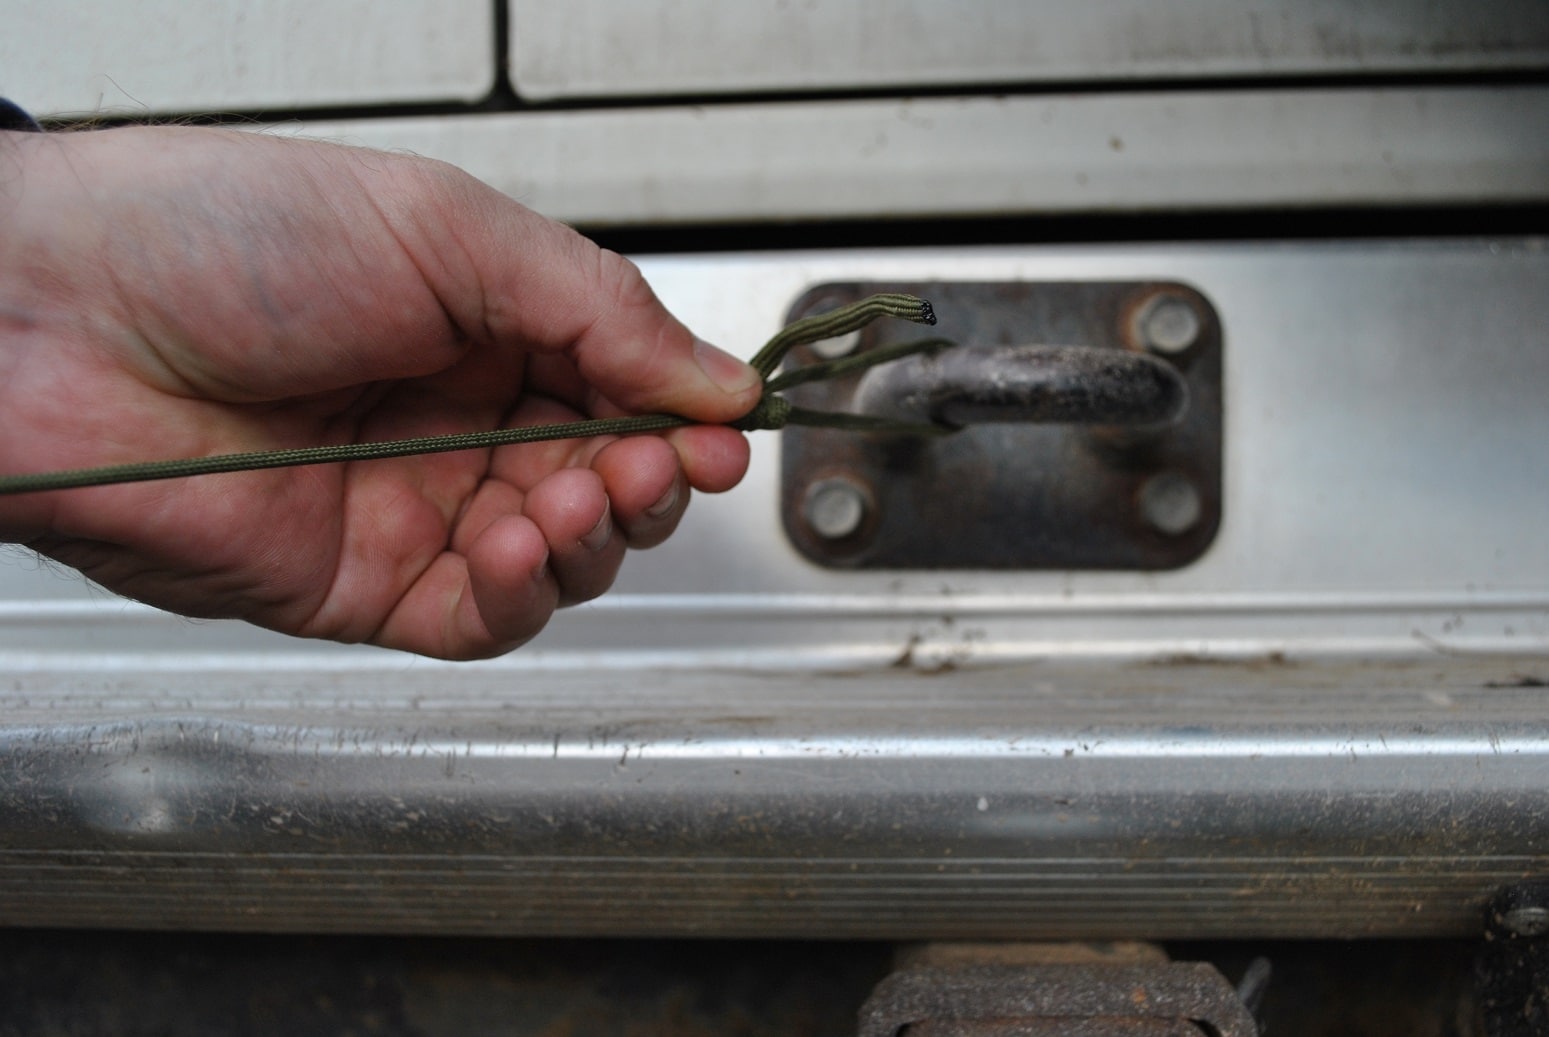
STEP 5 – Run a quick couple of half-hitches around the ropes at the base of the loop
Job done!
So there you have it, three knots you need to know, that’ll get you out of a jam when you least expect it!
Unsealed 4X4 delivers honest 4WD advice, gear reviews, and travel guides crafted from real Australian adventures. Since 2014, we've tested the gear, driven the tracks, and learned what works - so you can hit the tracks safely.