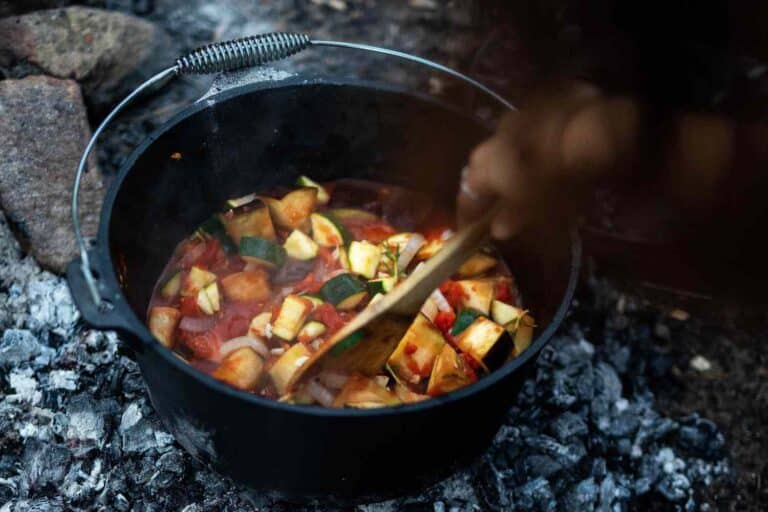
Camp oven cooking: 10 essential tips for cooking with a camp oven
Master camp oven cooking with these 10 simple tips for delicious campfire meals, even if you're just starting out. Learn more here.
Published on: 2 May 2025

Sure, you can heat up and serve something from a packet when camping but nothing beats the flavour you can get when cooking on coals with a camp oven. And don’t be put off by the lack of temperature control, all you need is practice and these top 10 tips to get you started
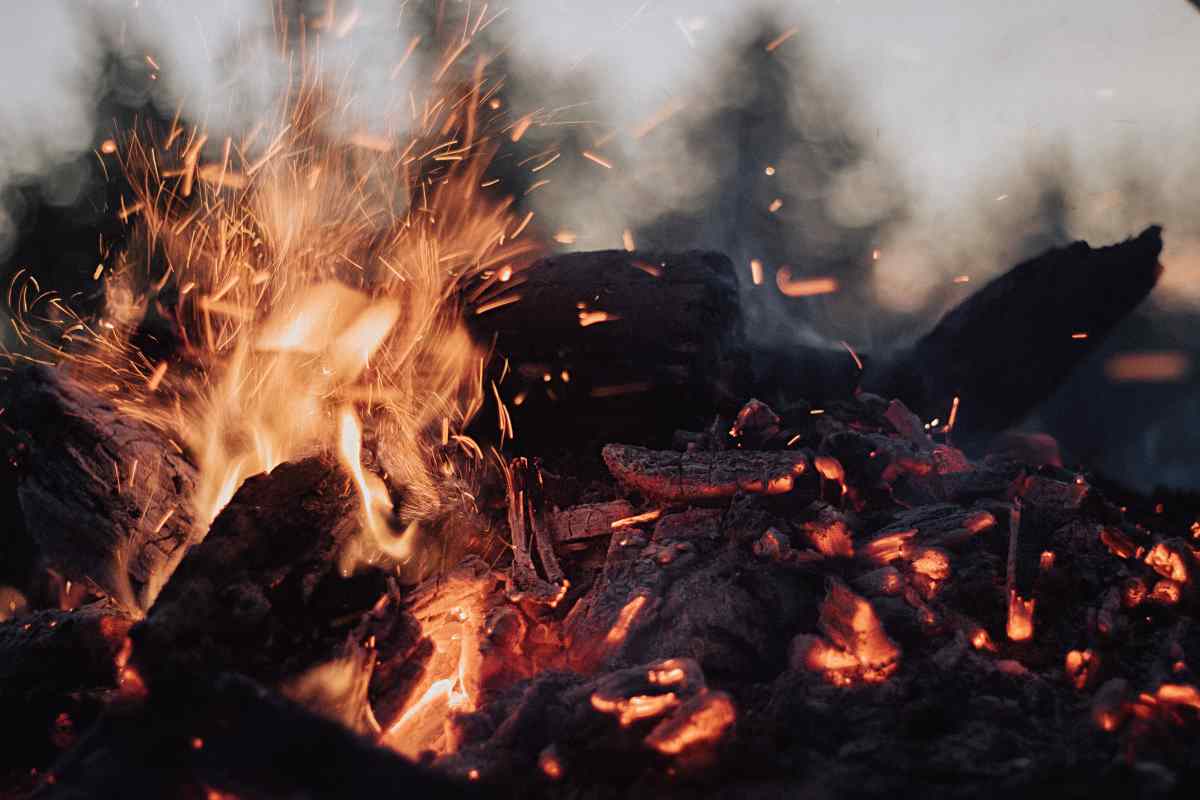
Successful camp oven cooking is all about the availability of hot coals, and plenty of them. Get your fire going nice and early so you’ve got a good amount of coals ready for when you want to start cooking. The bigger the fire, the more coals, so build as big a fire as is safe. One-metre square is ideal.
Ever wondered why the campfire smoke follows you? Read >>this article<< to find out!
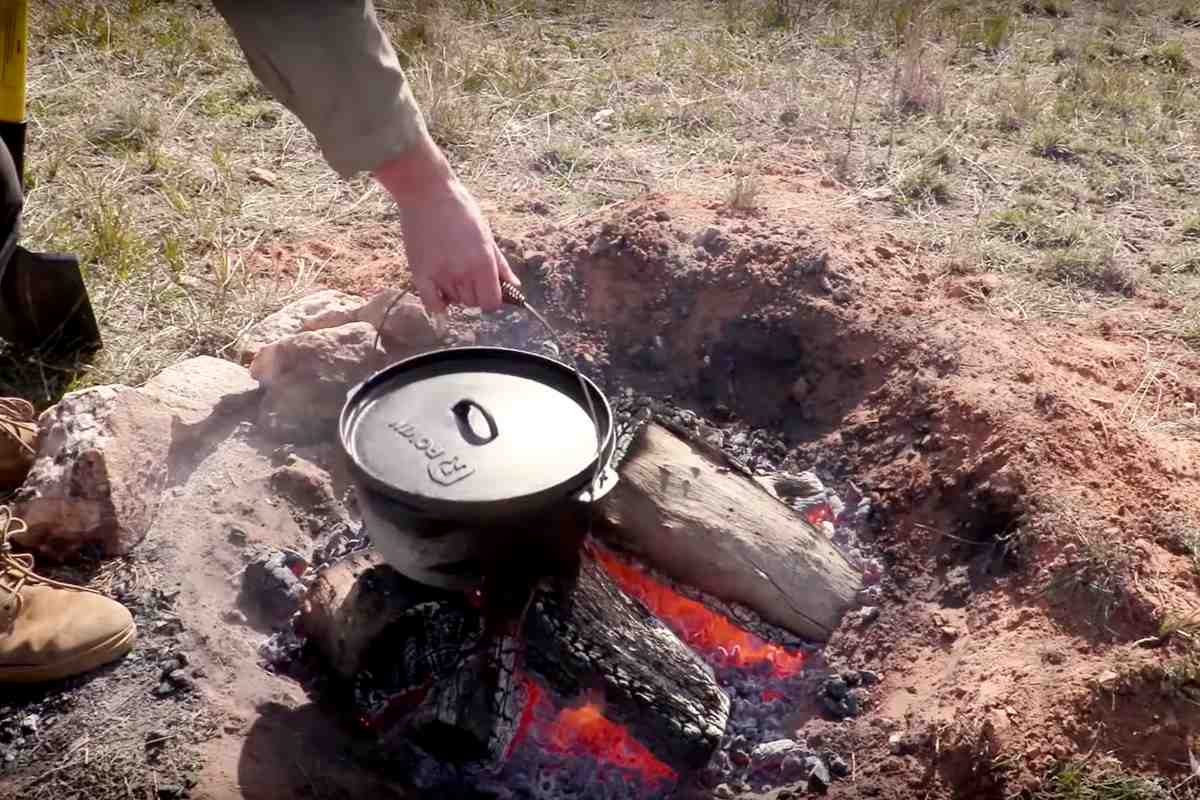
Placing a cold cast iron camp oven on a bed of coals will significantly reduce the heat of the coals. Avoid this by preheating your camp oven in the fire before you place it on the coals to begin cooking.
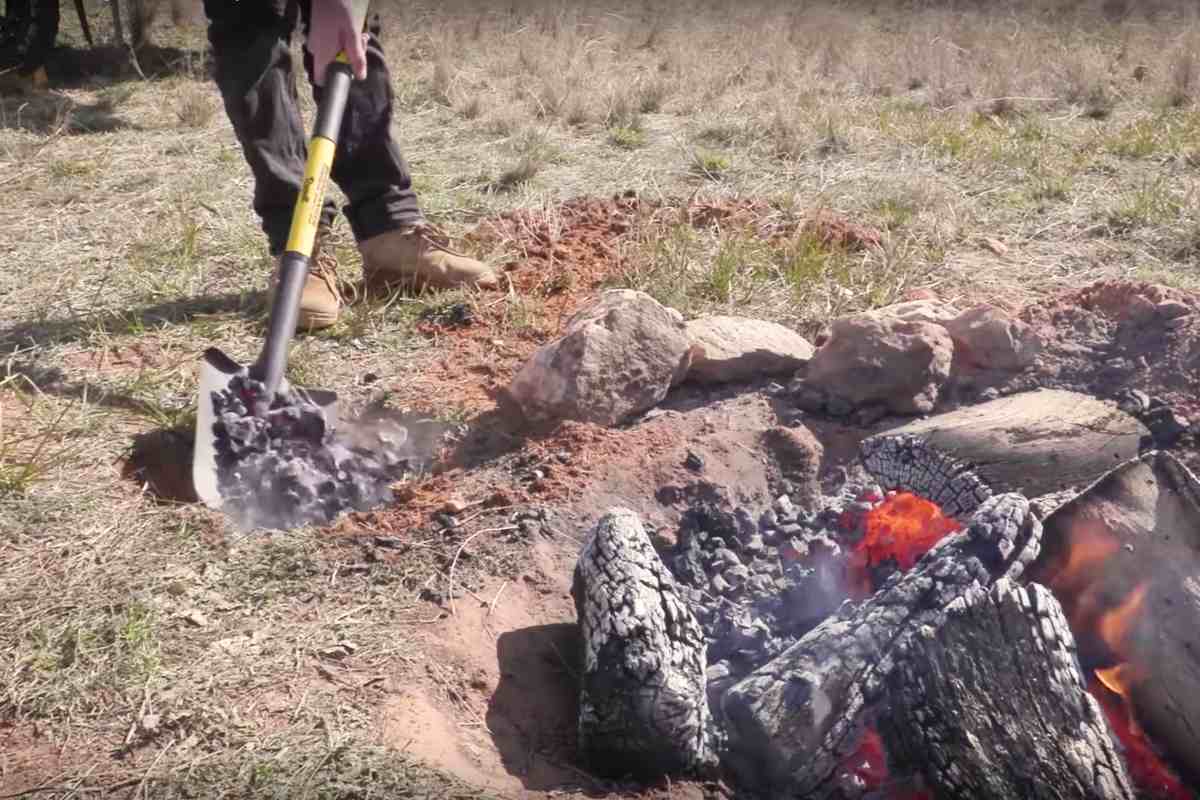
To help retain the heat of the base layer of coals, dig a small hole the size of the camp oven to put the coals in. This will be especially helpful in windy weather. Do this right next to the main fire to help retain the heat of the oven.
Avoid placing too many coals beneath your camp oven as this can burn the base of your dish when cooking. Putting the majority of the coals on the lid of the oven allows the heat to disperse more evenly, creating a true oven effect. Stick to the rule of thirds: one third coals on the base, two thirds on the lid.
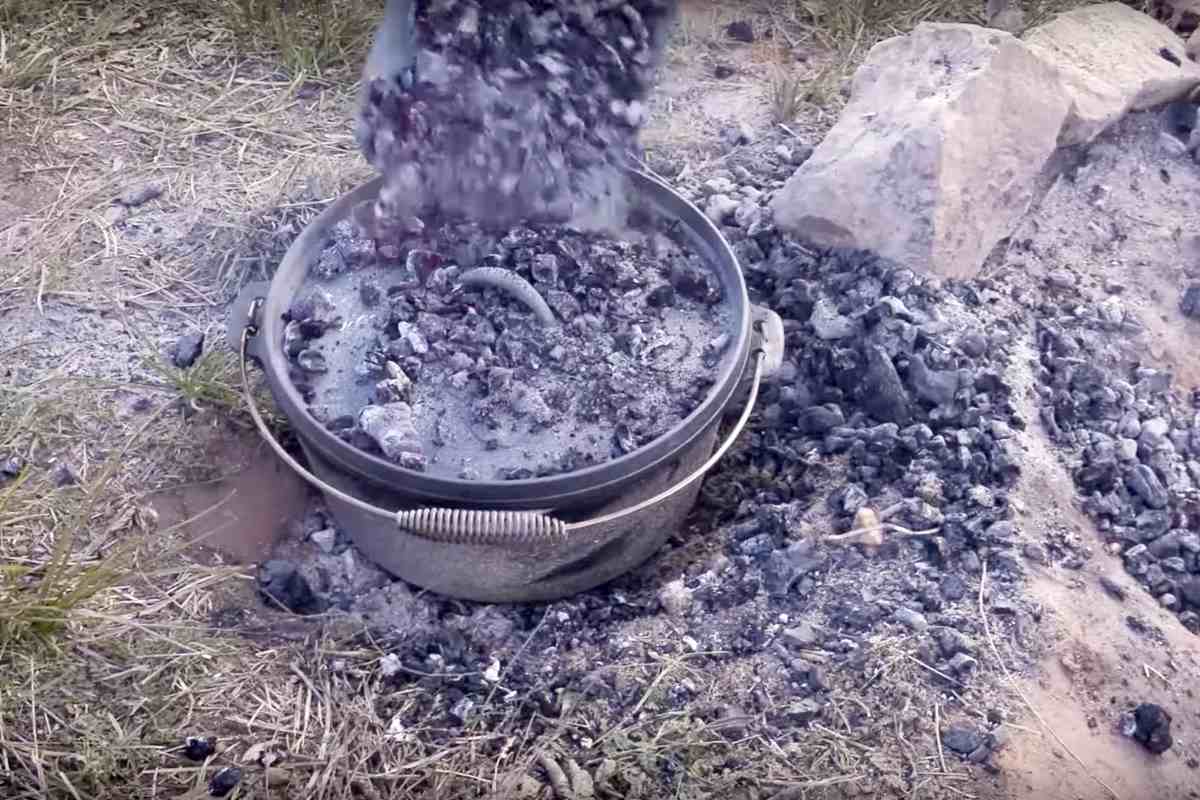
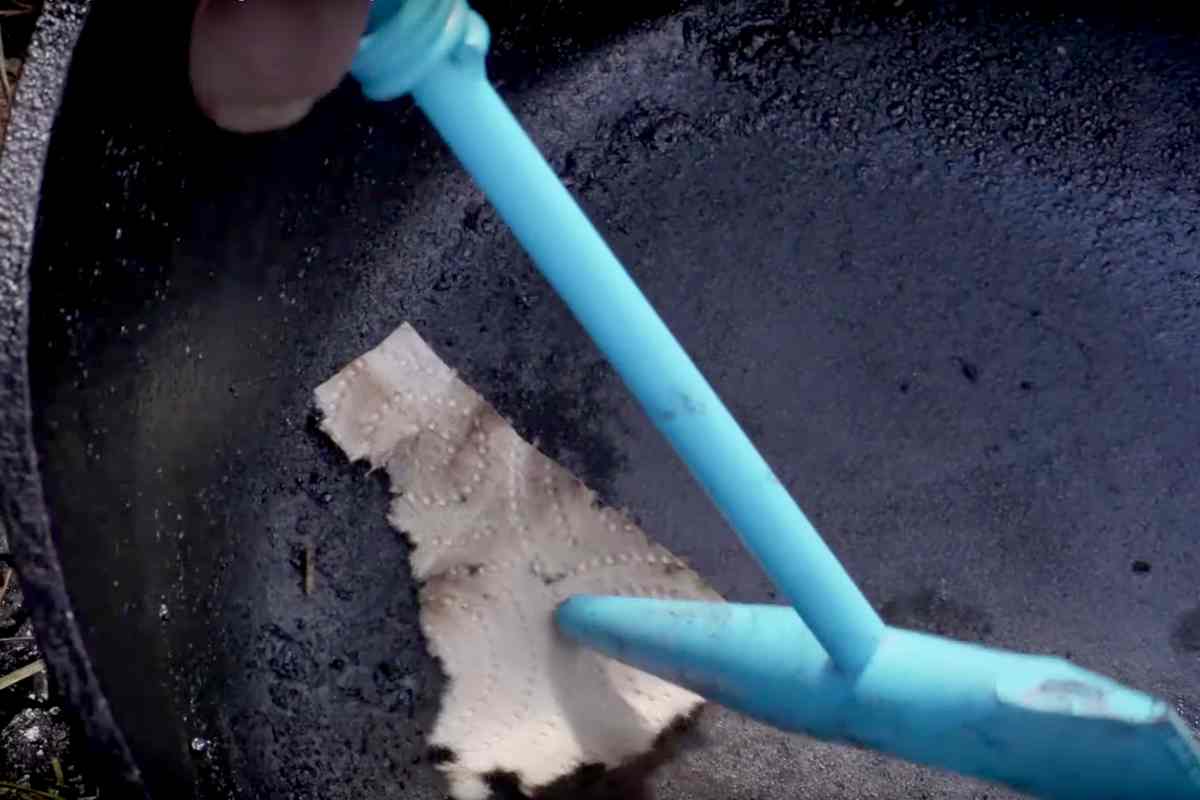
Use a piece of paper towel to check the temperature of the camp oven before you start cooking with it. Place the paper towel in the camp oven once it’s been on the coals for 10-minutes or so. After five minutes:
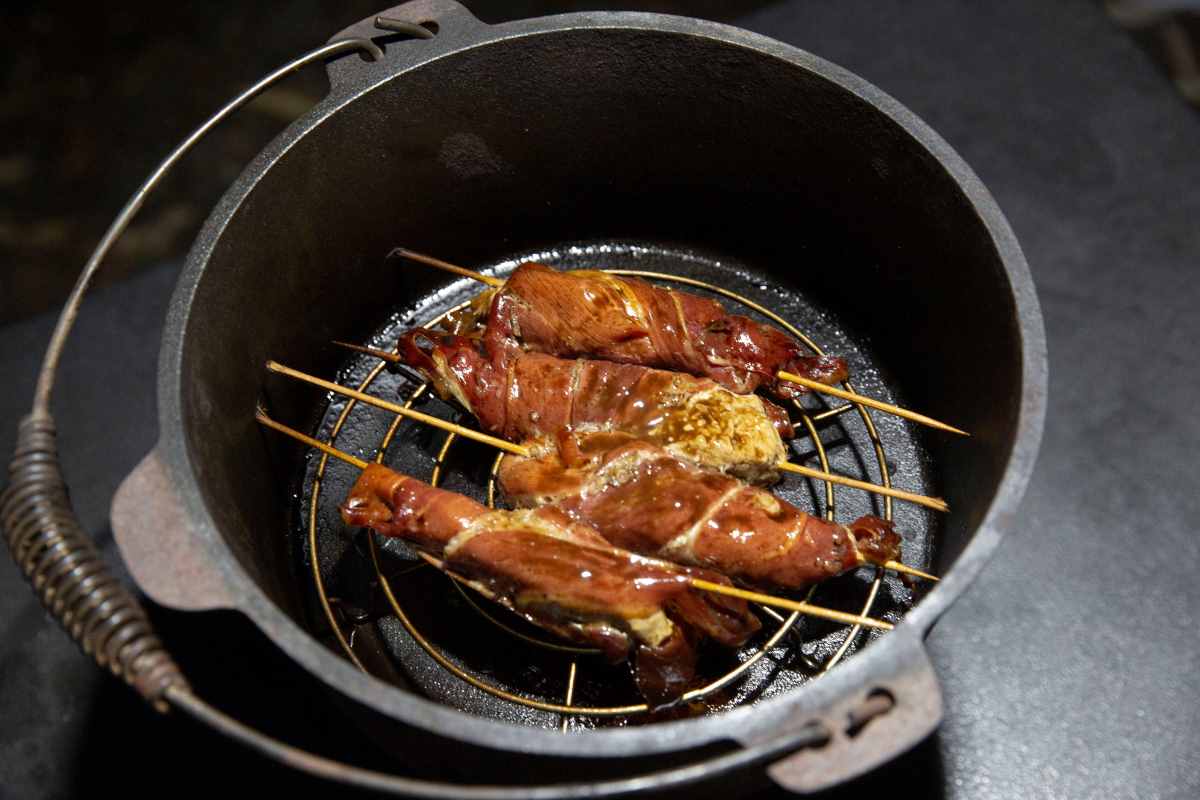
If you prefer your food less greasy, placing a trivet on the base of the camp oven can help. When cooking a roast in the camp oven, this keeps the meat and veggies up out of the fat and gives them more of an all-over crisp. On the other hand, cooking without a trivet allows the meat and veggies to caramelise on the base of the oven, which will add delicious flavour to your gravy. However, your vegetables will be more stewed than crisp.
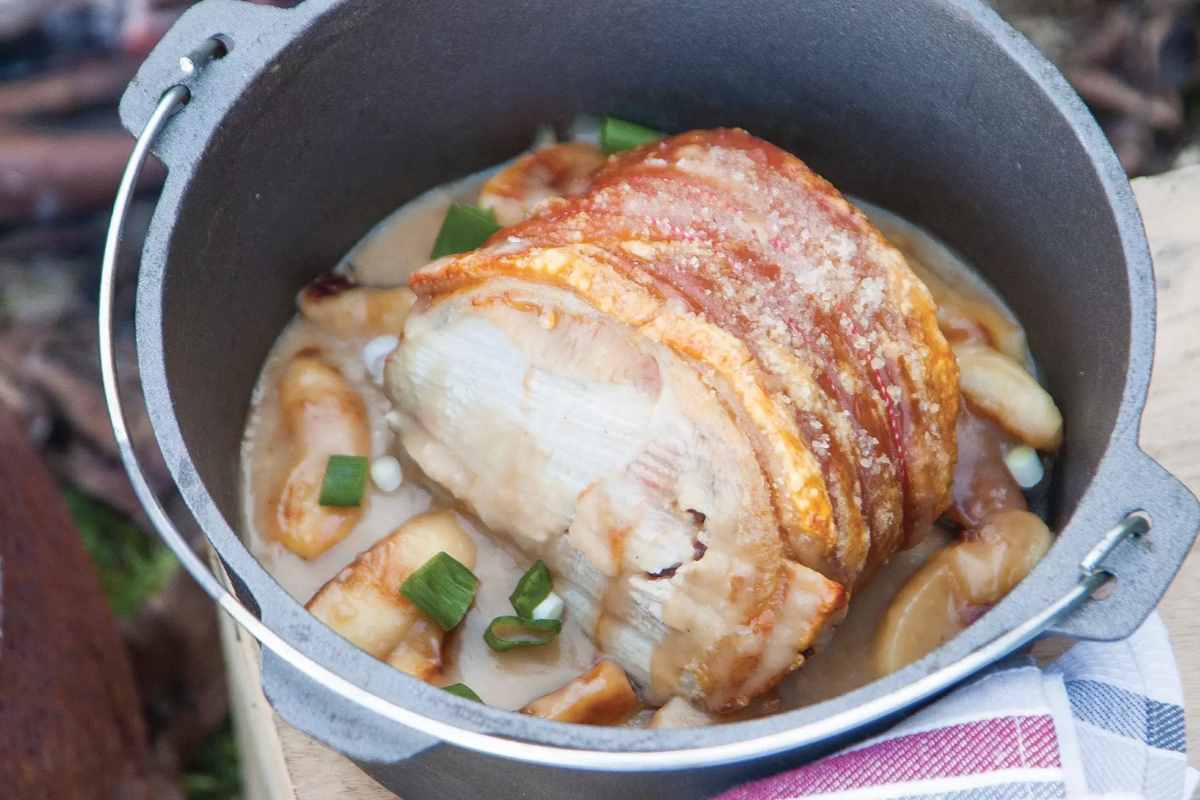
Cooking time for a roast is generally half an hour per half a kilo of meat, or a little less for red meat if you like it medium-rare. Veggies will take around 45 minutes, so do some simple maths, and put those in midway through cooking your meat.
One of the trickiest parts of camp oven cooking that requires a certain level of steady-handedness is removing the lid to check on your food. As you can imagine, this becomes increasingly difficult if you’re downing cold ones while waiting for your slow-cooked meat to tenderise. Use a dustpan brush to remove as many coals and ash from the lid as possible before carefully removing it.
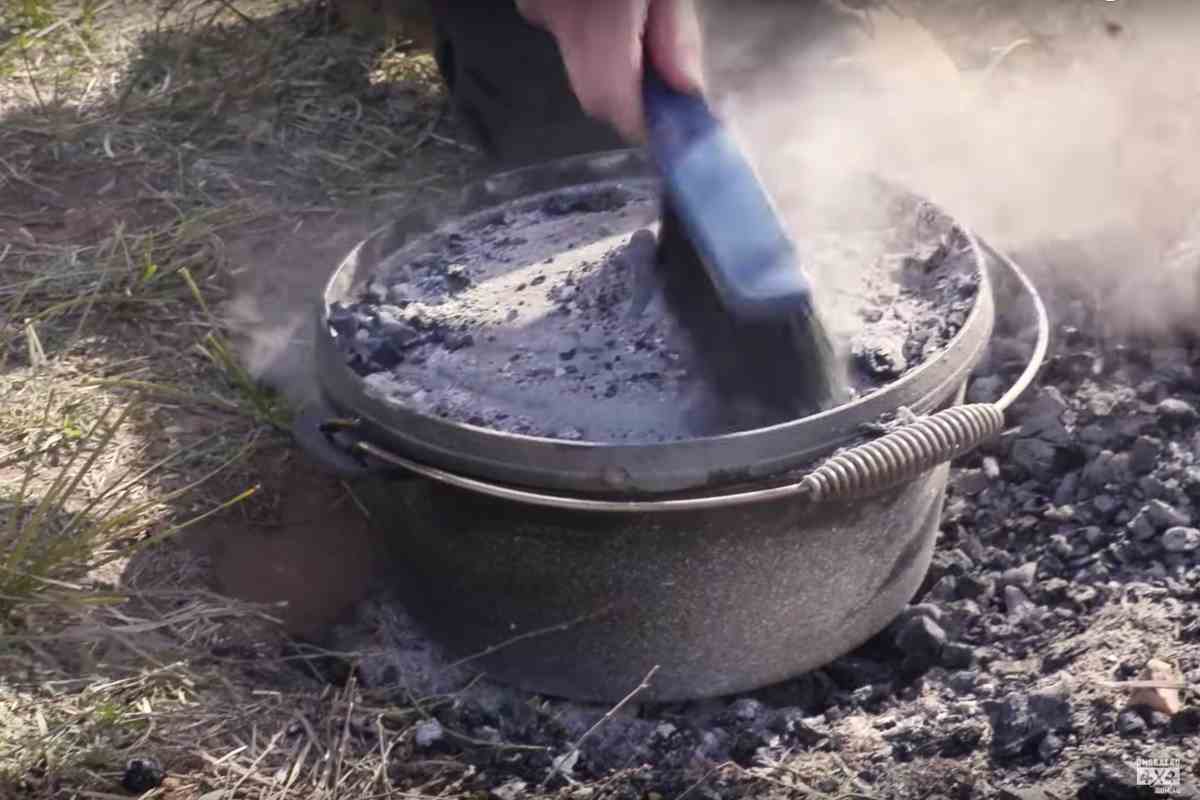
To clean the camp oven after cooking, first scrape out whatever food scraps you can. Put some water in the oven and return it to the heat, allowing it to boil away for 15 minutes or so. Avoiding putting cold water in a hot oven and vice versa, as the cast iron can crack. Once the water has cooled enough, use a metal scourer to remove remaining residue and give the lid a scrub. Avoiding soap will help retain your camp oven’s protective layer of oil.
The beauty of a camp oven for cooking is that, when cared for correctly, it should last you a lifetime. Season your camp oven after every use. Following cleaning, return your camp oven to the heat of the fire to ensure it dries completely, then coat it in a thin layer of vegetable oil inside and out using paper towel. This will help prevent rust and builds a protective, non-stick layer. It’s then ready to be packed away for next time.

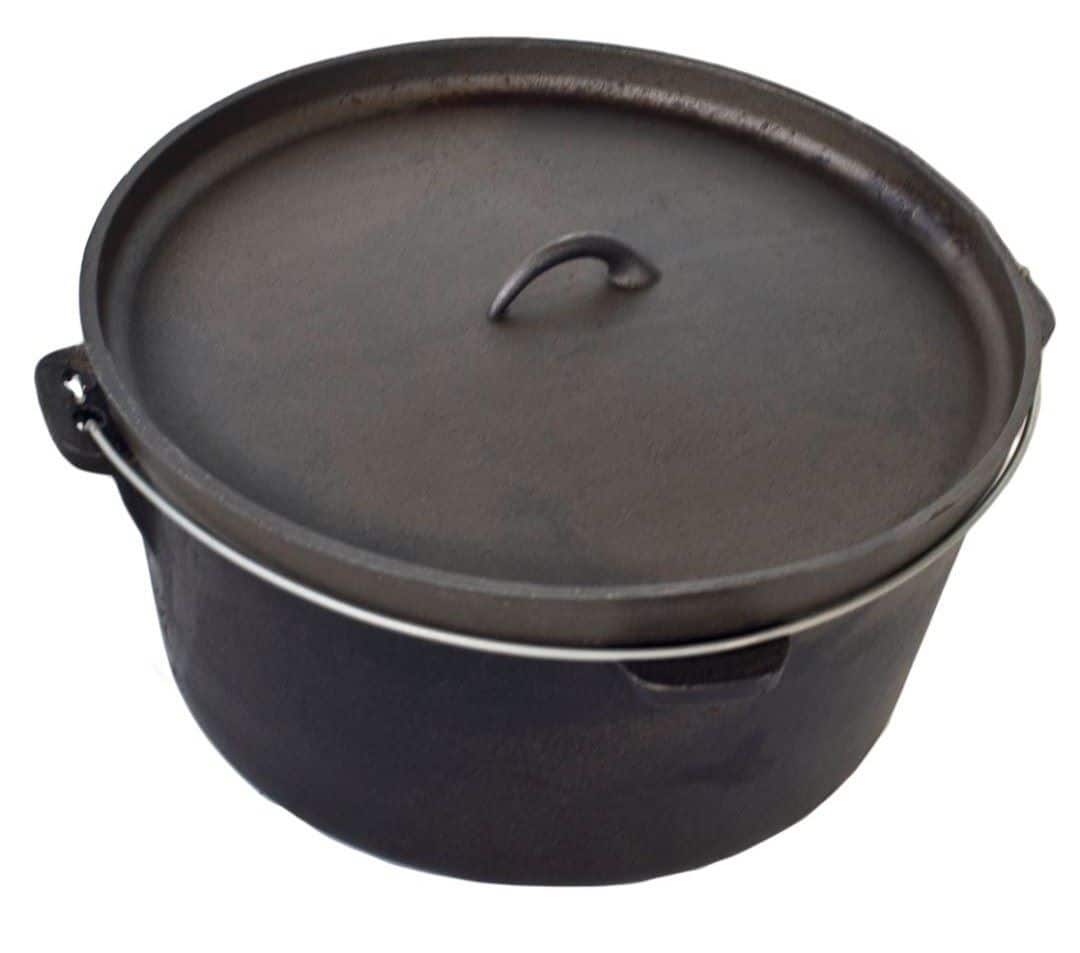
A traditional cast-iron camp oven is the original and most popular type, available for $40 and going up from there.
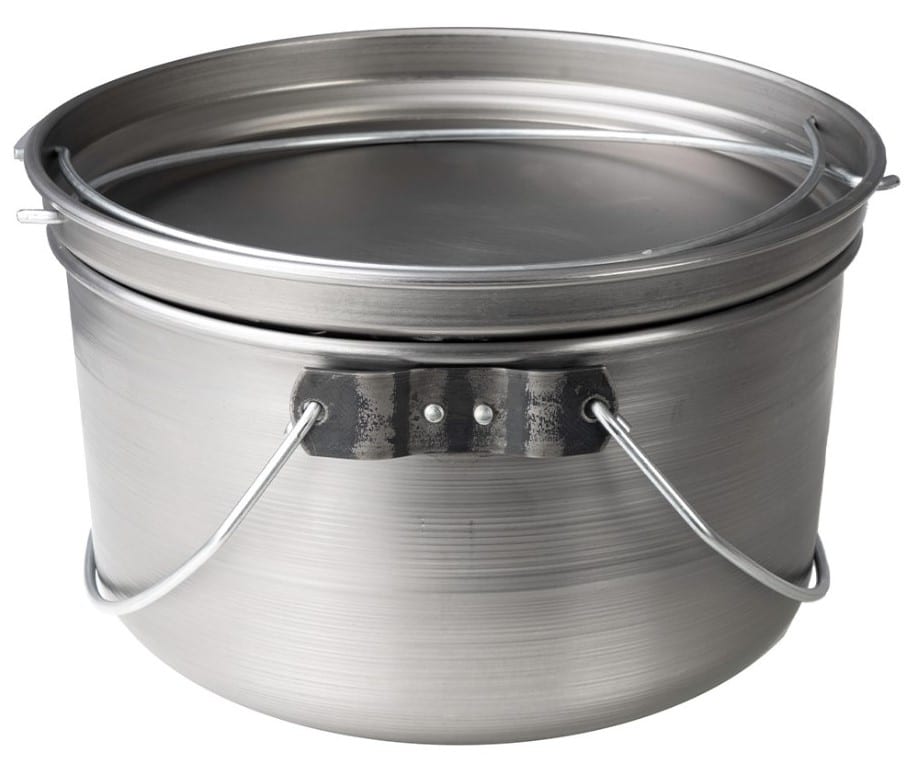
A versatile, robust and lightweight alternative to cast iron camp ovens.
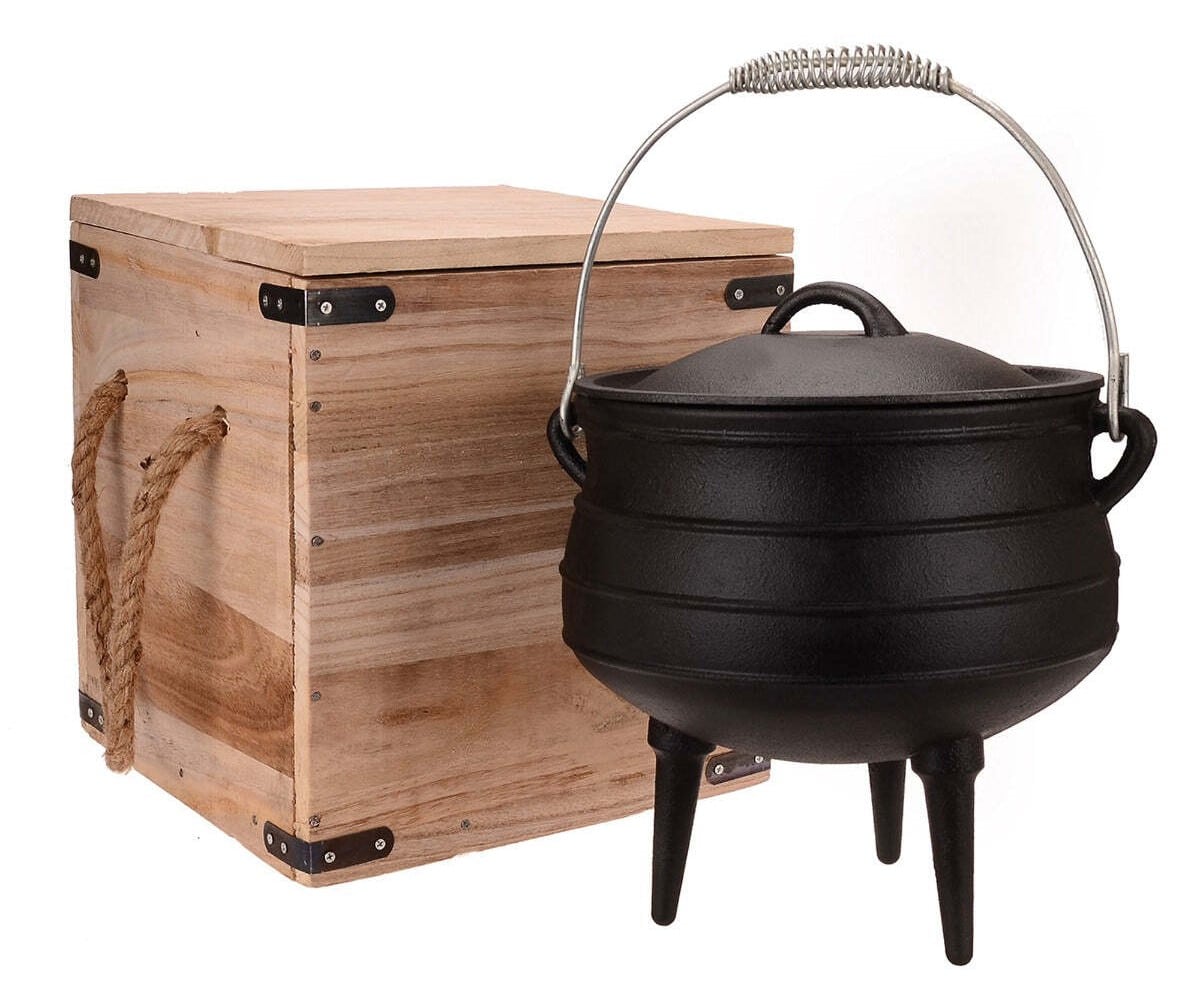
A three-legged South African-style cast iron camp oven with a pot belly shape.
WORDS BY EMMA RYAN. MAGES BY SHANE STIFFLE.
This article contains affiliate links to products. We may receive a commission for purchases made through these links.