XTM Awning Tent review: A cheap extra room at camp
We tested the XTM Awning Tent for nine nights with our off-road camper. Here’s how it performed for space, setup, airflow and family camping.
Published on: 25 September 2026

The kids outgrew our rooftop tent before they outgrew camping.
For a long time, our rooftop tent worked perfectly plonked on top of our off-road teardrop camper. My husband and I slept inside the camper while the kids bunked together up top. But now that we’re travelling with a tween and a teen, sleeping right beside each other in a rooftop tent has lost some of its appeal. They need a little more space and, quite frankly, so do we.
Enter the XTM Awning Tent.
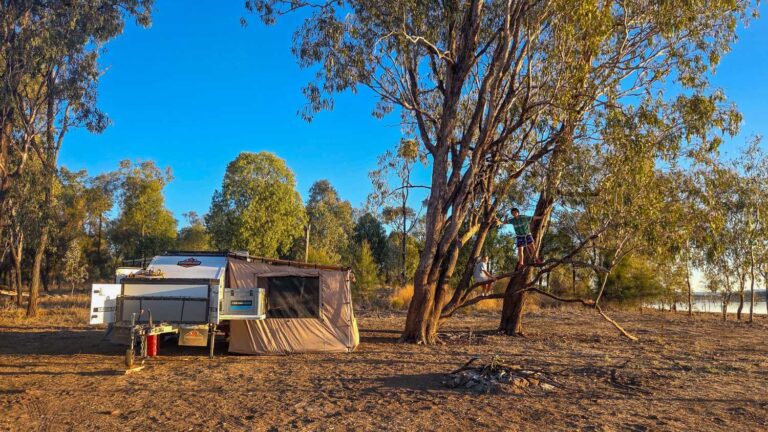
Designed to attach beneath a 2m x 2.5m awning, it effectively gives us an extra room alongside our teardrop camper. There’s enough space inside for two single self-inflating mattresses with a gap between them, the kids can stand up, and the side facing the camper opens to give us direct access to the inside of the camper.
It also doubles as extra living space. If the weather turns bad, all four of us can pile inside to play games, read or disappear onto our devices without trying to squeeze into the teardrop (which is effectively just a bed and kitchen on wheels).
We recently put the XTM Awning Tent to the test over nine nights of camping. The weather was almost annoyingly perfect, so I can’t tell you how it performs in bucketing rain or a raging storm, but we did get enough breeze to see how it behaves in the wind. And having previously reviewed the Kings Awning Tent, I was particularly interested to see how the XTM version compared.
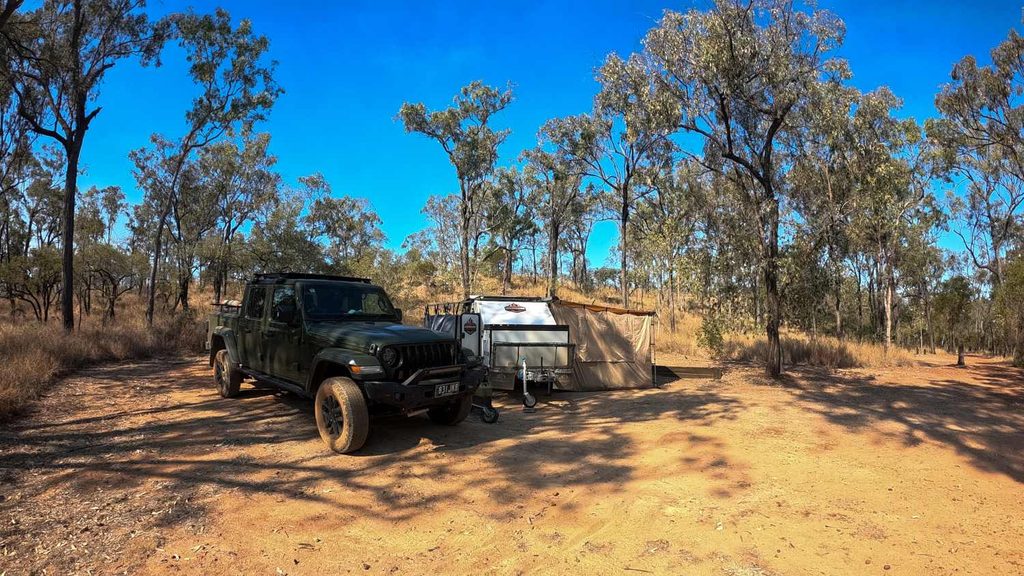
The XTM Awning Tent is a tent that hooks up underneath your existing 2m x 2.5m awning, giving you an extra room out of the weather. It basically turns your awning into a tent.
There is one main entry with fly mesh and two large windows with fly mesh. The side of the tent that faces your vehicle (or in my case, my camper) also zips open completely however this side doesn’t have a fly mesh so it’s usually kept closed until you want to access your vehicle.
You could leave the vehicle side open for permanent access but it’s an invitation to all the huntsmans, flies and mosquitoes in the general vicinity to share your tent.
The main entry also has metal grommets in the door flap, so if you’ve got two extra poles and some rope lying around, you can essentially turn this into an awning for your awning tent for some shade at the entry.
The setup is really easy and can be done by one person, although an extra set of hands is always welcome to get it done faster.
You’ll set up your awning like normal, secure your awning ropes and layout the awning tent on the ground underneath. Grab the top section of the side that faces your vehicle and slide it into the sail track of your awning. The opposite side (at the extended side of your awning) has both a sail track and a zipper that need to be connected. Both of these worked smoothly for me with no problems.
Next you secure the velcro strips attached to your awning tent to your existing awning poles. The final step is to go around and peg the bottom down.
One thing to note is that the first time you use it, you’ll need to install the floor section. This is as simple as zipping it on. After that, I chose to leave it on permanently, otherwise it’s just an extra step in the setup. It’s nice to know that if someone made a mess in there and I needed to unzip it and hose it off then I could.
It’s not an instant set up but it really doesn’t take longer than 10 minutes unless you’re trying to hammer pegs into particularly rocky ground and need to keep moving them to get them in.
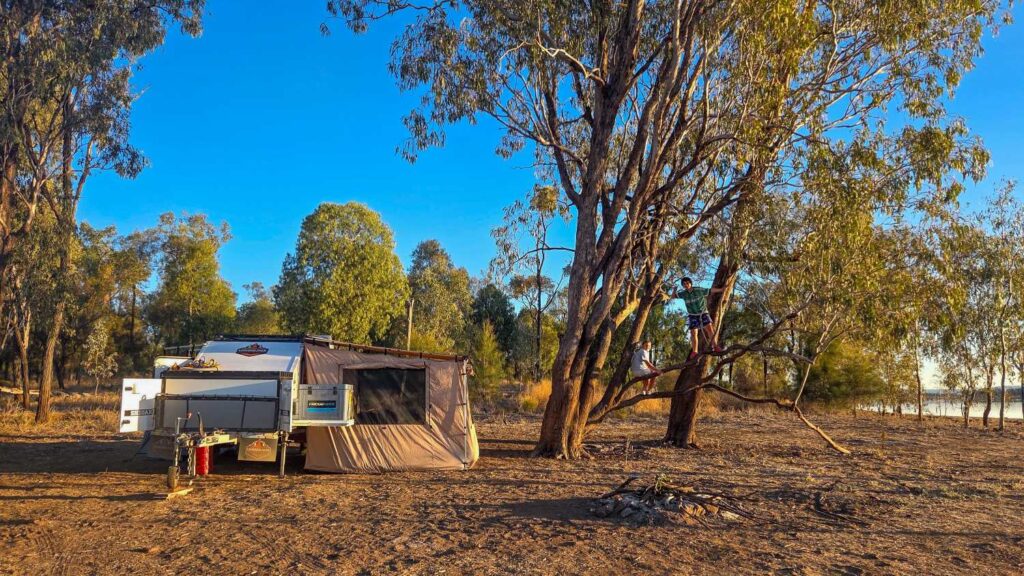
The official measurements are 190L x 250W x 200H/170H.
There is enough room to fit two single beds with a bit of space between them and enough height for both myself and the kids to stand. You could also easily fit a double mattress with a bit of room to spare or a table and some campchairs for somewhere to eat away from the flies.
It effectively gives your family another room. At night, it’s the kids’ bedroom. If the weather turns, it can become somewhere the whole family sits to play games or chill with their devices.
The ventilation and airflow is one of its biggest strengths. With three mesh-covered sides able to open, you can get excellent cross-flow while keeping insects out. The entry door mesh measures approximately 146cm wide x 164cm high and the two large windows measure approximately 146cm wide x 102cm high.
Of course, there’s only so much ventilation can achieve if there’s no breeze. Like just about any tent, on a hot, still day it’s eventually going to turn into a sauna.
We had nine nights of near-perfect weather with only some wind, so I can’t honestly tell you how it handles extreme weather. What I can say is that it handles a strong breeze well and was noticeable less flappy than the Kings tent we reviewed a few years back.
In general though, because the tent relies on an awning, I’d be inclined to pack the whole setup away if extreme weather was forecast and move elsewhere anyway.
I genuinely enjoyed camping with the XTM Awning Tent for nine nights. Mostly because it stopped the kids bickering by giving them quite a bit more room than they had in the roof top tent.
It’s easy to get in and out of and the kids can use it independently. Like a regular tent, they can also set most of it up themselves once you show them how. It’s not something I would want to set up every day, but with a ten-minute set up time, if you’re staying somewhere two or three nights before moving on, it’s quite easy to live with.
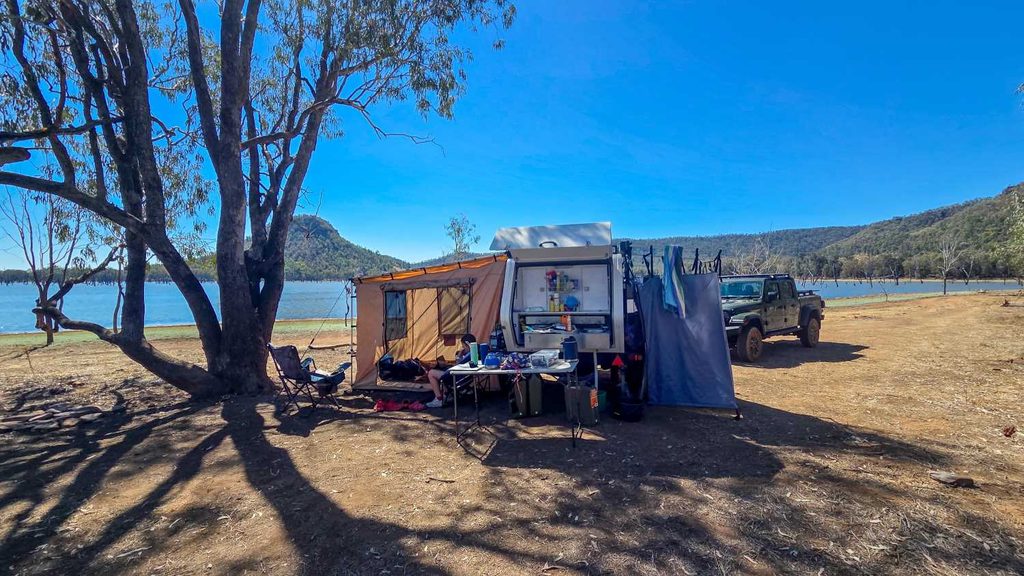
The Kings Awning Tent comes in multiple sizes to suit different awnings however the XTM awning tent seems to come only in the one size. They are very similar in price point at the budget end of things and very similar in looks.
Both are inexpensive, spacious, well ventilated and easy to set up. Do they all come out of the same factory in China? Who knows. But I did find the XTM seemed less flappy in the breeze and less prone to sagging on top and for this reason, I would choose the XTM over the Kings Awning Tent. It just seemed to fit the awning better once it was all pegged out.
However, it’s important to note that different sized awnings and installation tension could potentially affect that.
It’s worth noting that the things I didn’t like are not XTM specific and are more general awning tent cons.
At the time of writing, the 2m x 2.5m XTM Awning Tent is priced at $299.99 or $189.99 for BCF Club members. BCF Club is free to join, so for under $200, it’s a relatively inexpensive way to get extra living or sleeping space at camp without upgrading your entire setup.
So as long as you can accept the usual compromises of an under-awning tent (see the cons above), it’s well worth it for the extra space.
This article contains affiliate links to products. We may receive a commission for purchases made through these links.