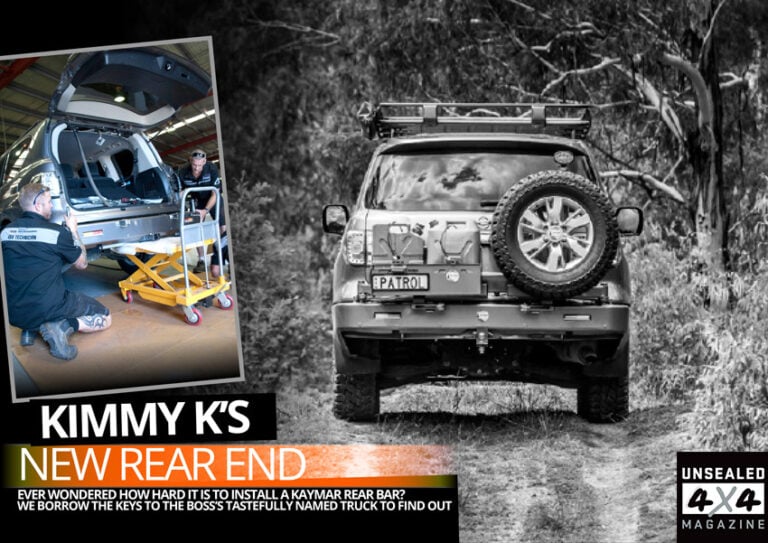
A bull bar is often one of the first modifications we make to our vehicles, but the mighty rear bar is often forgotten about. Sure, you see plenty of petrol powered four-wheel drives with retrofitted LPG tanks that dictate the need for some sort of rear swing-away tyre mount system, but full replacement rear bars aren’t as common a sight.
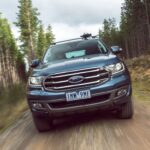
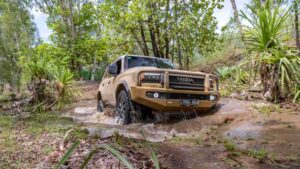
It’s not to say they aren’t out there though, and our fearless leader Pat Callinan was keen to get the latest Kaymar bar fitted to his V8 powered Y62 Nissan Patrol, with the rather unfortunate name Kimmy K. How does a four-wheel drive earn such a title? Take one look at the bulbous backside of the Y62, combine this with a room full of cheeky employees sipping brown lemonades on a Friday afternoon and you get the idea!
Anyway, with some big trips planned this year, a larger fuel tank and a few spare tyres are going to come in handy. So a few calls to Kaymar head-office later and the next thing we knew it was time to visit ARB in Moorebank for minor surgery on the unsuspecting Kimmy K’s rear end. Would I do this modification at home? Well, take a look at the pictures for yourself and make your own mind up. Personally, sipping tea and eating bikkies in the waiting room seemed much easier, and I cant help but think Kimmy K would be a bit of a bitch to work with…
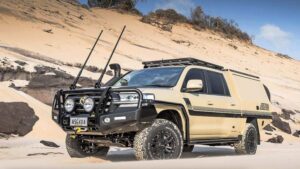
You might have noticed the flash silver paint splashed all over the Kaymar rear bar, and you would be right in thinking it’s not a stock finish. Off the factory floor, Kaymar rear bars come powder coated in a solid black finish. Pat wanted something different though, so had the guys at ARB paint the bar to match the Nissan’s bodywork. If you want a similar look, take a quick peak at the compliance code fitted to your vehicle which will have the paint code stamped into it.
Ogle the finished product, and it’s pretty easy to see how beefy these rear bars are construction wise. Now there is room for a few jerry cans, a spare tyre and space underneath for a larger auxiliary fuel tank.
The first task is to unbox the bar, ensuring all parts have arrived and everything checks out. Once confident, it’s time to read through the instructions… seriously, you actually need to read these instructions!
Once the taillights and trim have been removed, the factory rear bumper needs to be ripped off and thrown into the nearest bin. But before that happens, the top section must be retained and cut off with an air-hacksaw to incorporate as a fill panel.
The rear taillights need to be removed, as well as some interior trim panels which require additional care, especially on such a new vehicle.
Wiring modern vehicles is a joy; if you’re an auto-electrician that is. With so many sensors and wiring looms floating around, it makes tapping into the brake, indicators and park lights much more of a challenge. Luckily the guys at ARB had this covered, and were able to tap into the factory wiring using a test light. Again, I just watched and poured another cup of tea…
A hot tip for anyone who is considering a bumper cut install, is to have a hand held cheese grater close by. Sounds funny, but this is the best way to remove rough edges and any crooked lines with a simple shaving action. Having said that, Kaymar ship the rear bar with some rubber pinch weld that covers the cut anyway, but there is no harm in getting it as neat as possible!
As this model of Patrol came fitted with parking sensors and a reverse camera, these features needed to be retained, as does the number plate light. Luckily the new bar had slots for all required components and the mounting hardware. That doesn’t mean it was easy to install though, especially the reverse camera which required some trial and error to get right.
With the bumper cut performed, it’s time to assemble the swing arms, latches and LED lights onto the new rear bar. This is a simple affair as everything bolts up as it should. The hardest part is ensuring that fresh paint isn’t scratched in the process.
Once the wiring was taken care of and the bumper cut section locked in place, it’s time to fit the rear bar. This is when having a workshop and a few people around will prove to be handy. A brain-surgeon’s level of care is required; make a wrong move and you are on a one-way trip to scratch city.
The actual mounting system incorporated into the Kaymar rear bar is quite simple, and doesn’t require any chassis modifications other than a few holes which need elongation. Once the supplied hardware is in place, all bolts are tightened and it should start to look like a four-wheel drive again.
Words By Evan Spence